Precharged-Pneumatic (PCP) Air Rifle
I've always wanted a nice air rifle to target shoot with, so I designed, manufactured, and iterated a precharged pneumatic air rifle (PCP). I used Fusion for the mechanical design and based some features off commercial air rifles. To manufacture the components, I used a CNC router, a manual lathe, a 3D printer, and other various hand tools. Through multiple iterations, the air rifle became very accurate and I'm proud of the craftsmanship I was able to display.
Motivation & Design
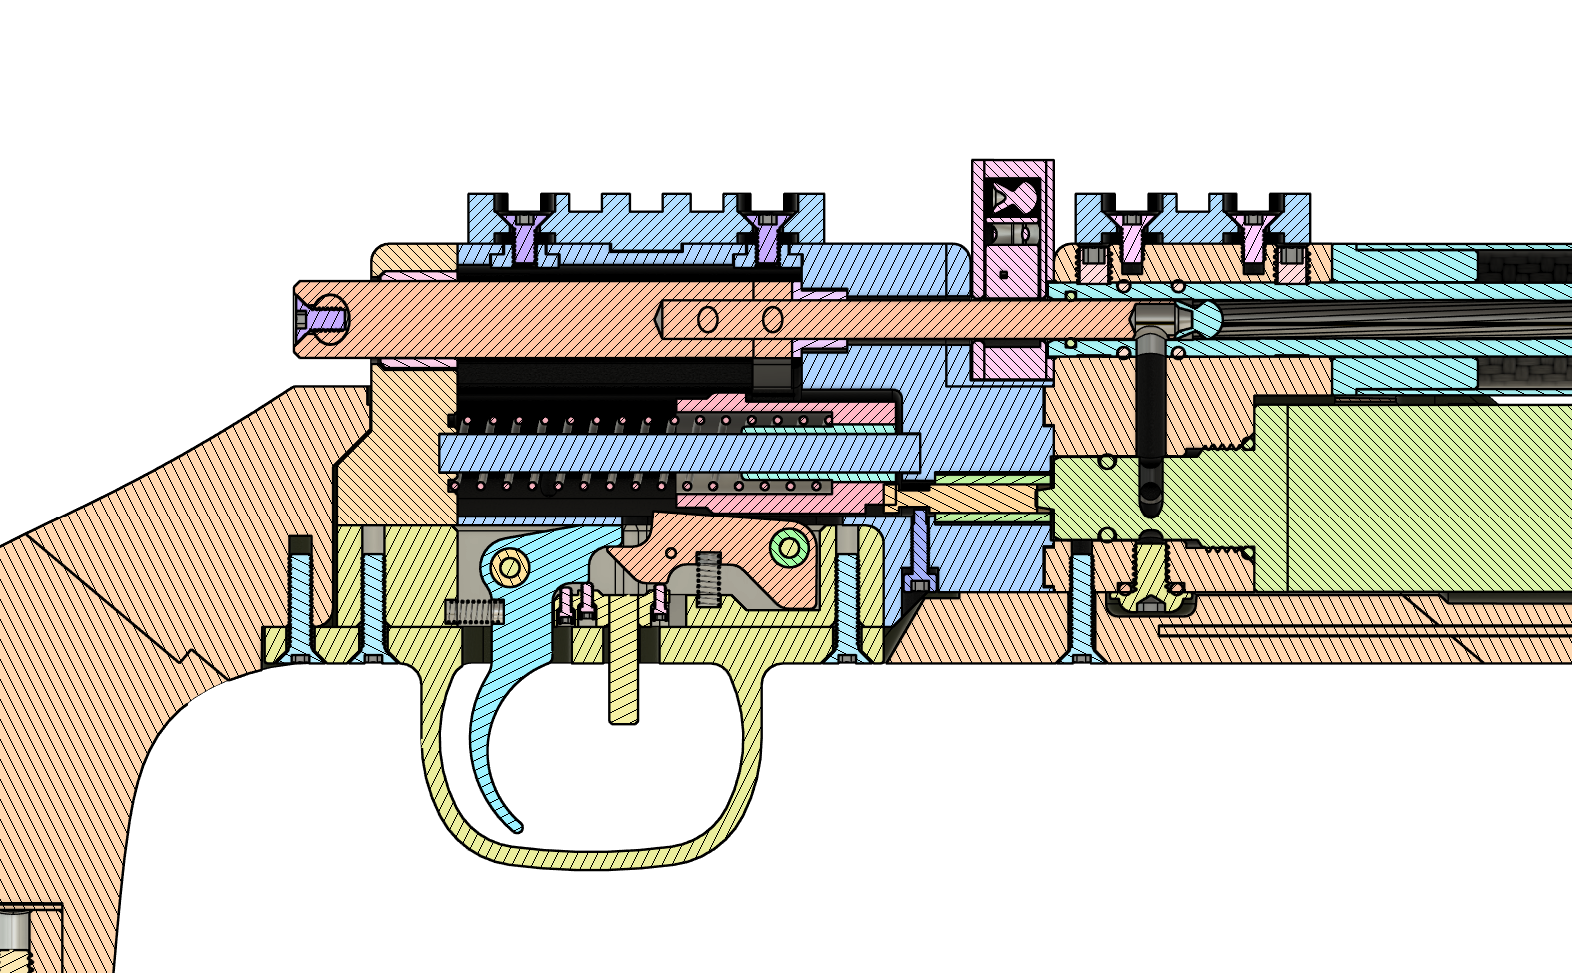
For years, I've wanted to build a PCP air rifle, but I never had the funding or tools required to make it possible. Last year, I got access to a CNC router and I bought a sketchy eBay 7x16 manual lathe, so I decided it was time to revive this project.
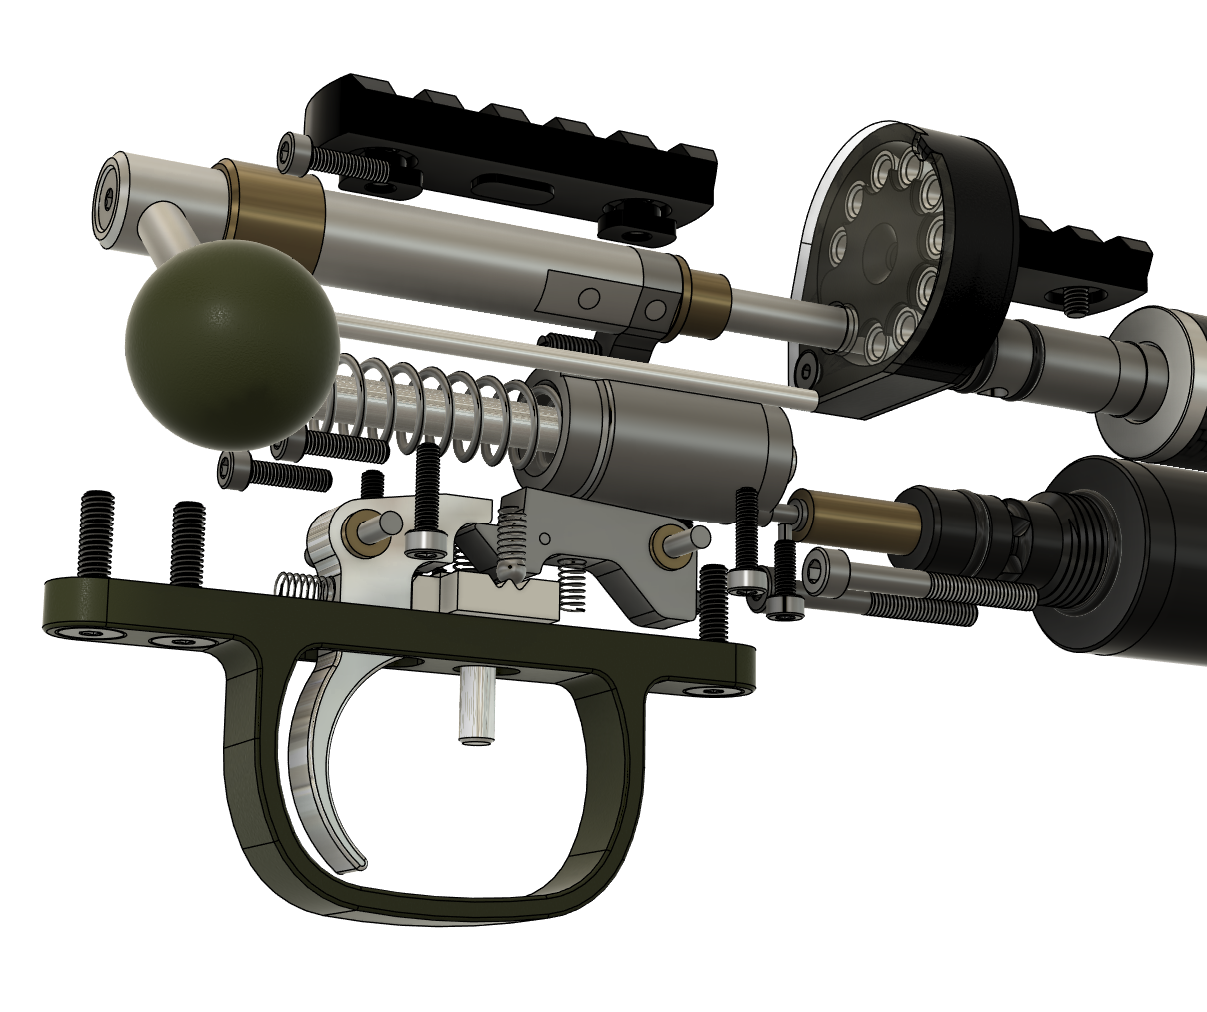
In my design, there are several custom notable components.
Bolt: cocks the hammer spring and hammer, loads a pellet into the barrel, seals barrel breech.
Hammer: strikes the valve pin and releases a burst of high pressure air into the barrel.
Sear: holds the cocked hammer back from striking the valve pin.
Trigger: engages and moves the sear, releasing the hammer.
Safety: prevents the sear and trigger from moving when engaged, tunable to set the 1st stage travel and over travel distance.
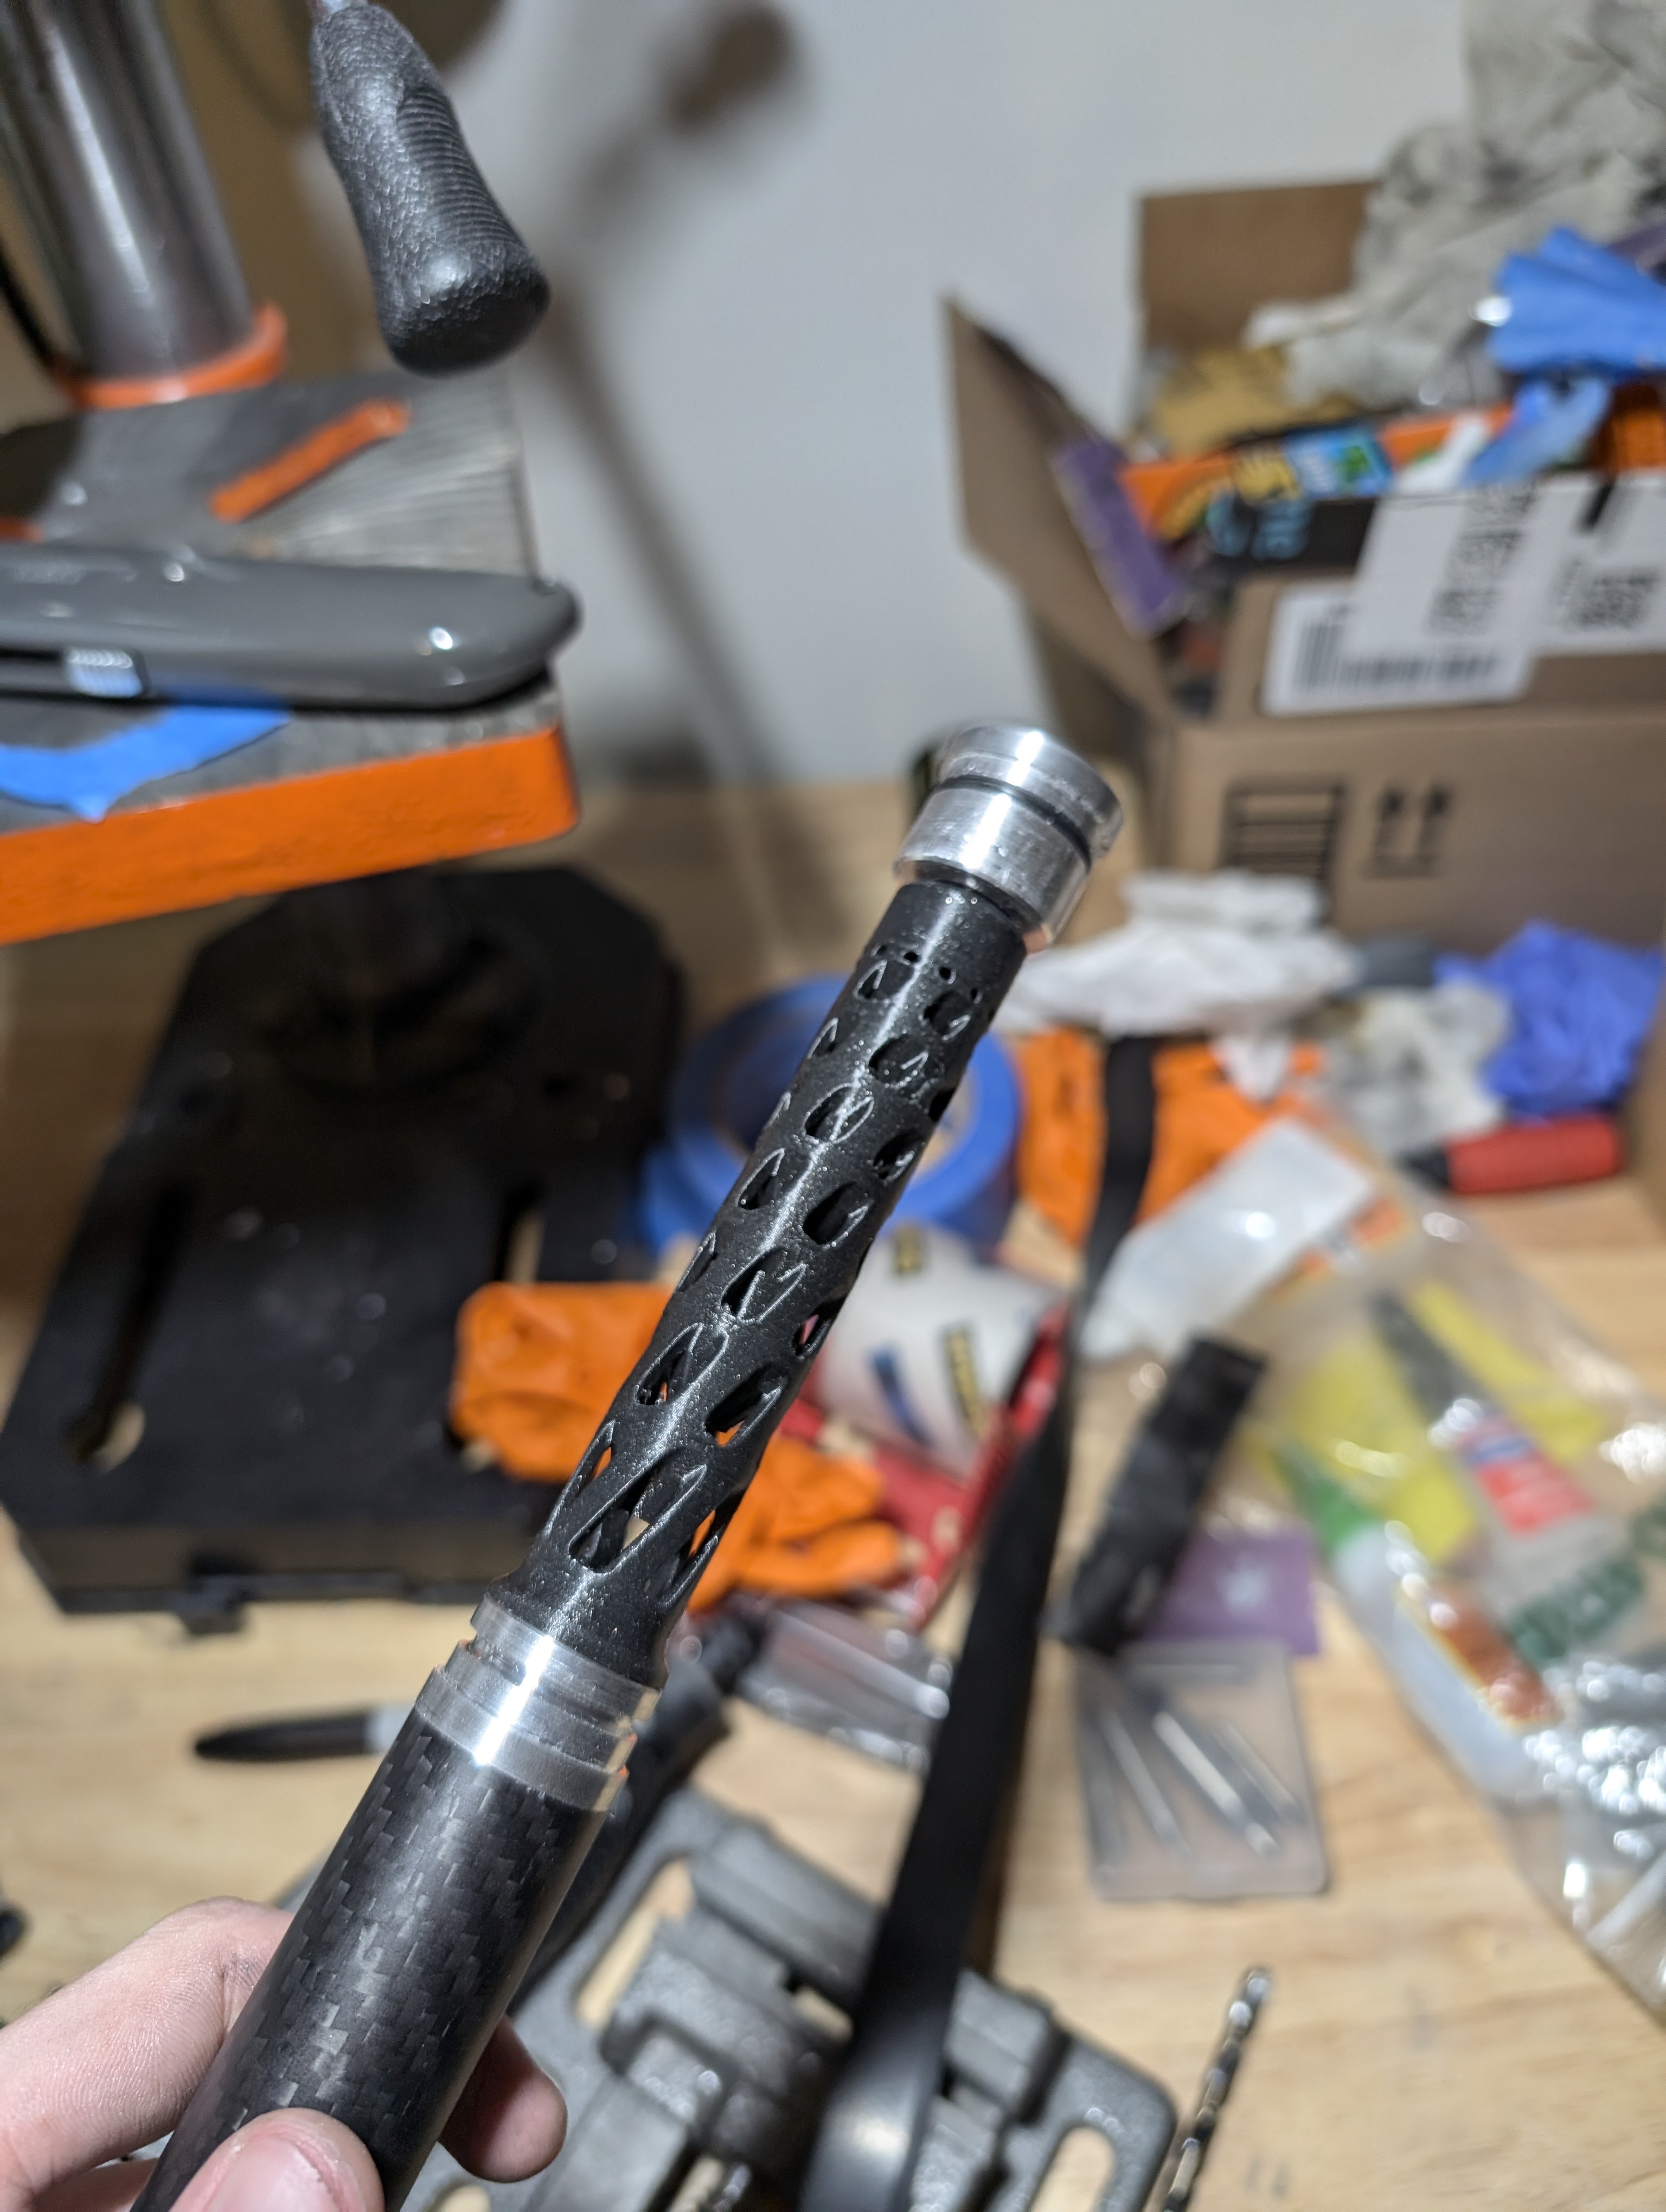
Barrel shroud: barrel stiffener, vented expansion volume for the air captured by the suppressor.
Auto-indexing magazine: stores 10 pellets and auto-indexs when the bolt is retracted.
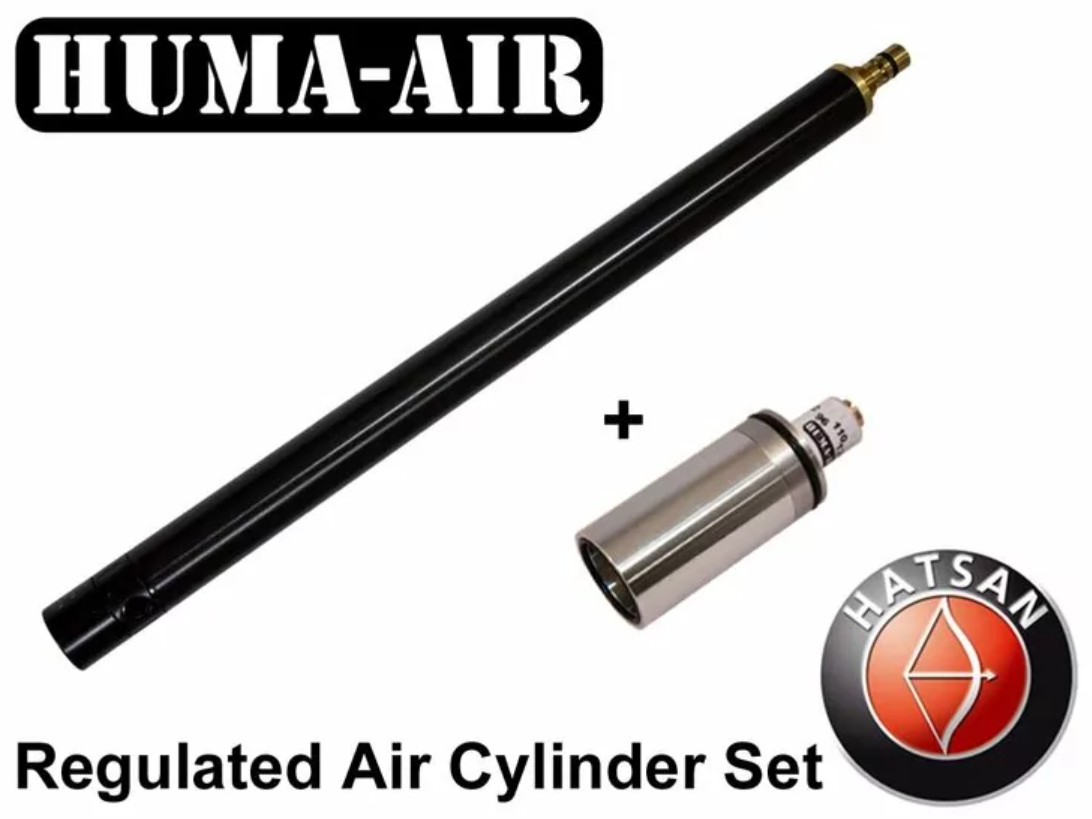
Due to the complexity of the design and manufacturing of the barrel and air tank, and due to the fact I could not feasibly match the quality of, I decided to purchase a commercial .25 caliber air rifle barrel blank and 200 bar air rifle tank. I also bought a regulated plenum for my air tank which kept the shot velocity constant.
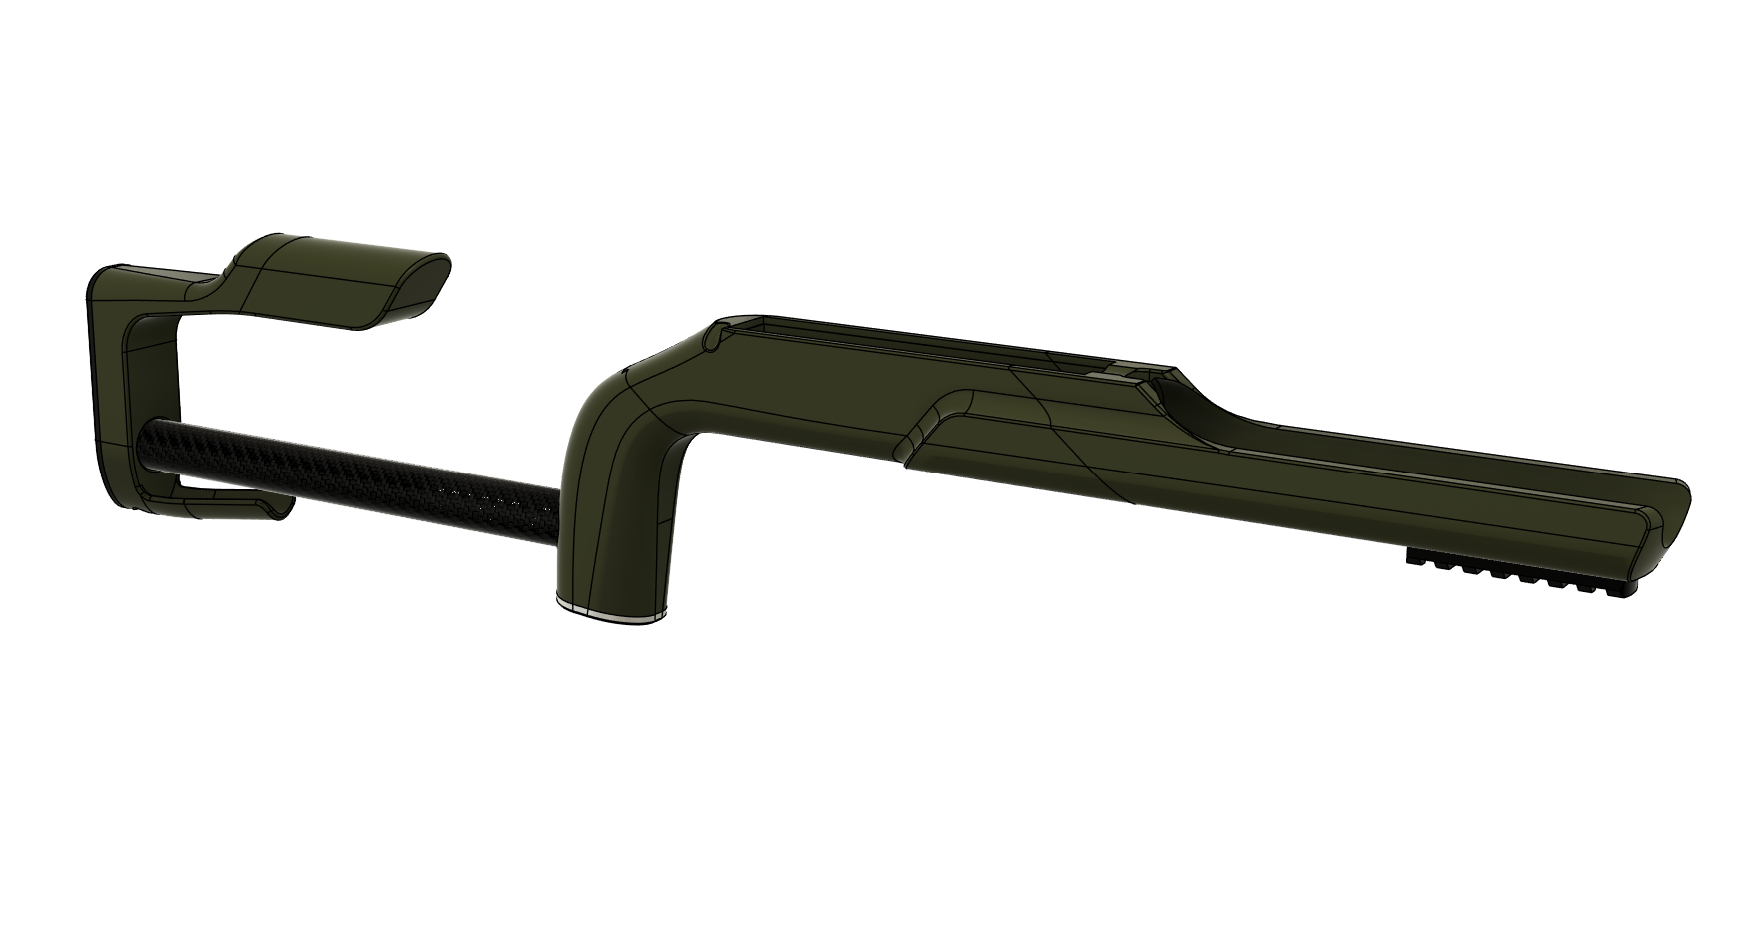
The stock of the air rifle was matched to me and was 3D printed in PLA. It has significant internal carbon fiber reinforcement to keep it stiff. The foreend of the stock has a small picatiny rail for mounting my custom bipod.
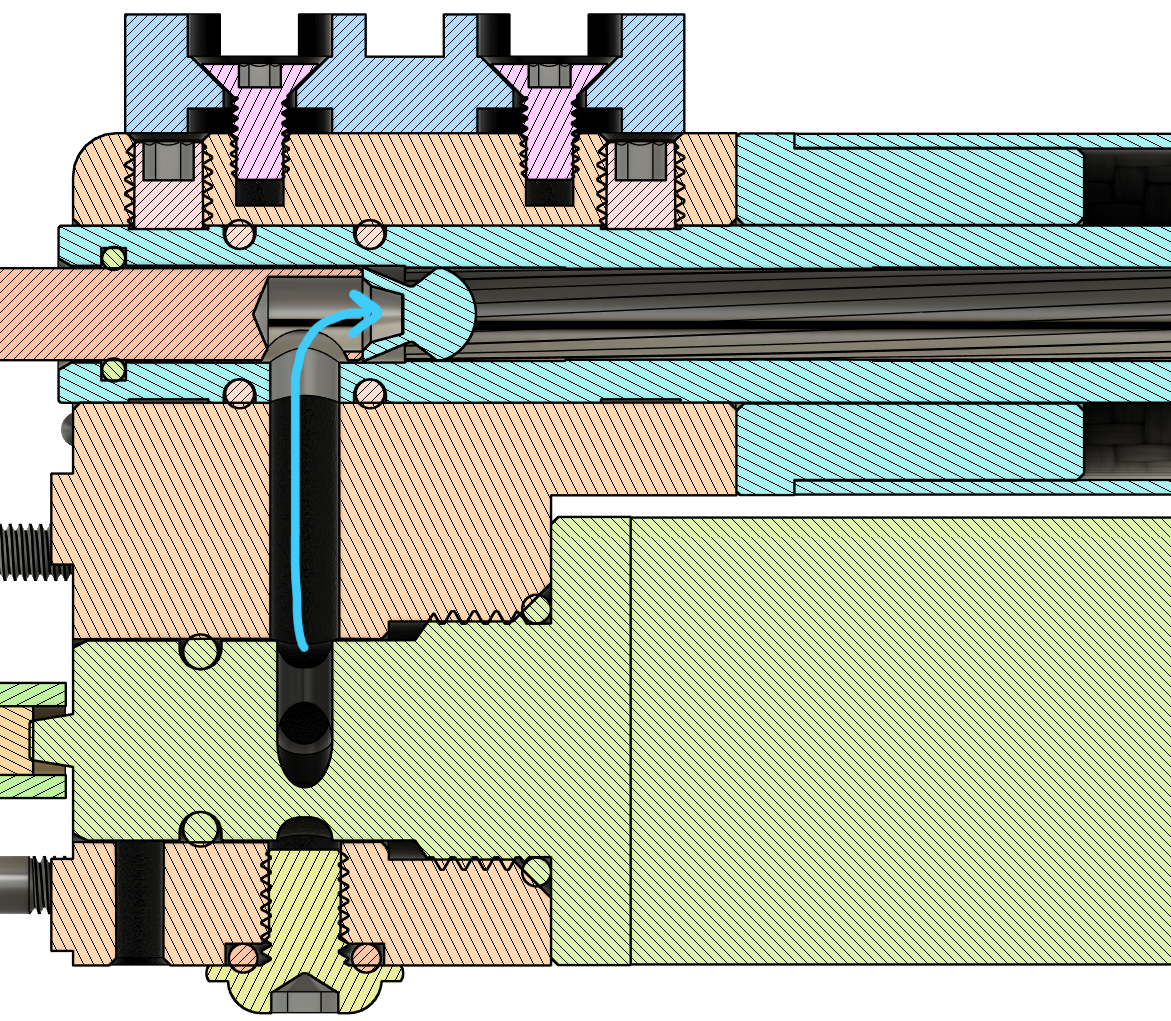
The weight of the hammer, hammer spring rate, and transfer port size were aligned to similar .25 caliber air rifles so I could have a good place to start my tune from.
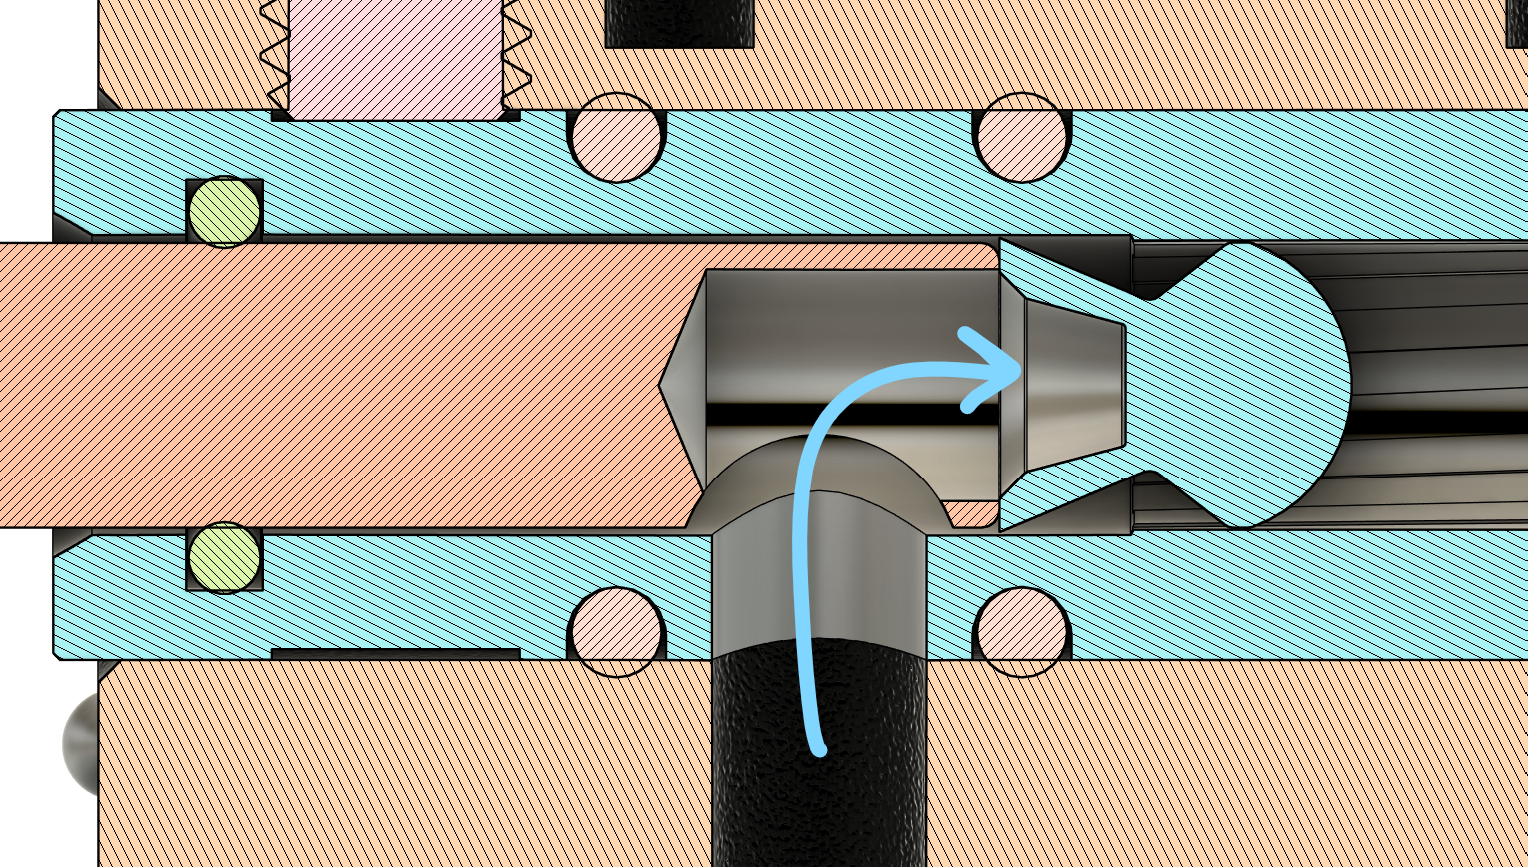
The bolt probe was designed similarly to FX air rifles, where the end of the bolt is drilled out and a perpendicular hole is milled that connects the transfer port to the barrel breech. This style of bolt improves the reliabilty of the auto-indexing magazine and is extremely easy to make. The bolt is made of 303 and 304 stainless steel. In the future, I'd make the entire thing 303 for the sake of machinability.
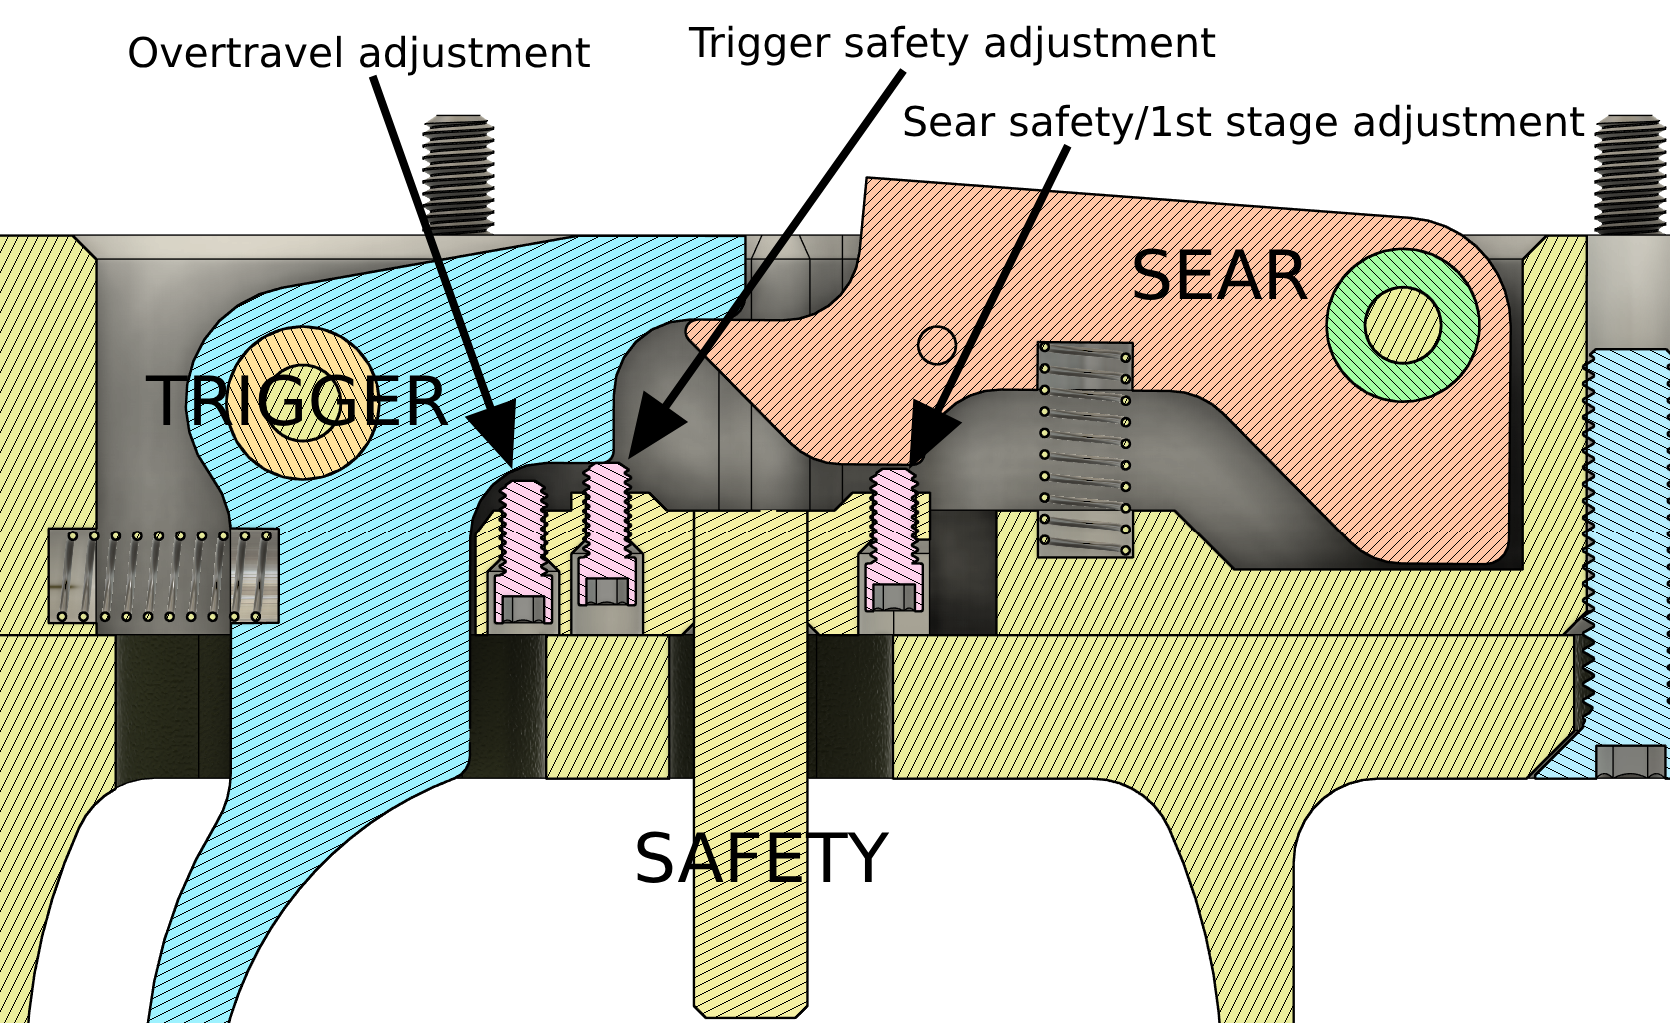
The trigger assembly is a simple design which provides a crisp release of the hammer. It has adjustable overtravel distance, 1st stage travel, and safety engagement adjustment. The safety's position is indexed by two ball bearings detents. The trigger and sear are made from 4140 steel and the trigger guard is made from 6061 aluminum.
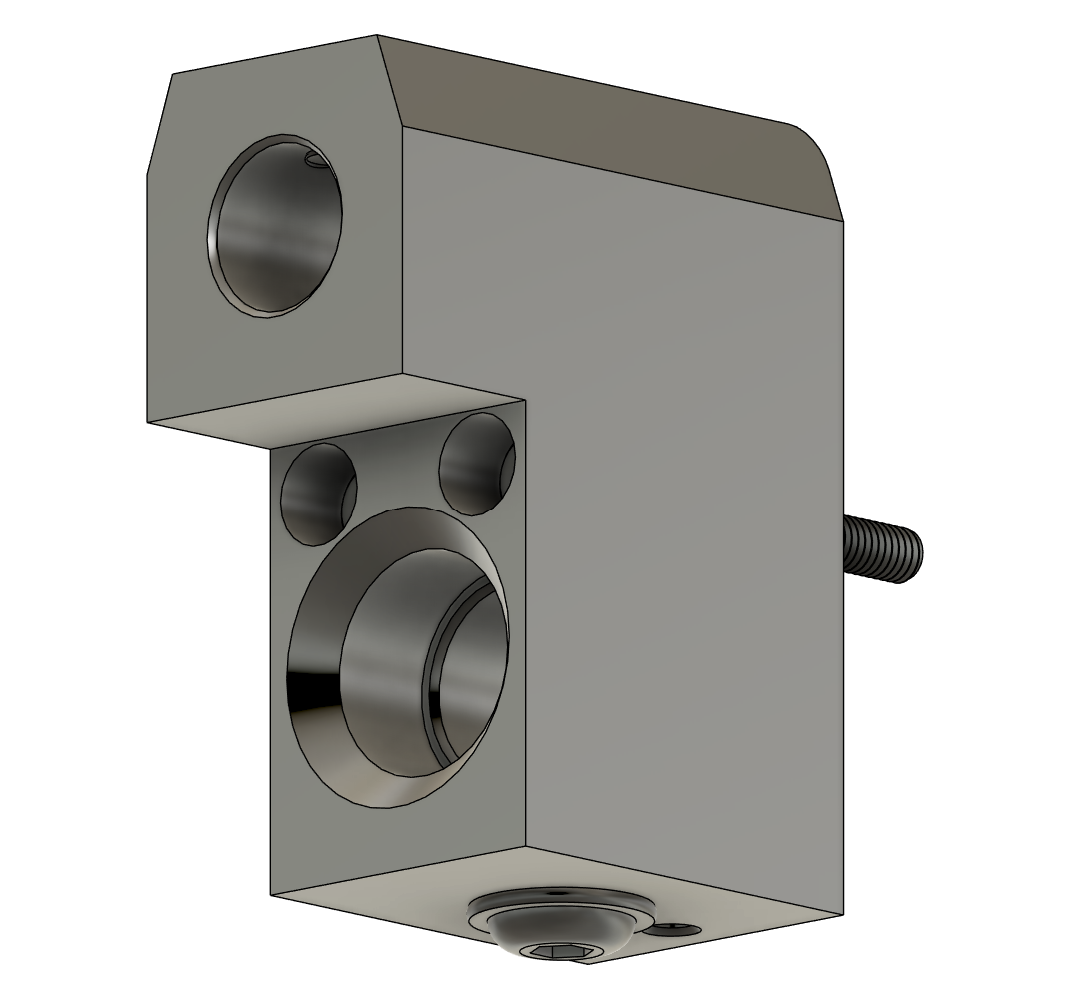
The receiver is split into two sections, the front and rear receiver. The front receiver is pressurized and thus made from 6061 aluminum while the rear receiver is unpressurized and 3D printed. The front receiver "receives" the barrel and shroud, air tank, rear receiver, front picatiny rail, and magazine locking detent.
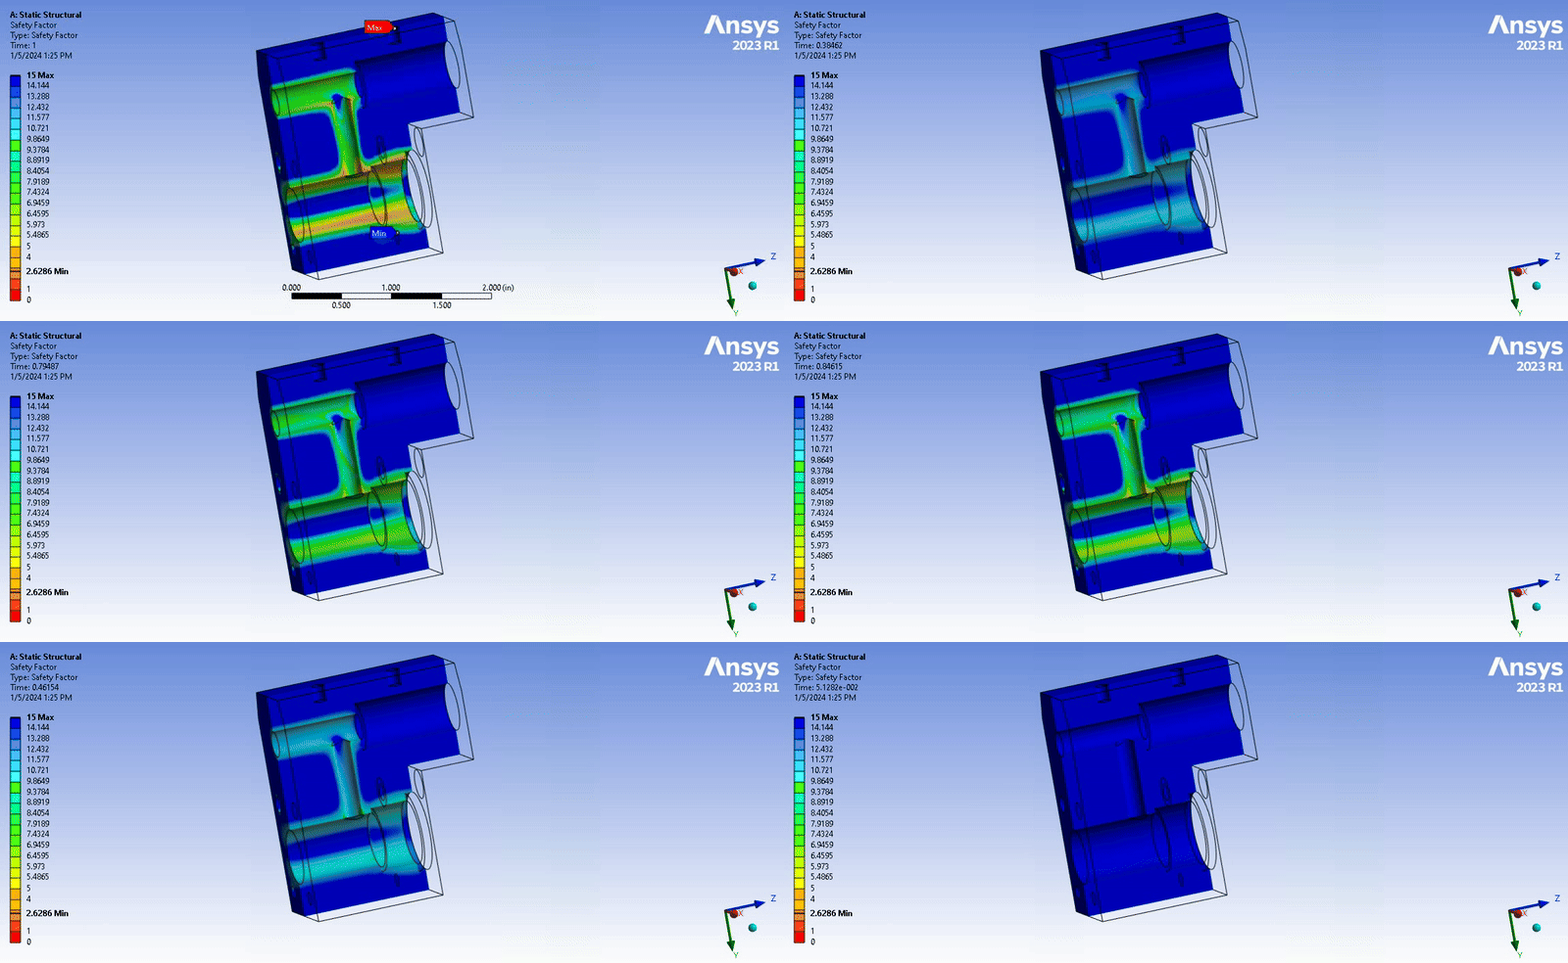
Basic structural simulation in Ansys Mechanical to determine safety factor of V1 design of the front receiver using 3000 psi air.
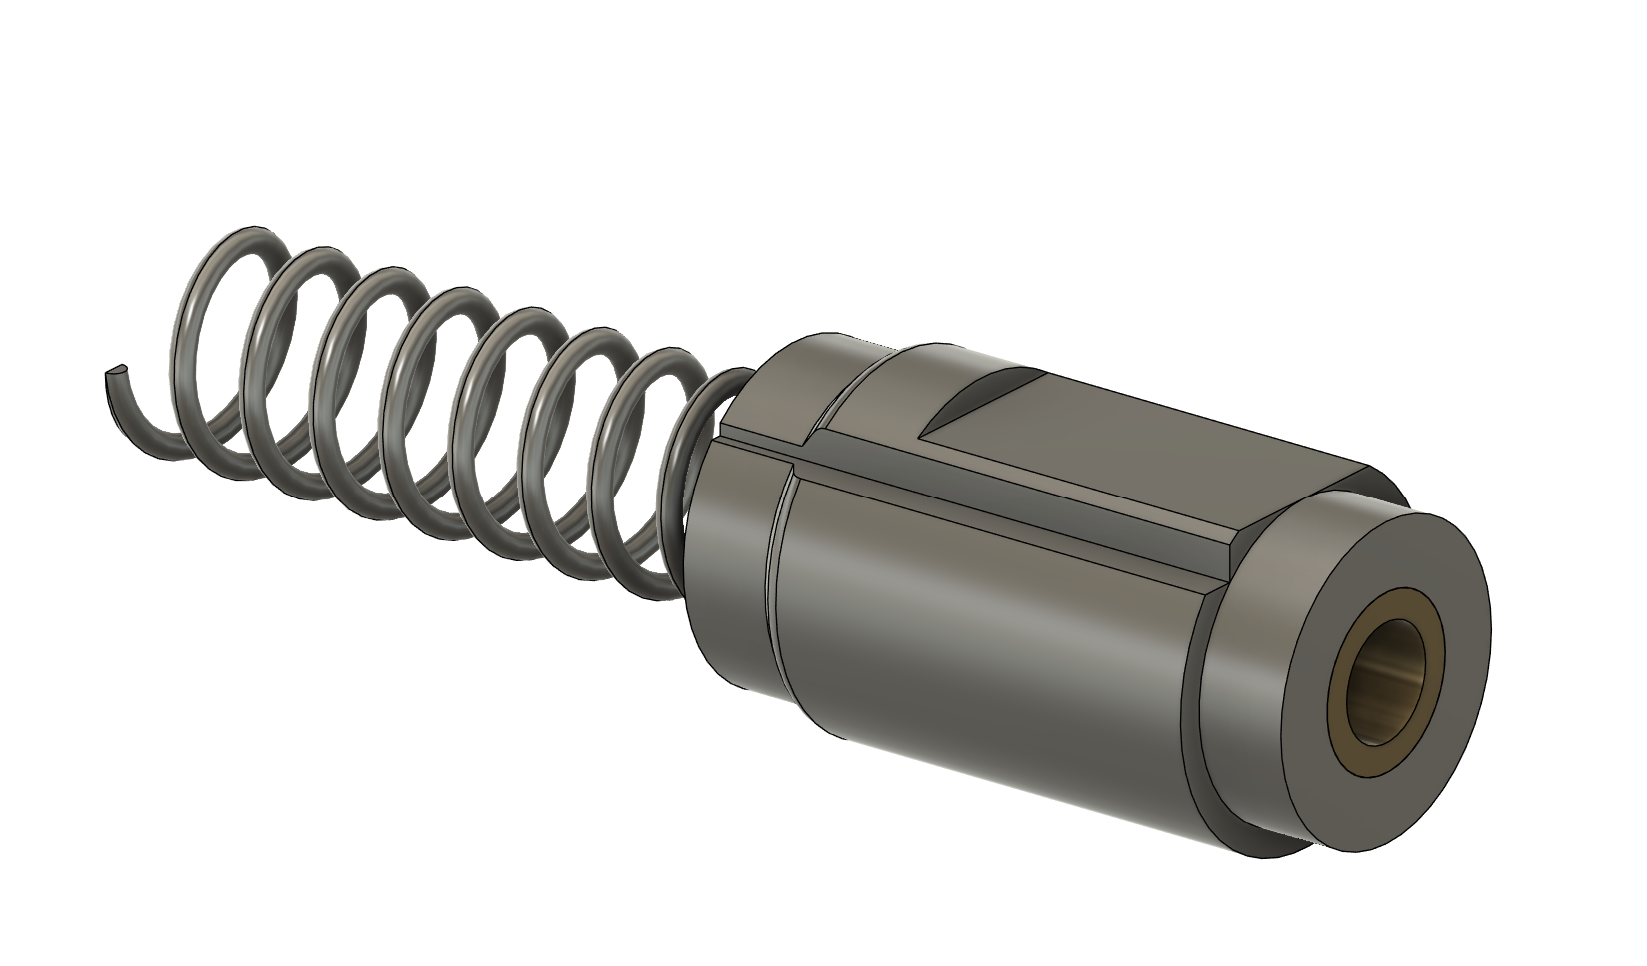
The hammer strikes the air tank valve pin and releases a burst of high pressure air into the barrel behind the pellet. The hammer is accelerated with a hammer spring (0.48" OD, 2.50" free length, 3.99 lb/in rate) and has a mass of 46.4 grams. The hammer rides along a hammer guide rod using a bronze bushing.
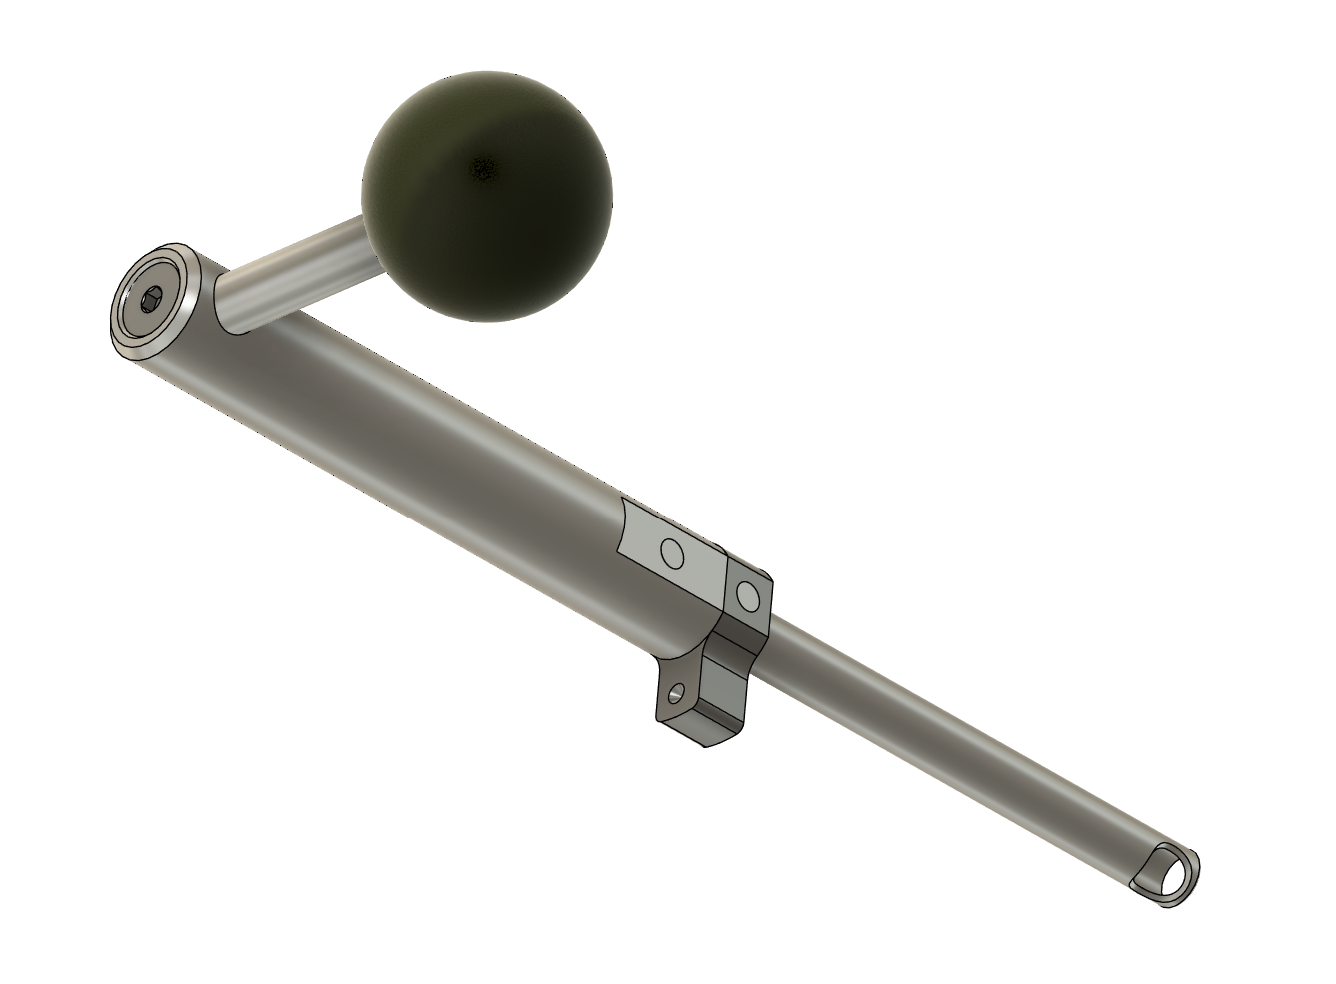
The bolt cocks the hammer spring and hammer, loads a pellet into the barrel, and seals the barrel breech. A lug on the bolt rotates out of battery and grabs onto a ledge on the hammer. As the bolt is retracted, the hammer comes along for the ride and is locked in place by the sear. The bolt is then pushed forward, which loads a new pellet, and the bolt is rotated into battery, locking the barrel breech. The bolt is prevented from easily exiting battery by a ball bearing detent, the divot of which can be seen on the lug face.
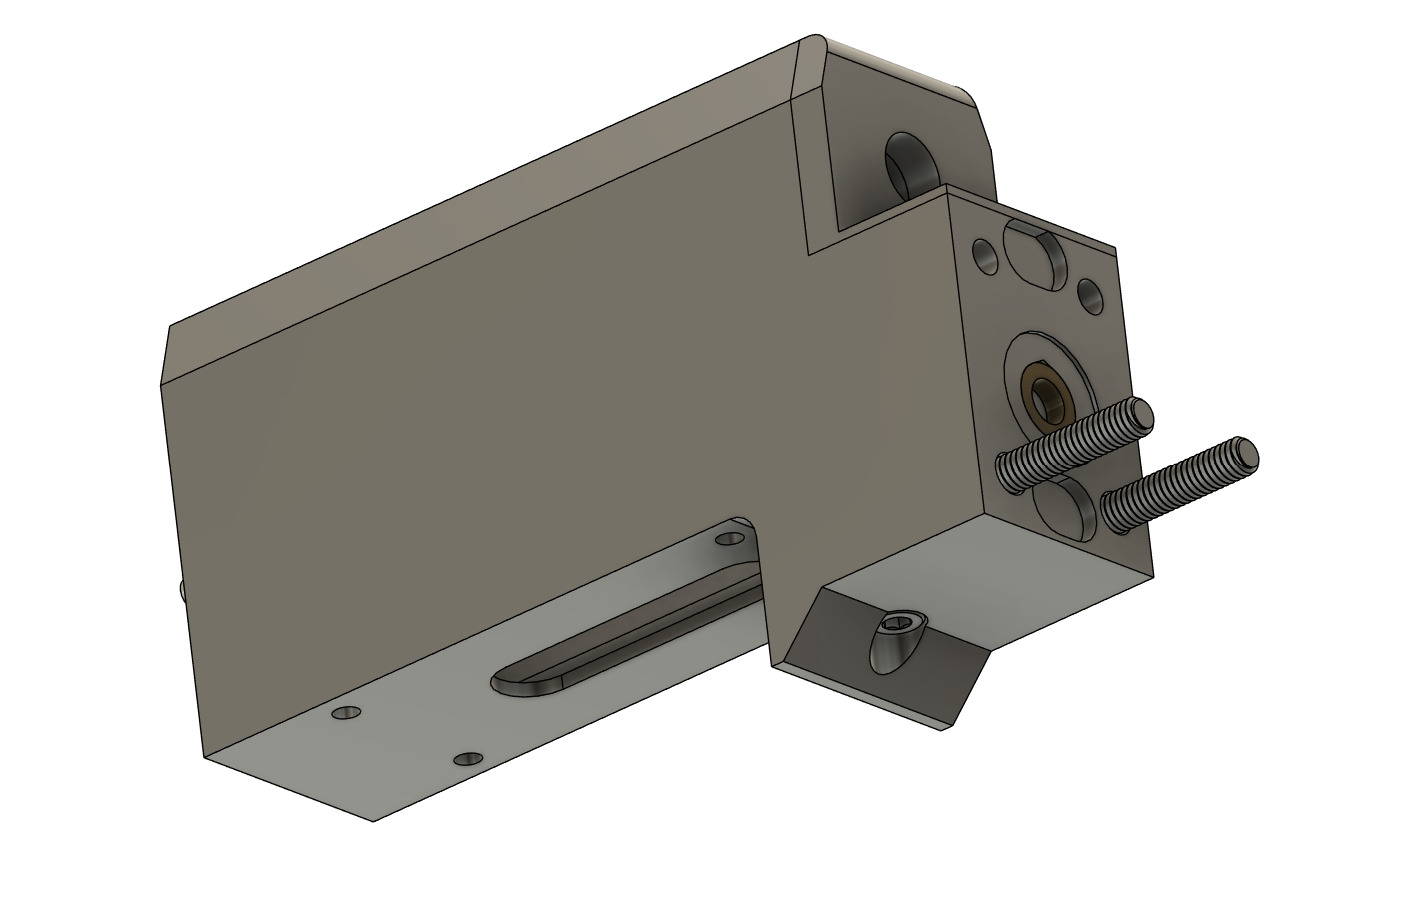
The rear receiver "receives" the bolt, hammer, trigger assembly, magazine, and rear picatiny rail. It is 3D printed out of PLA as it's unpressurized.
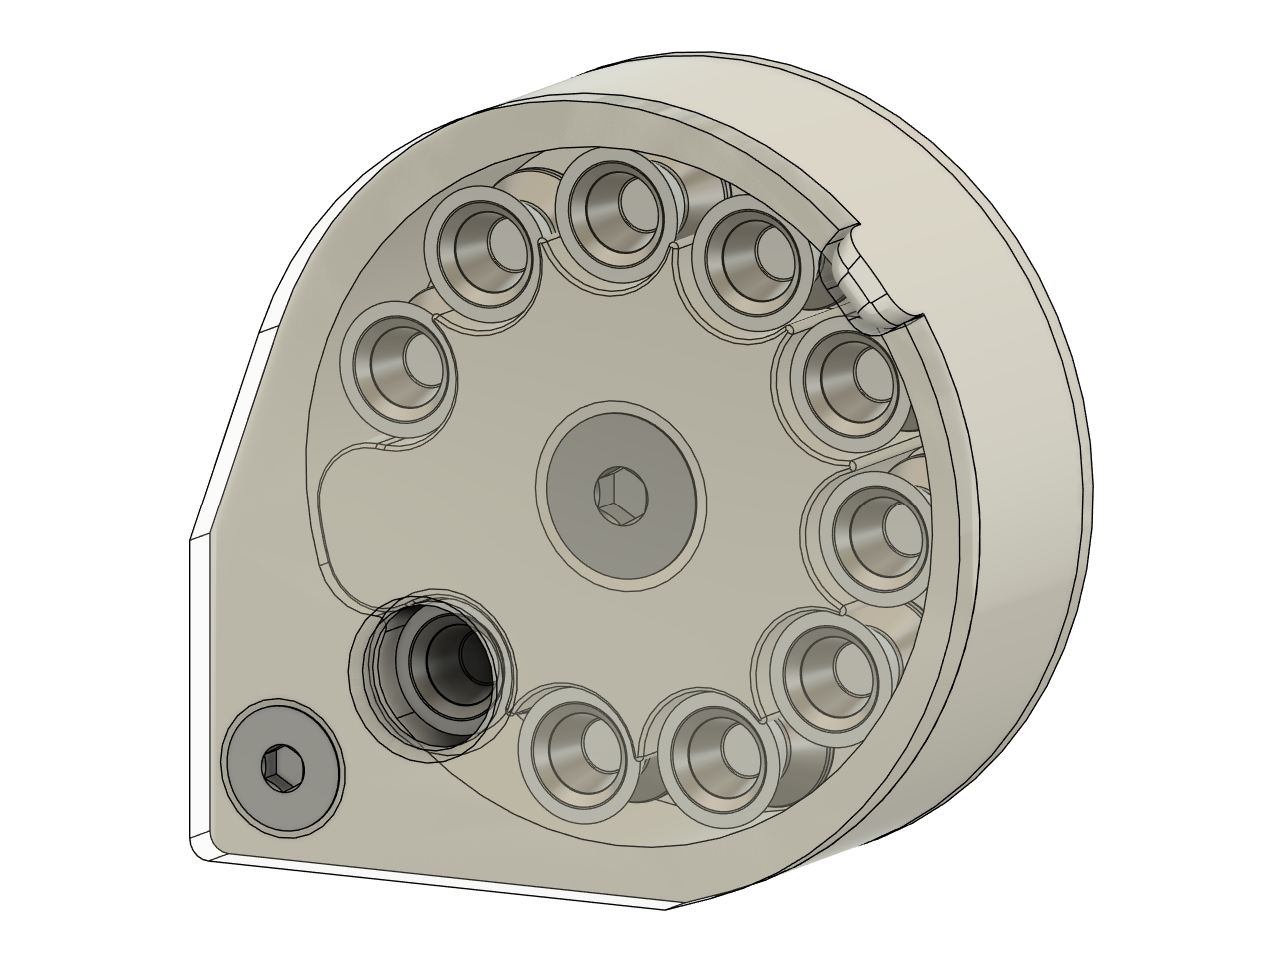
The 3D printed auto-indexing magazine uses a custom torsion spring for preload and utilizes the pellets themselves and the bolt probe to index the magazine's position.
Manufacturing
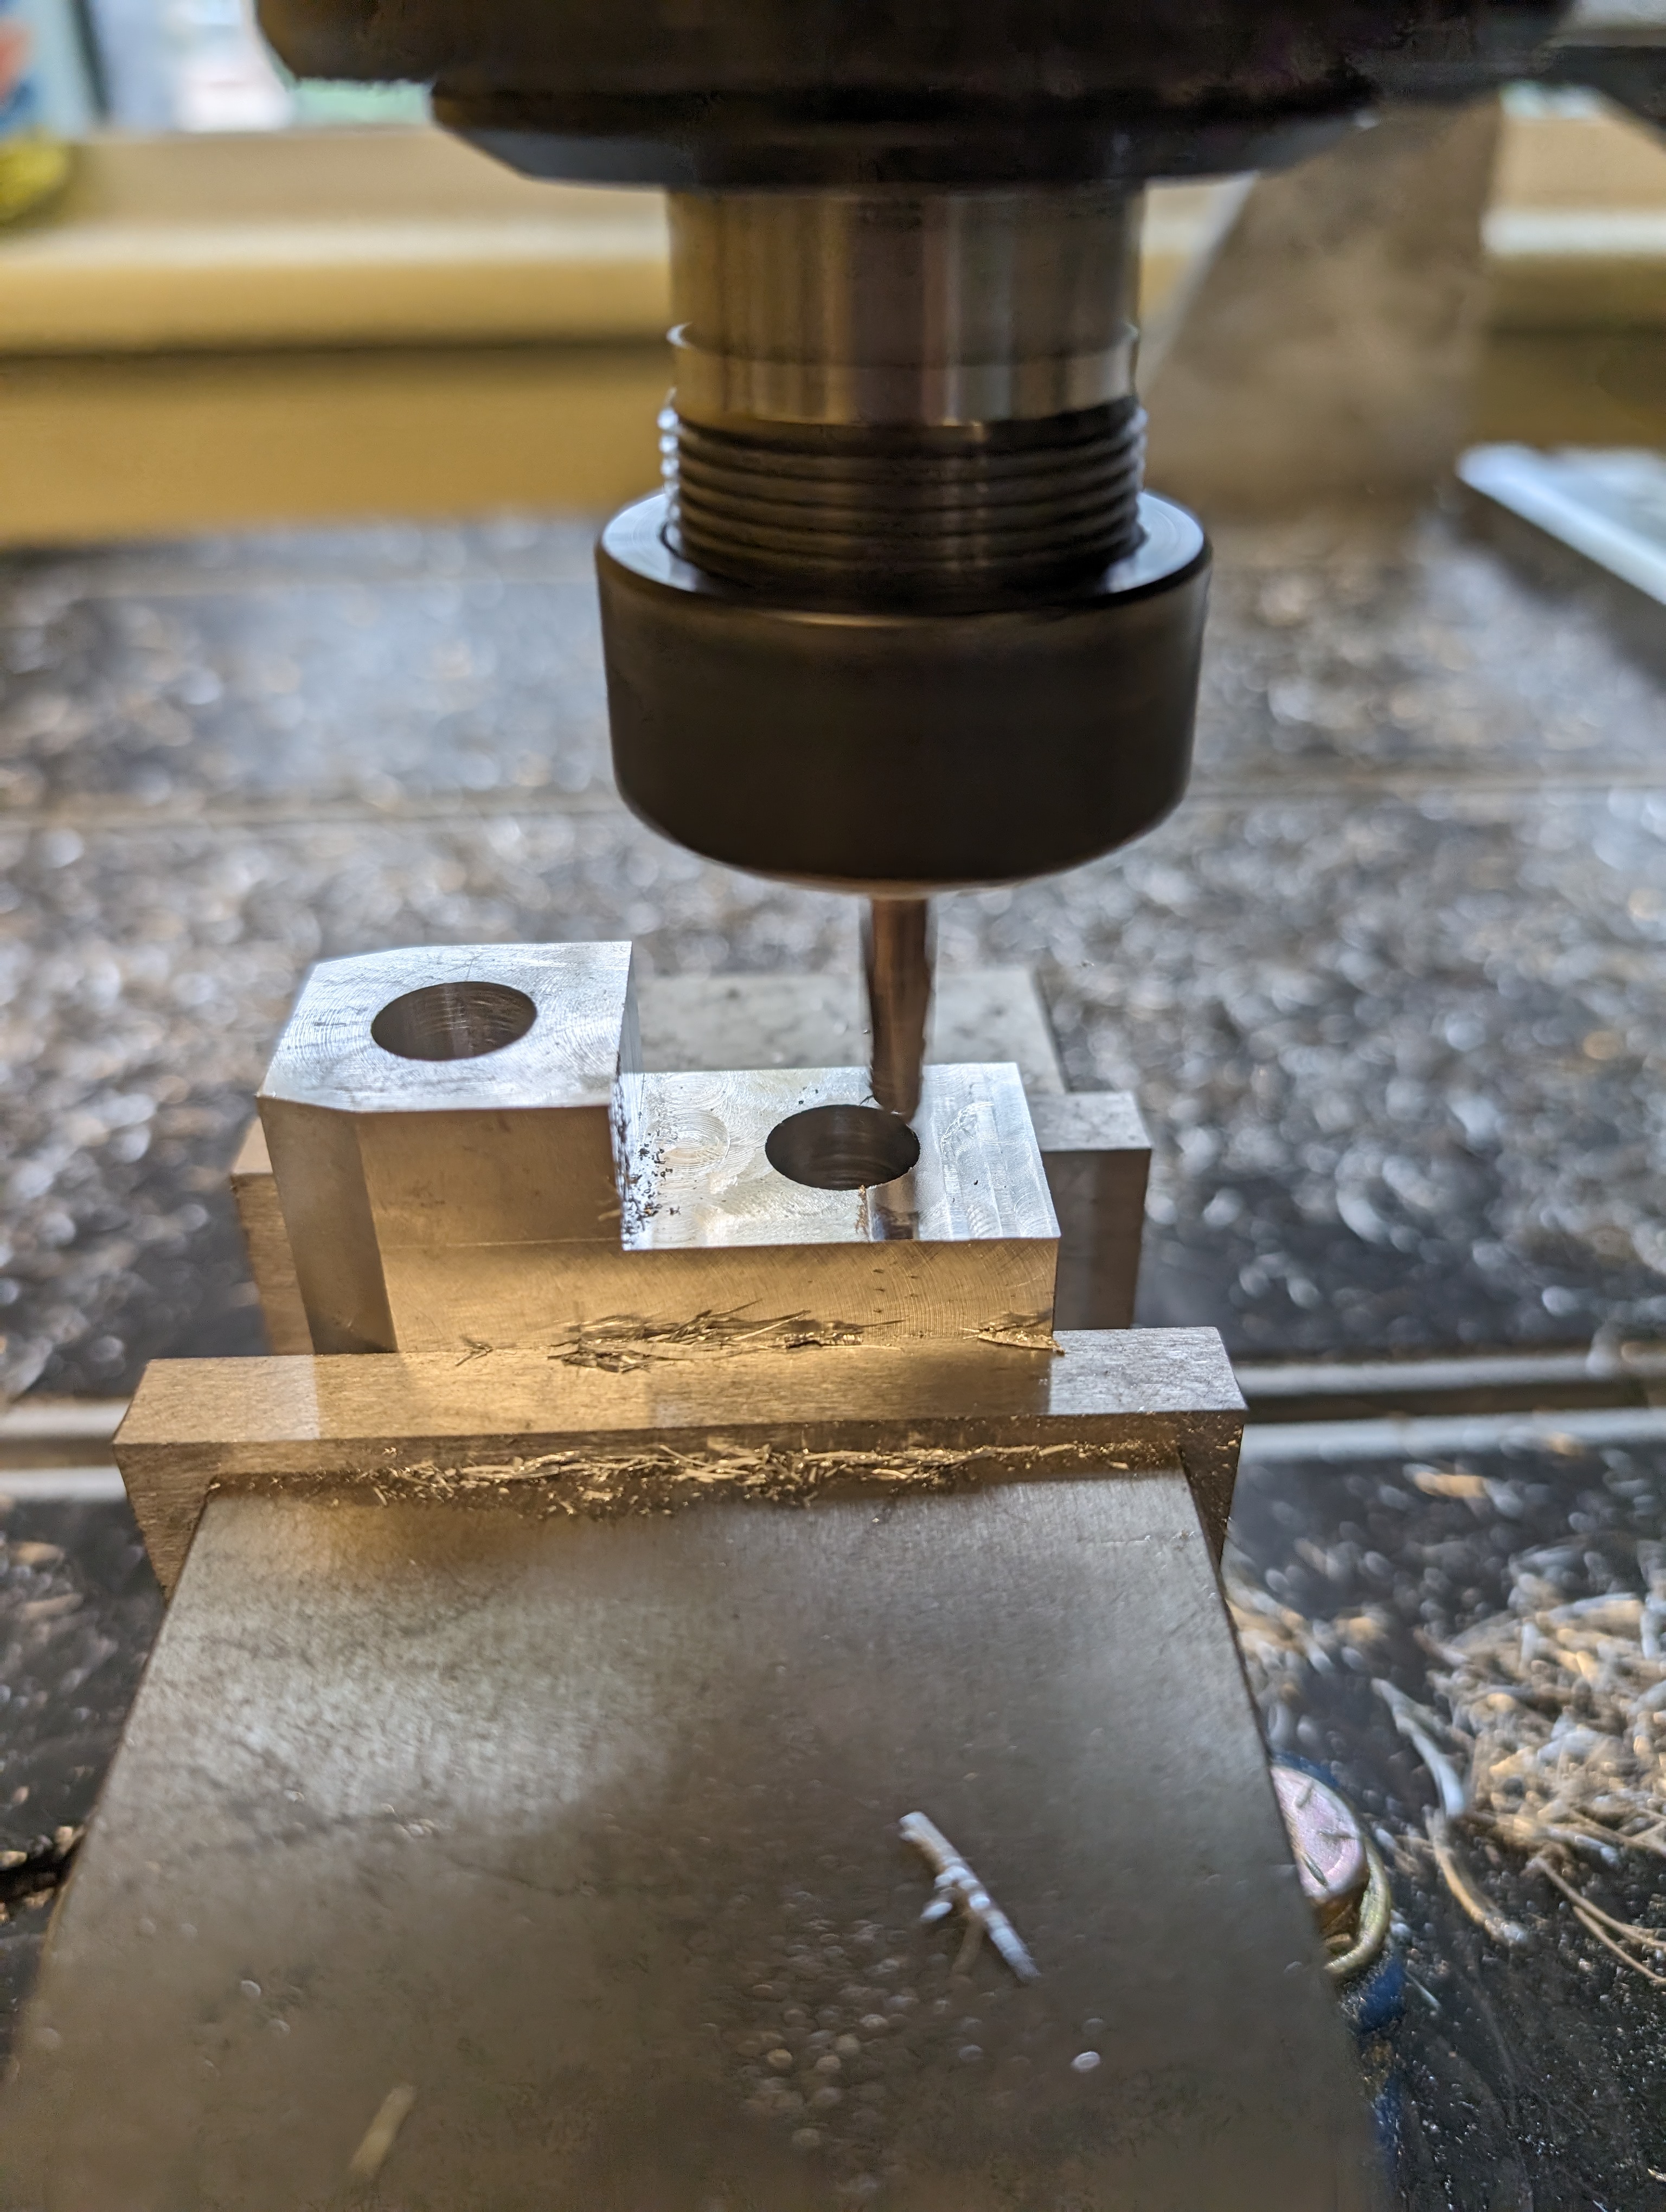
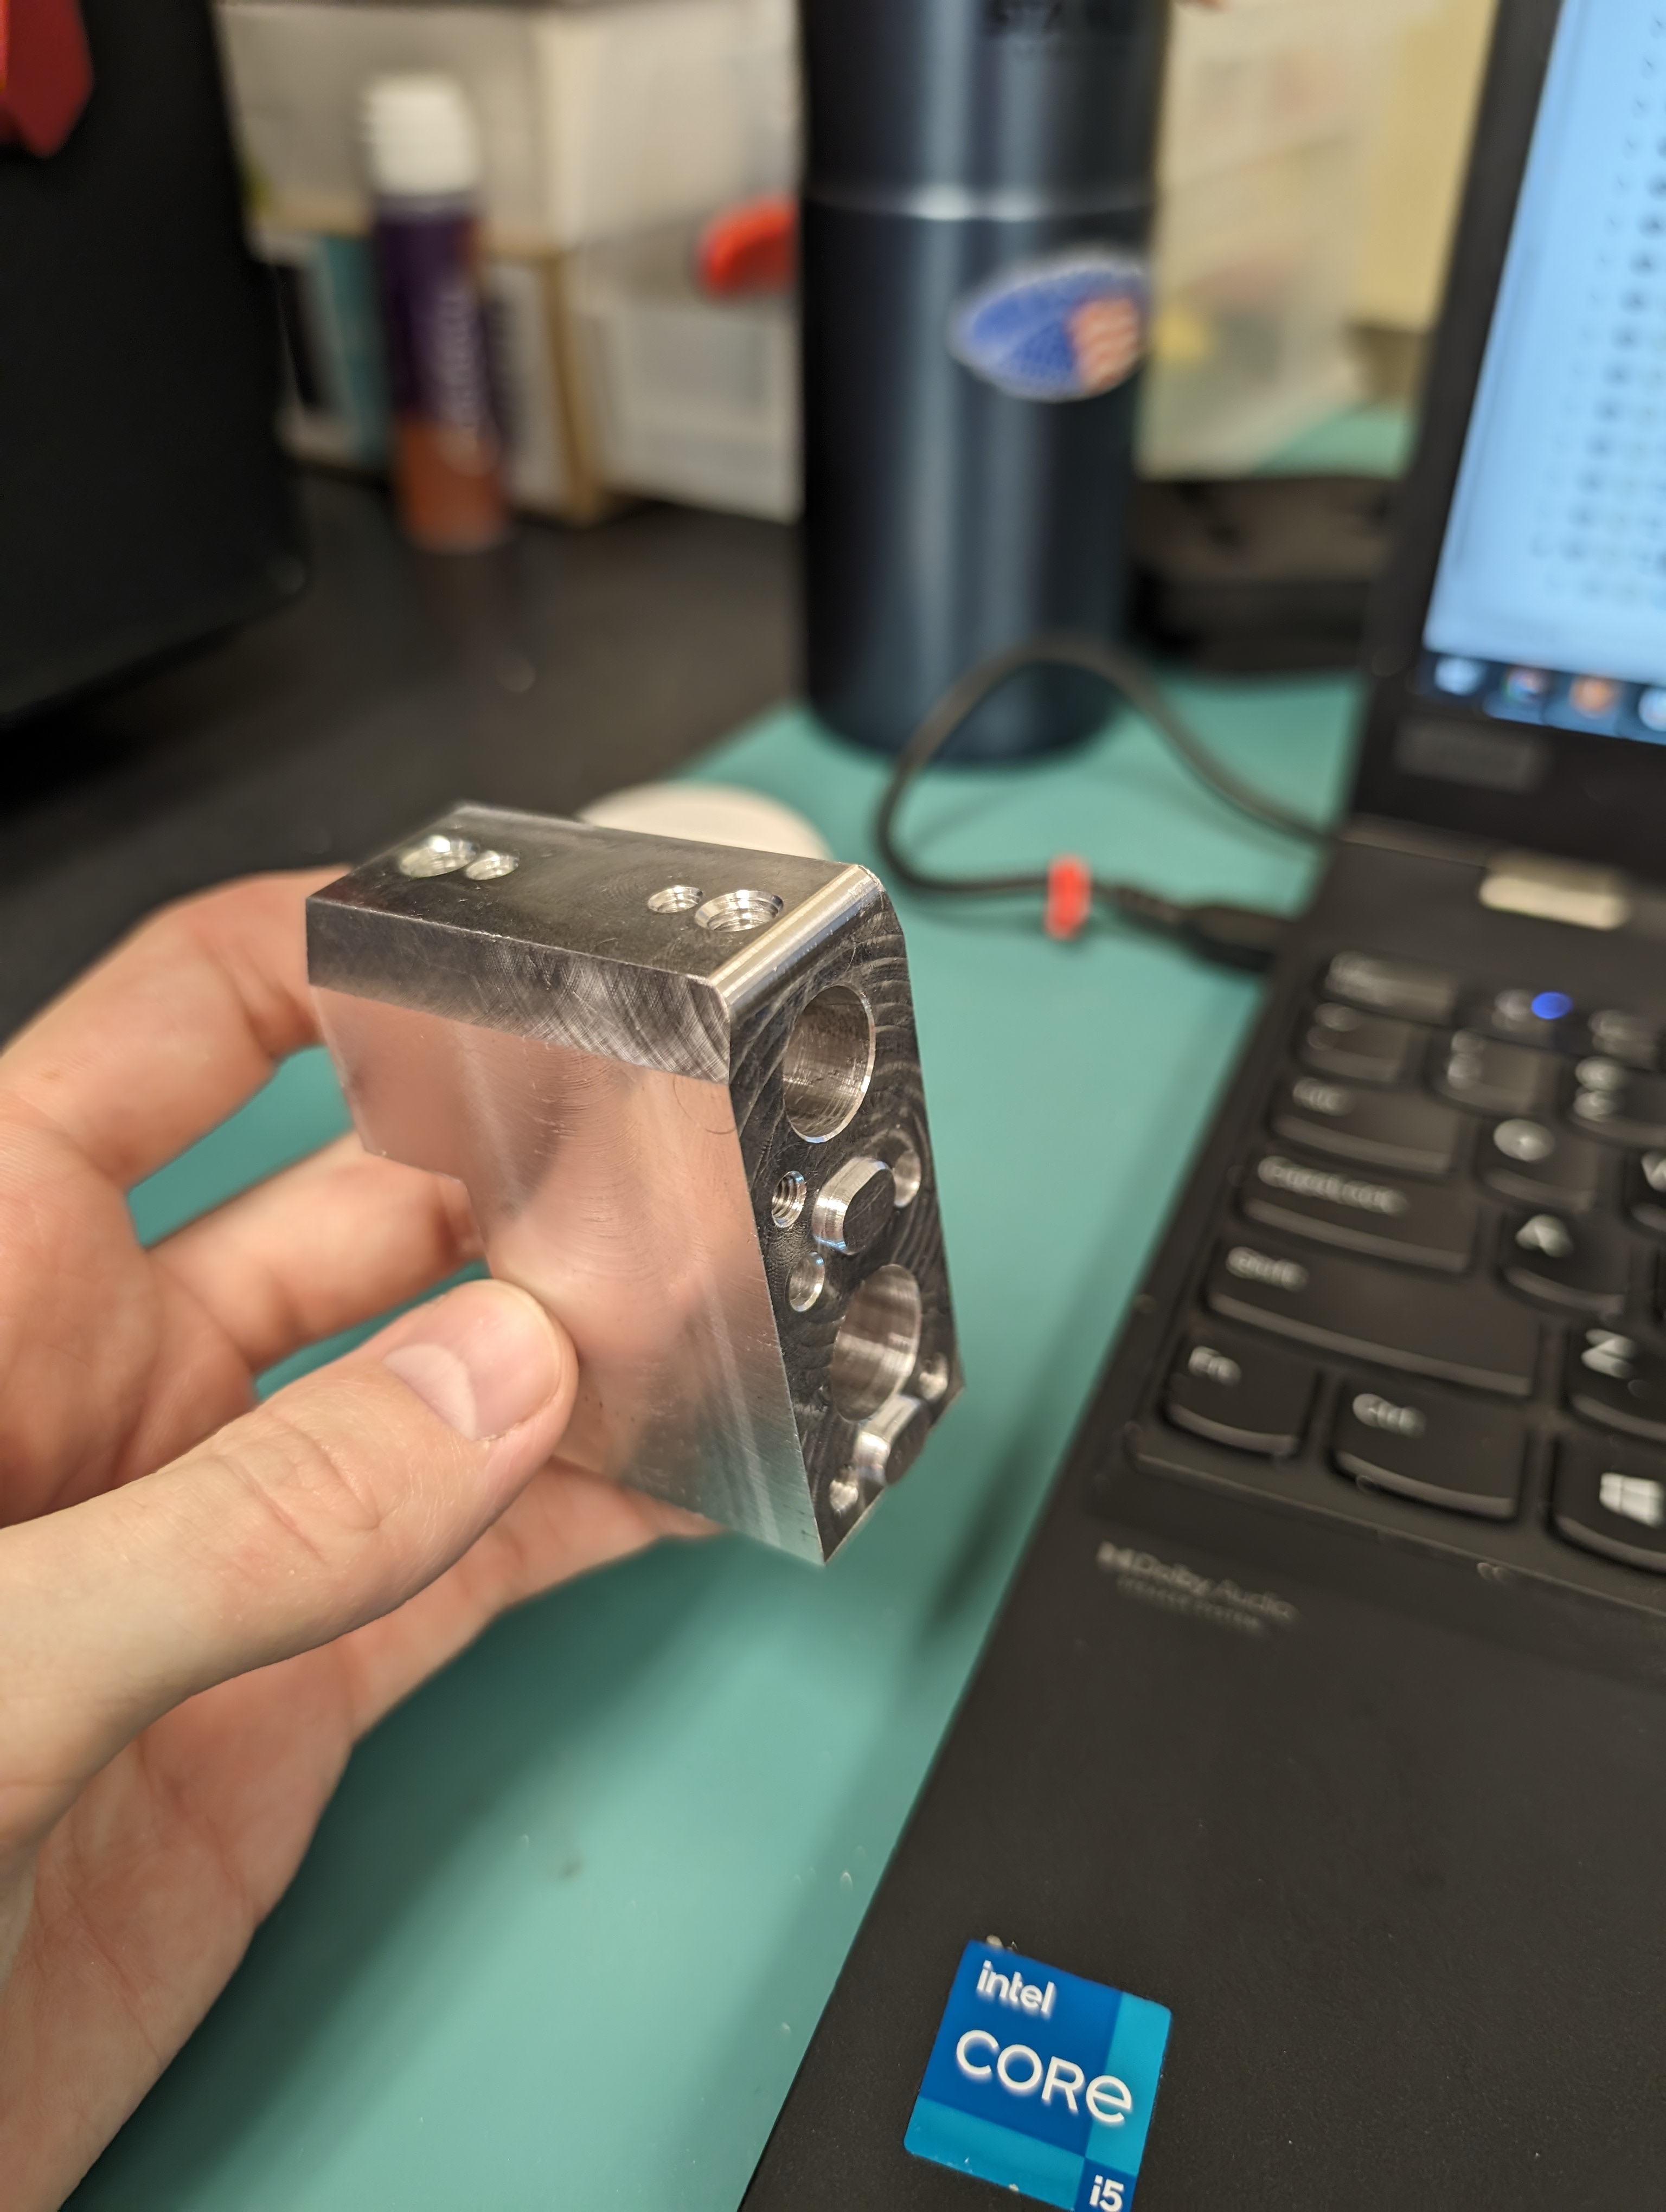
V2 front receiver machining on CNC router
V2 front receiver
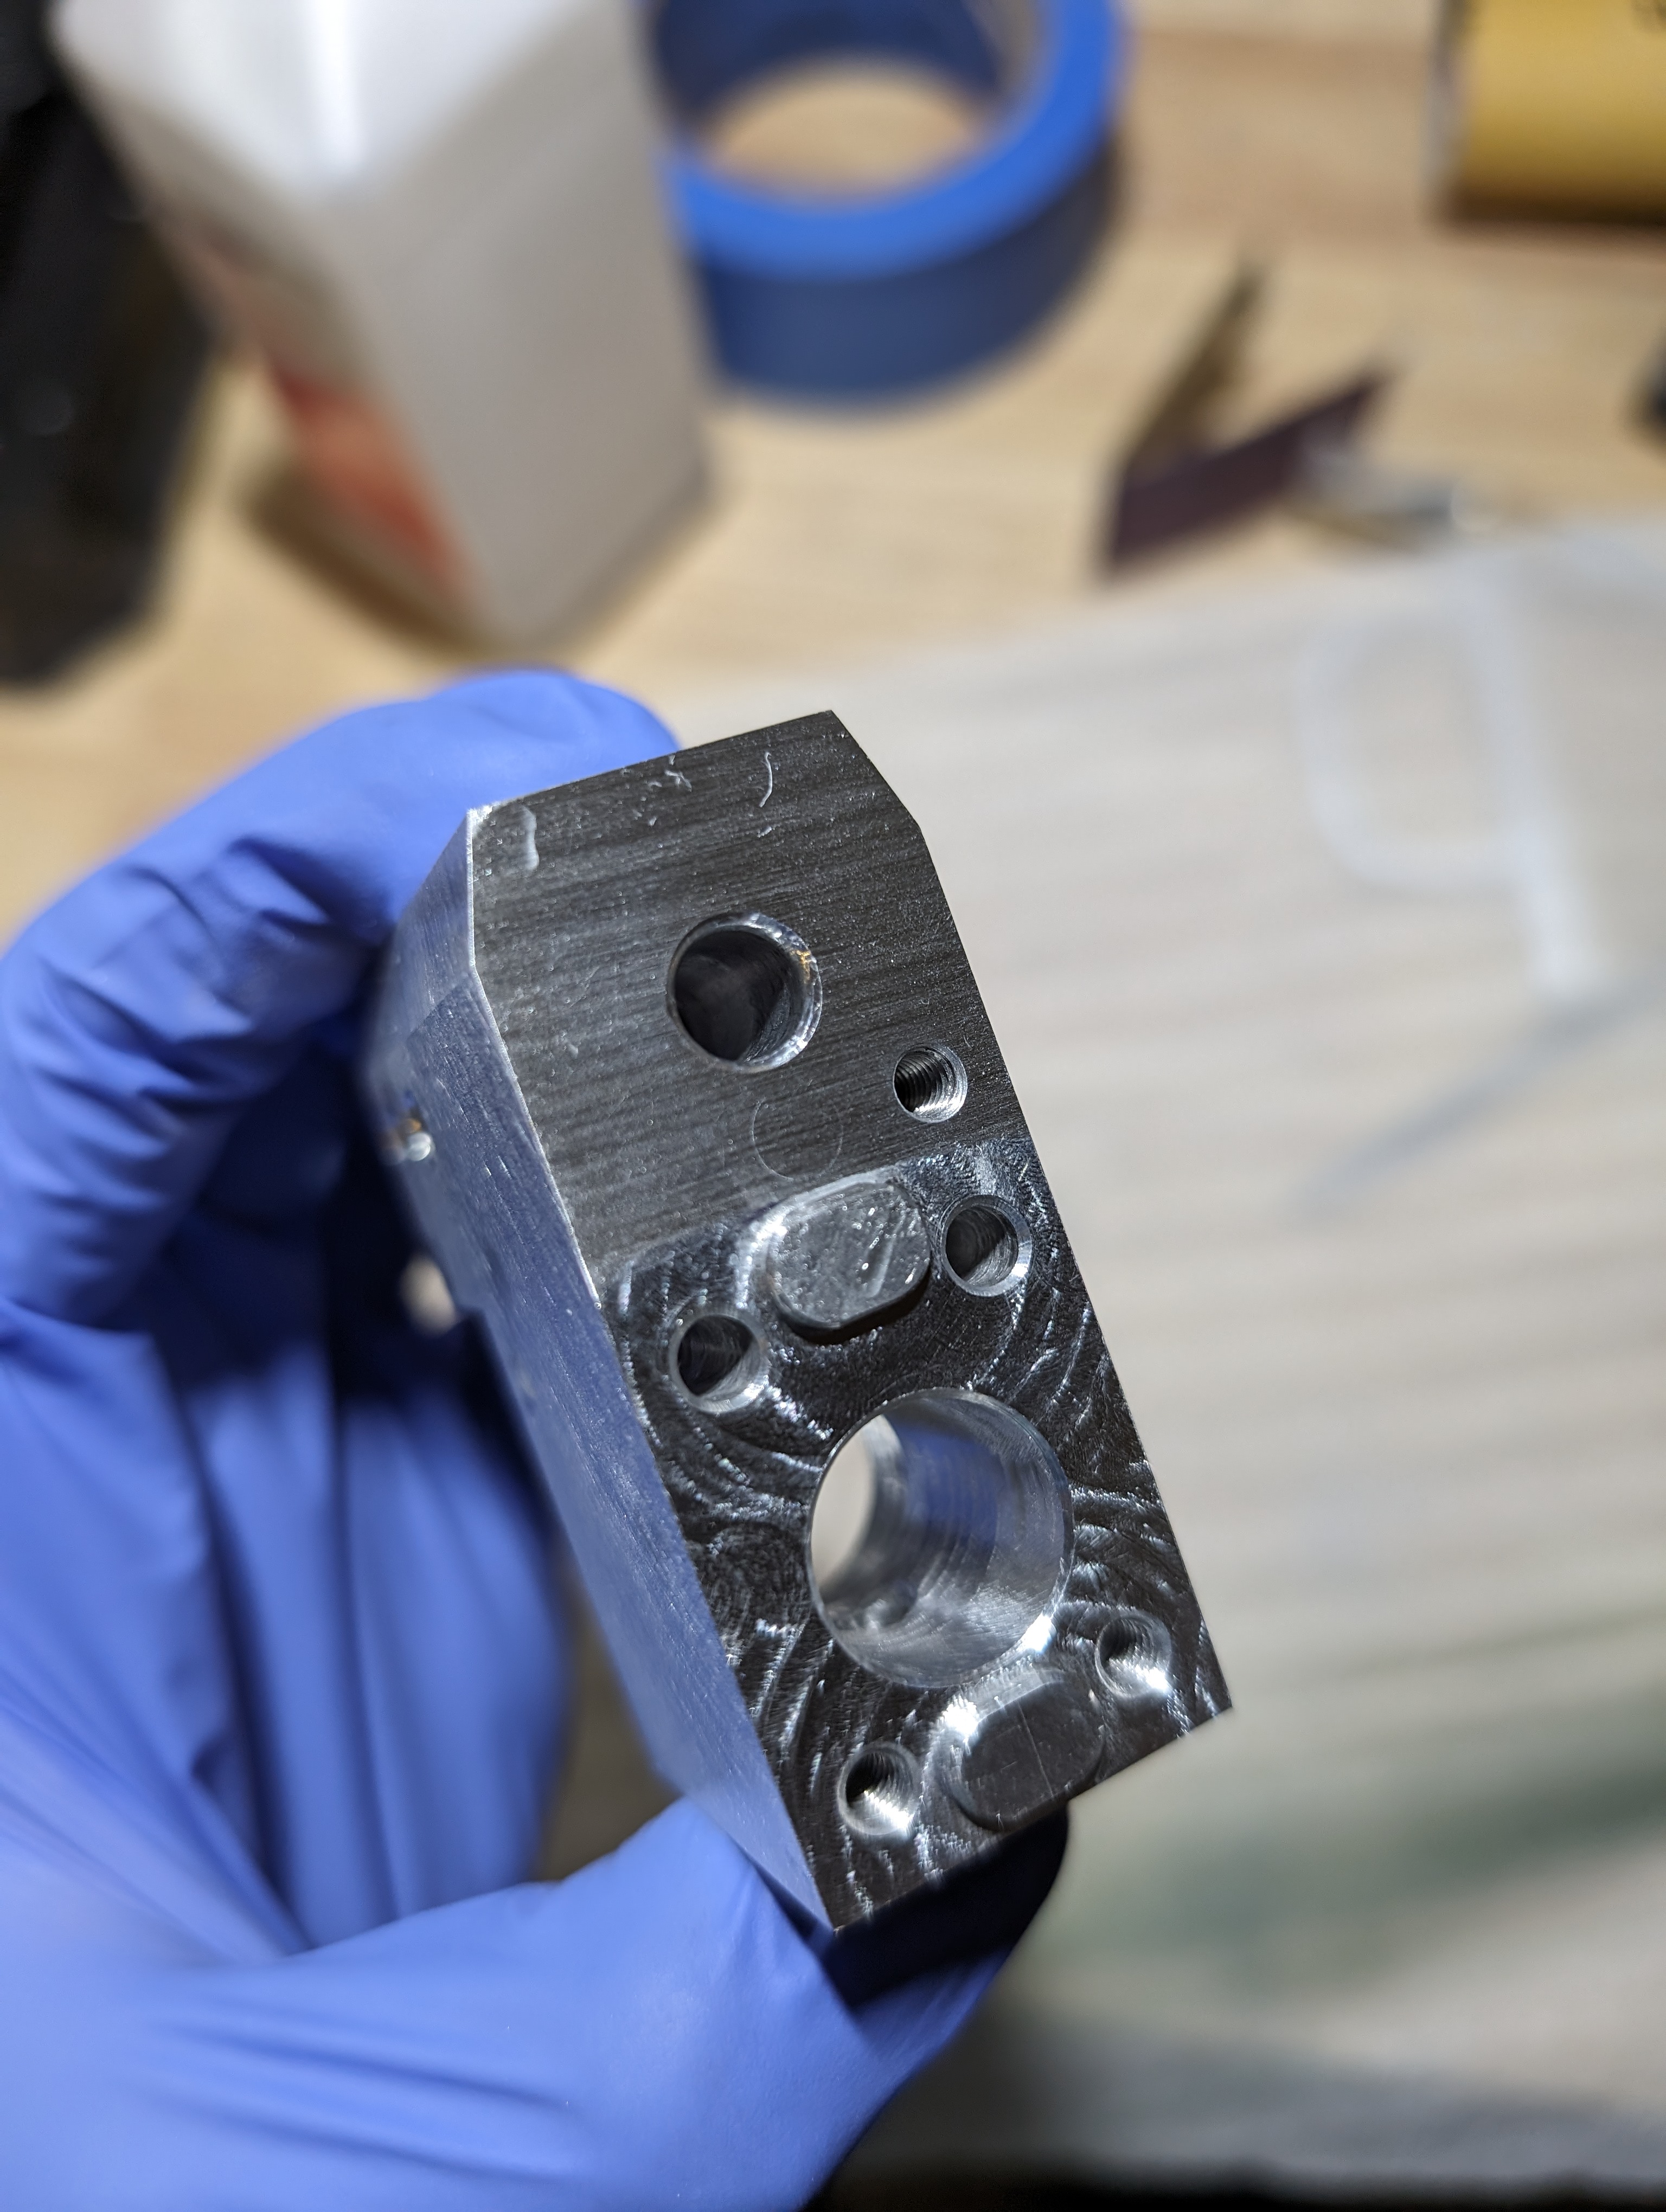
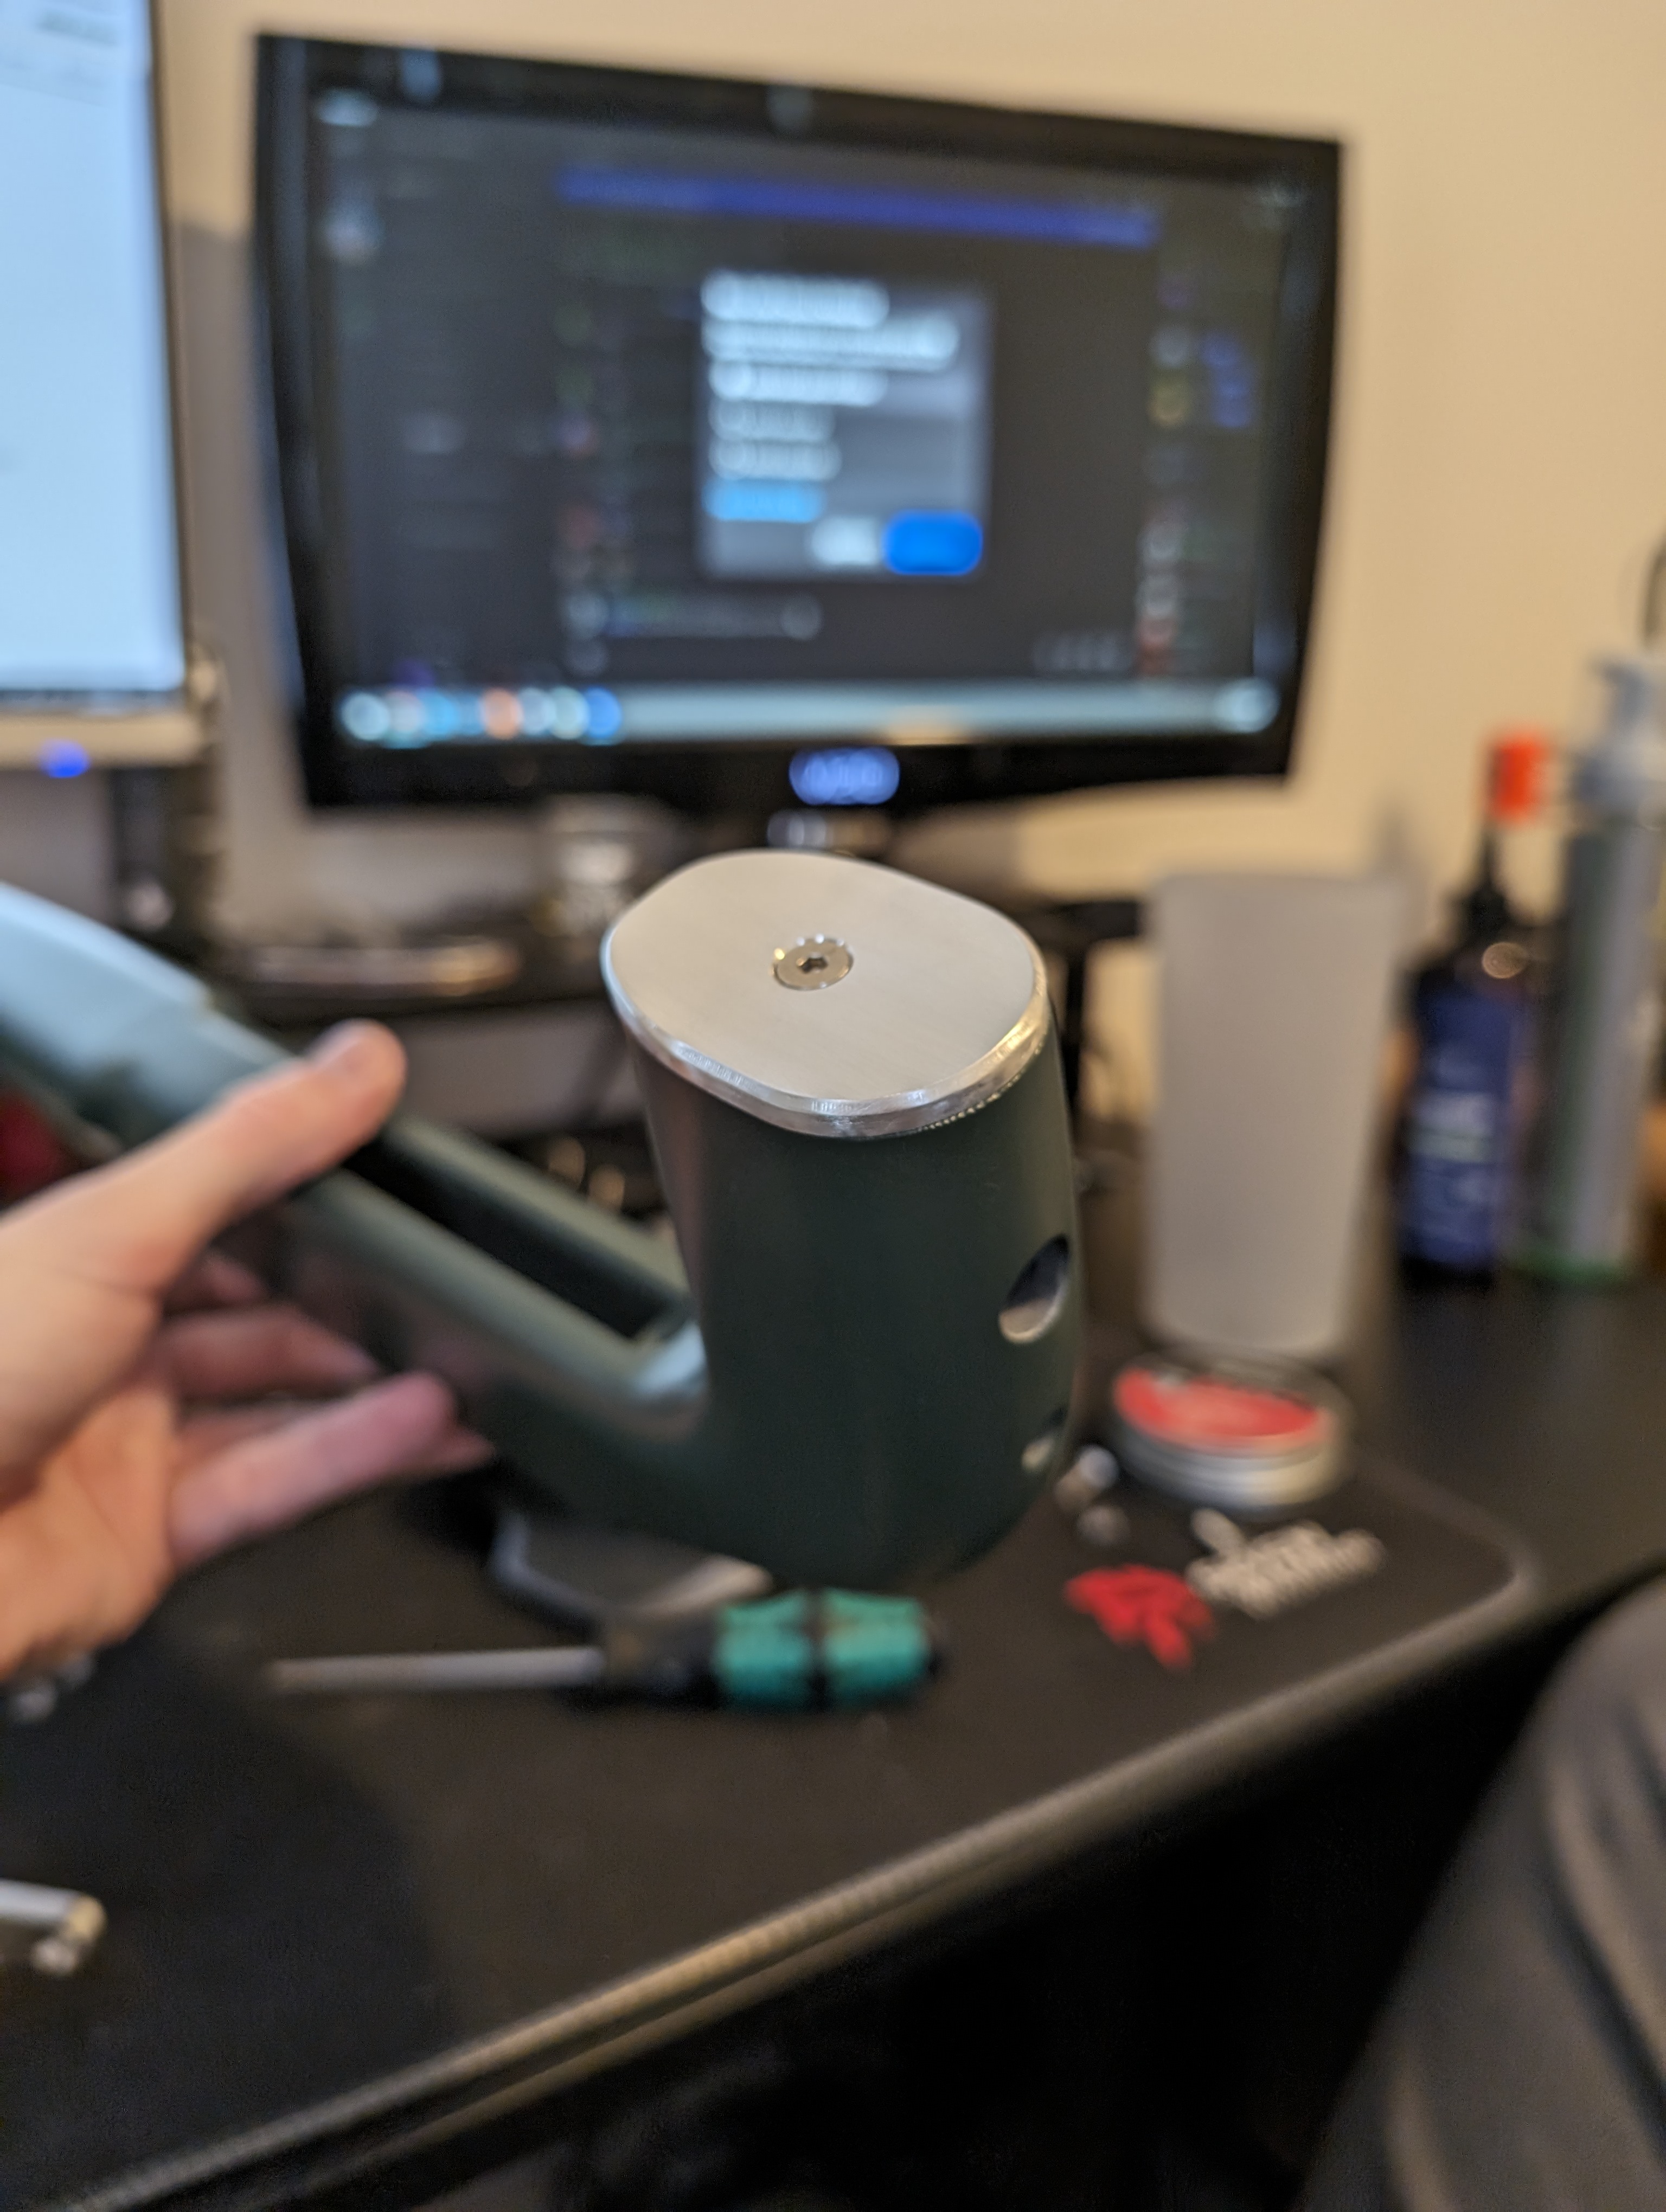
V1 front receiver with drill defect repair
V1 stock
Hammer turning on lathe
Auto-indexing magazine testing
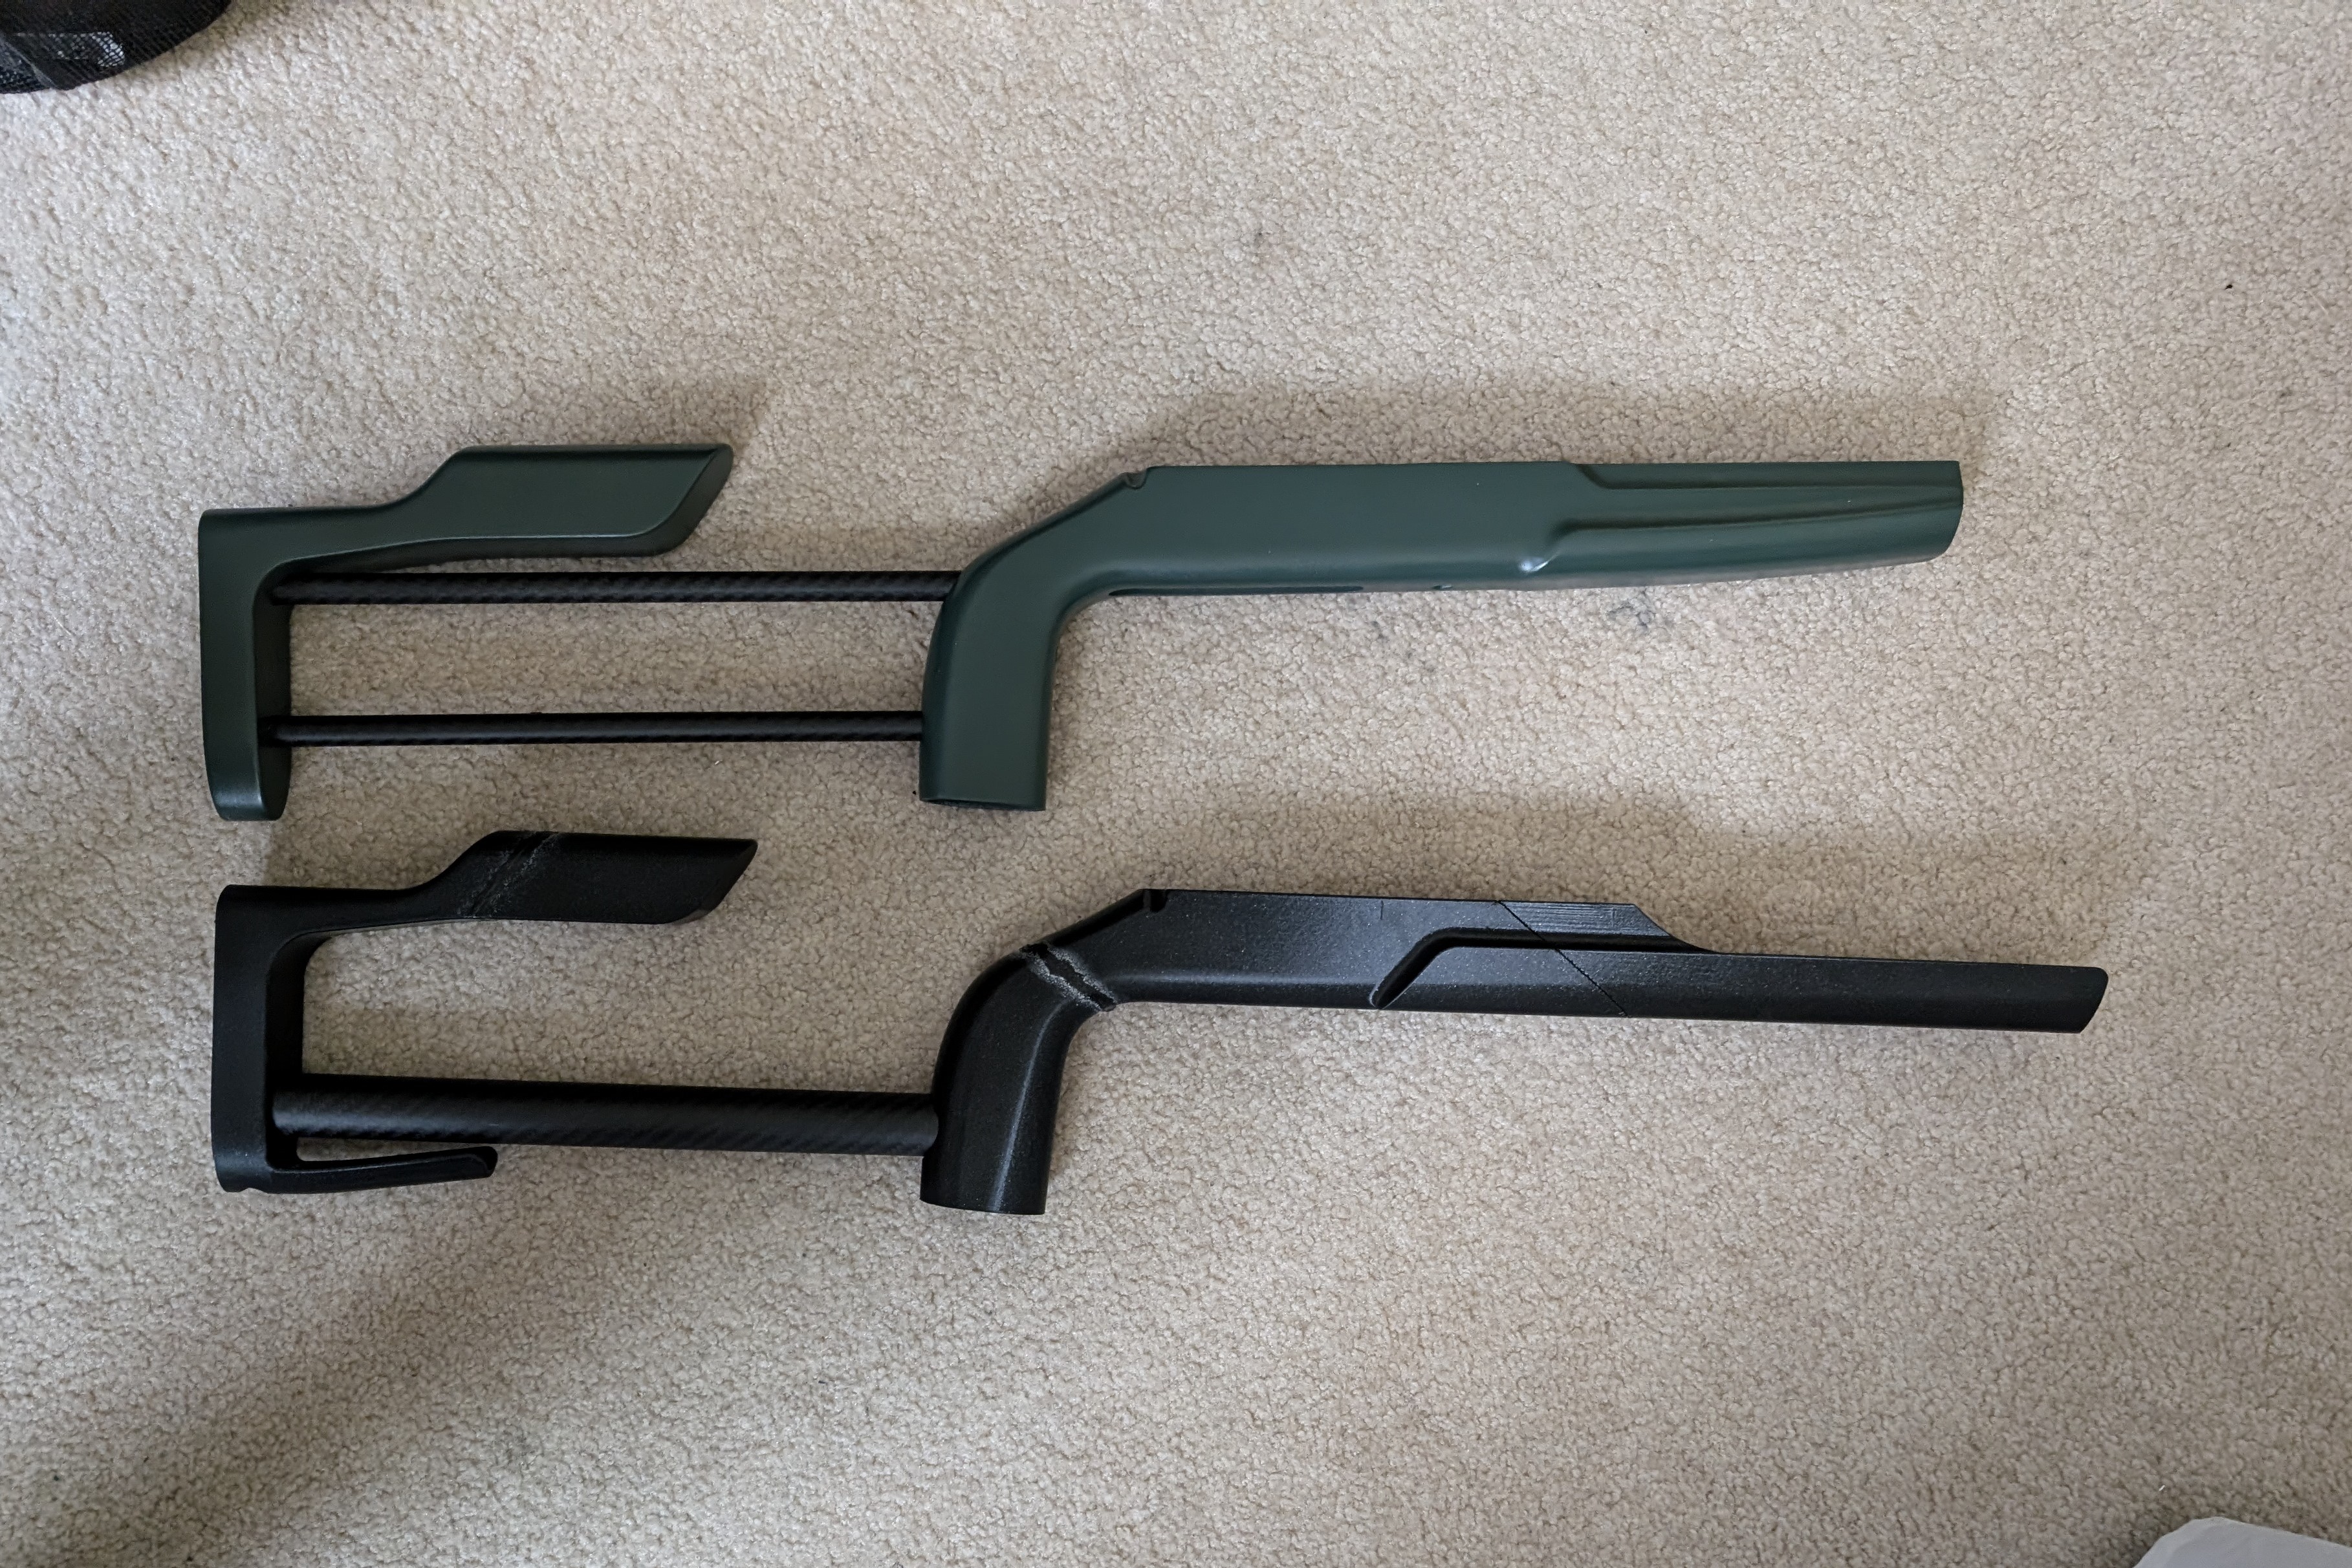
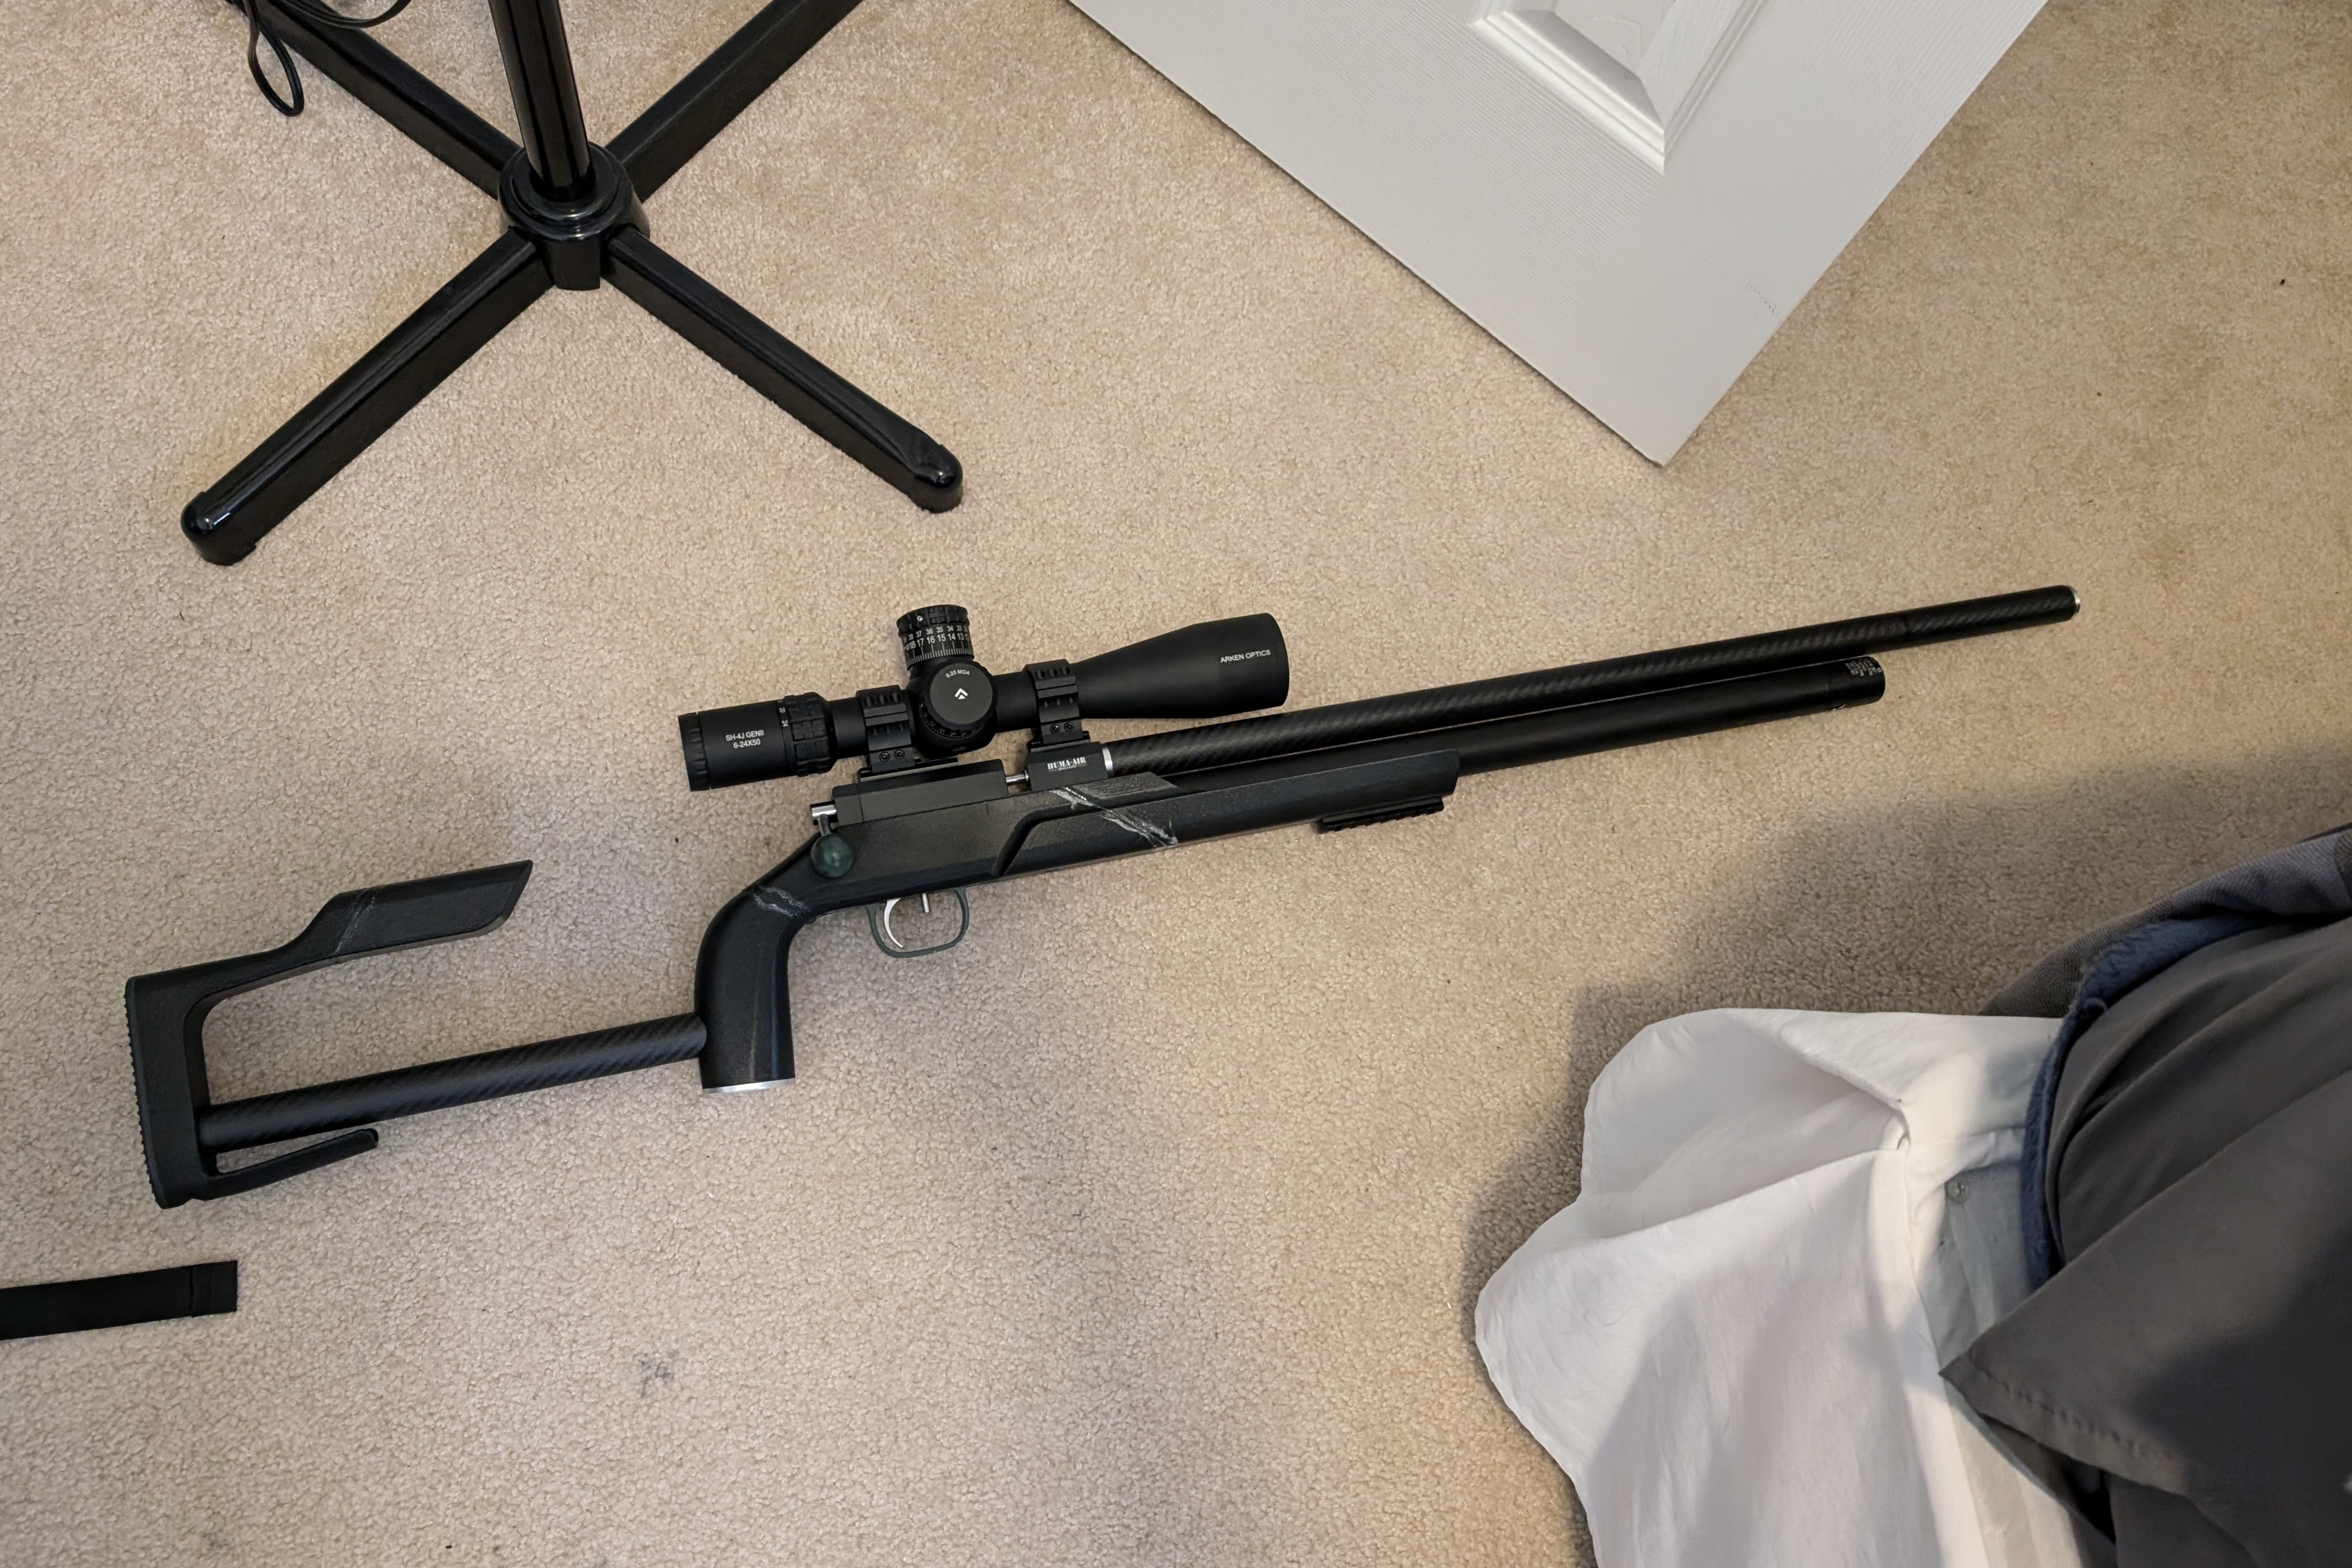
V2 vs V3 stock
V3 stock
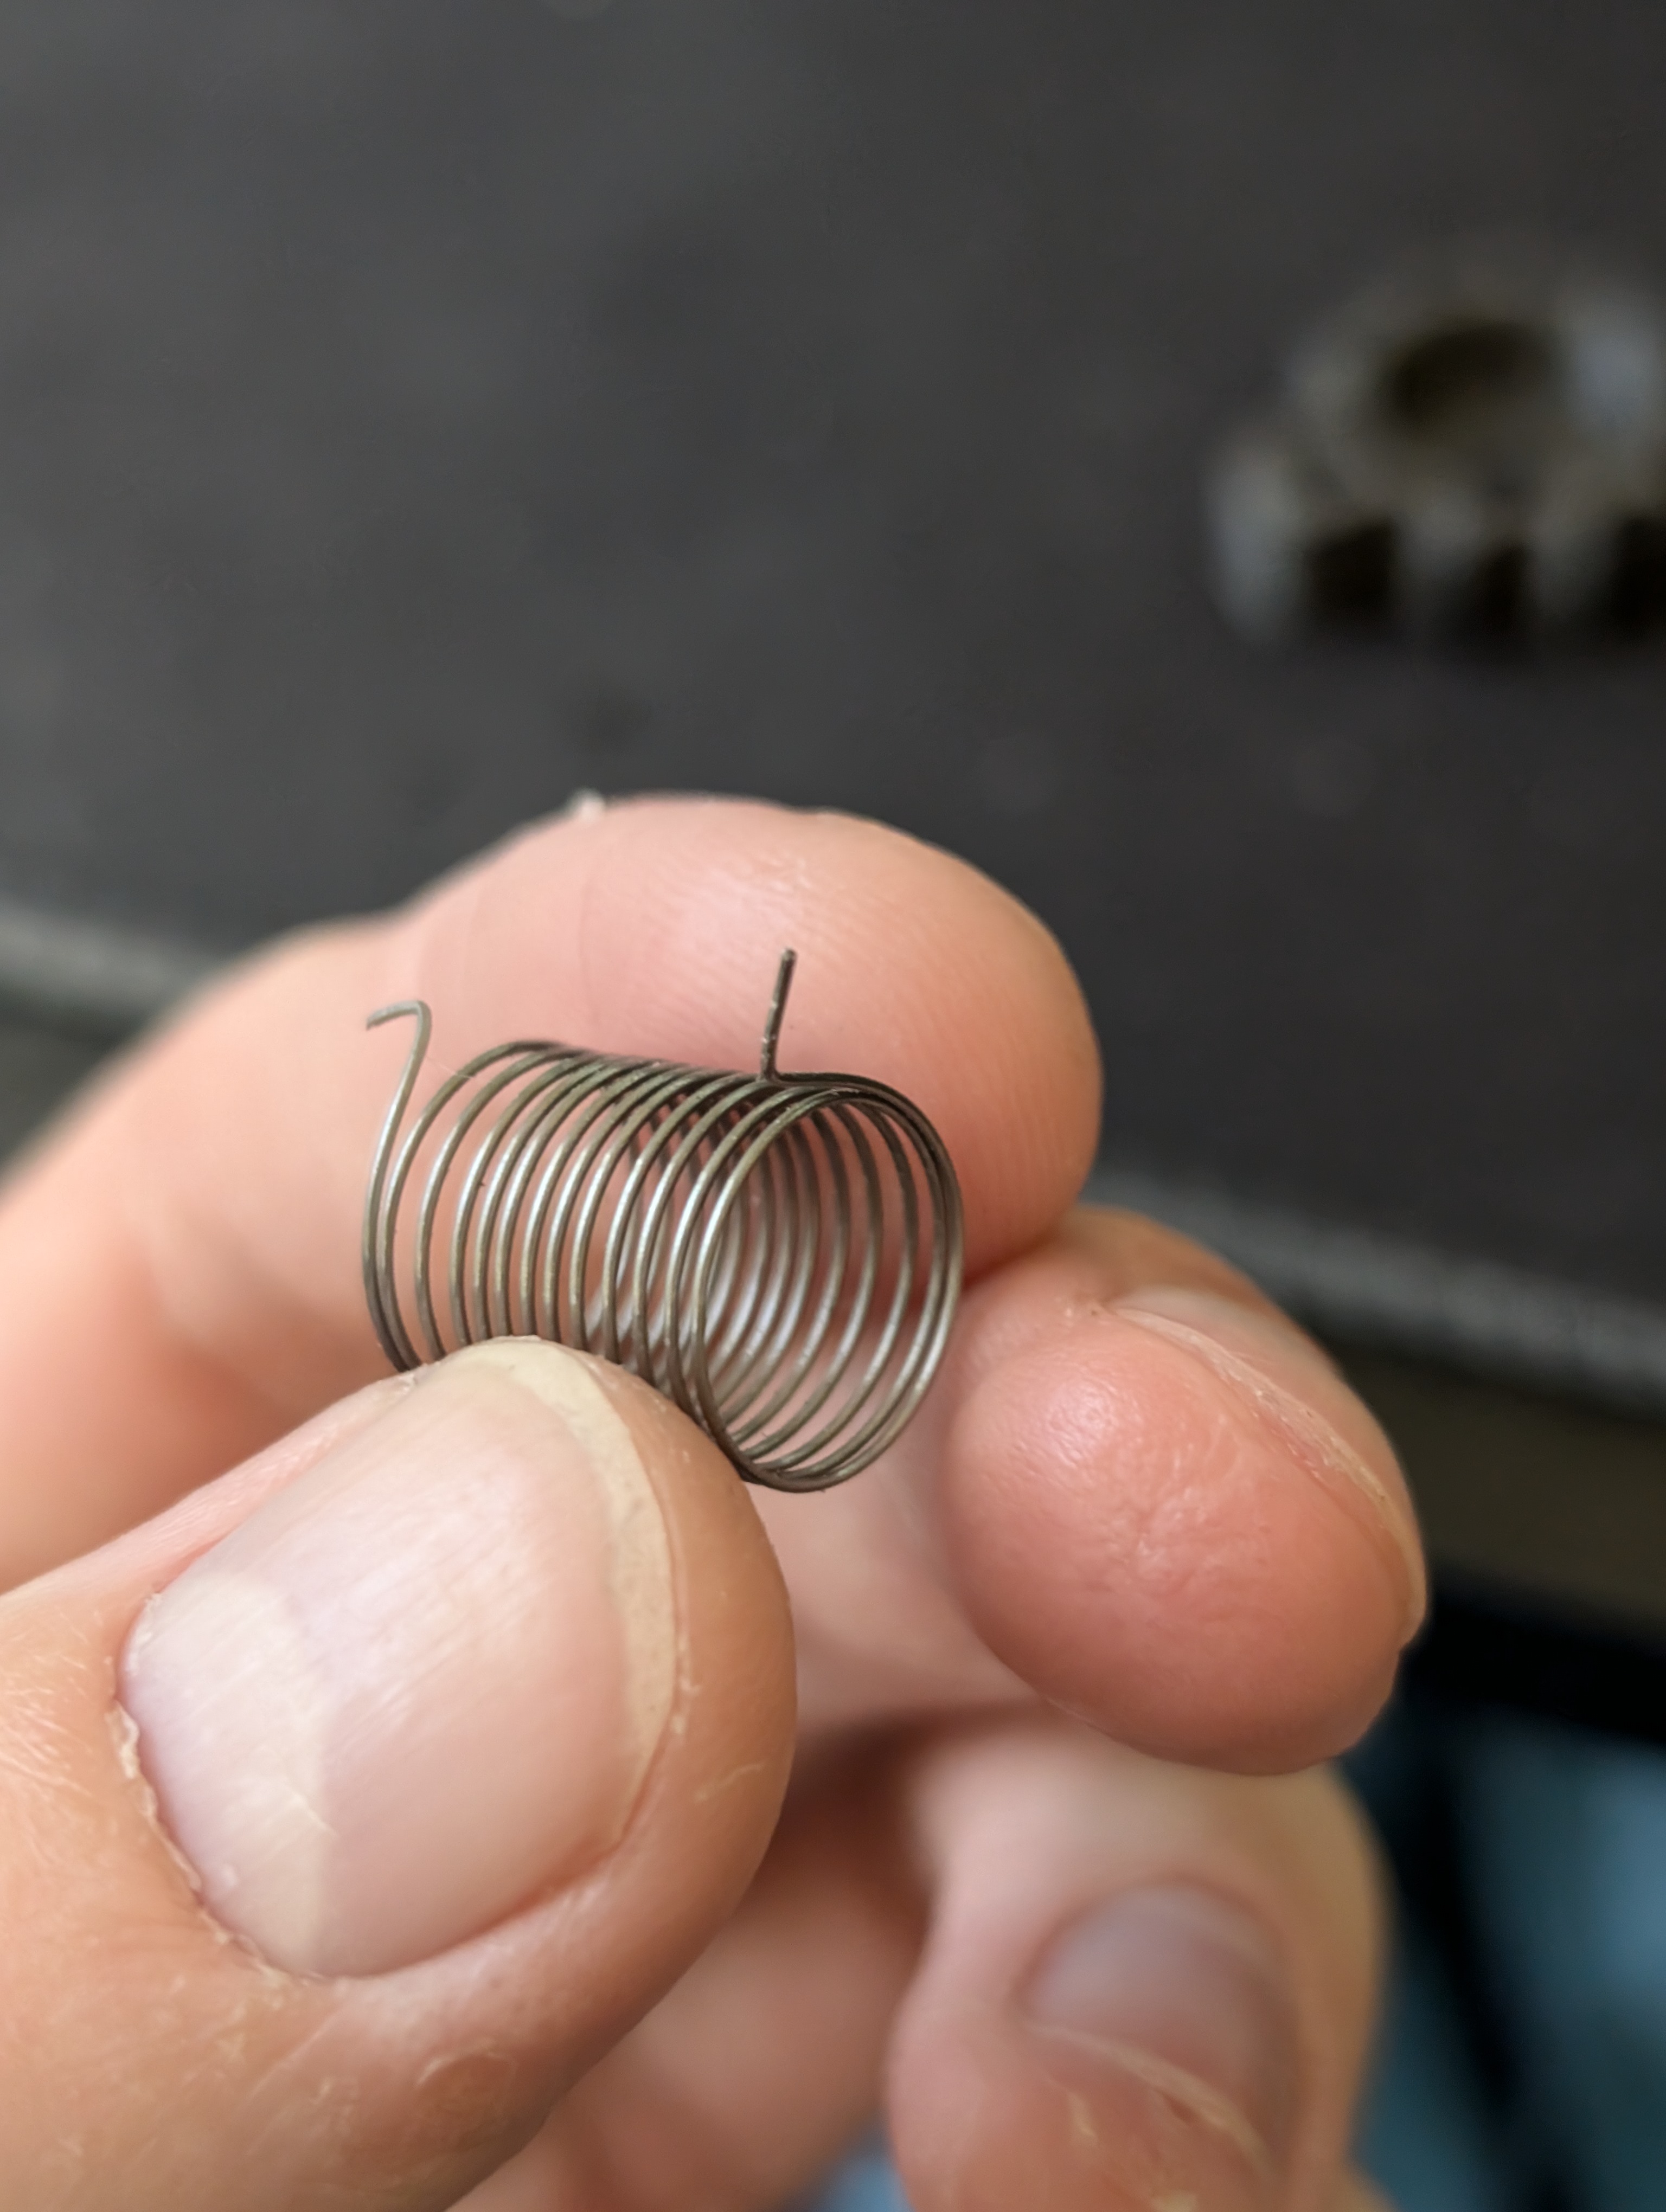
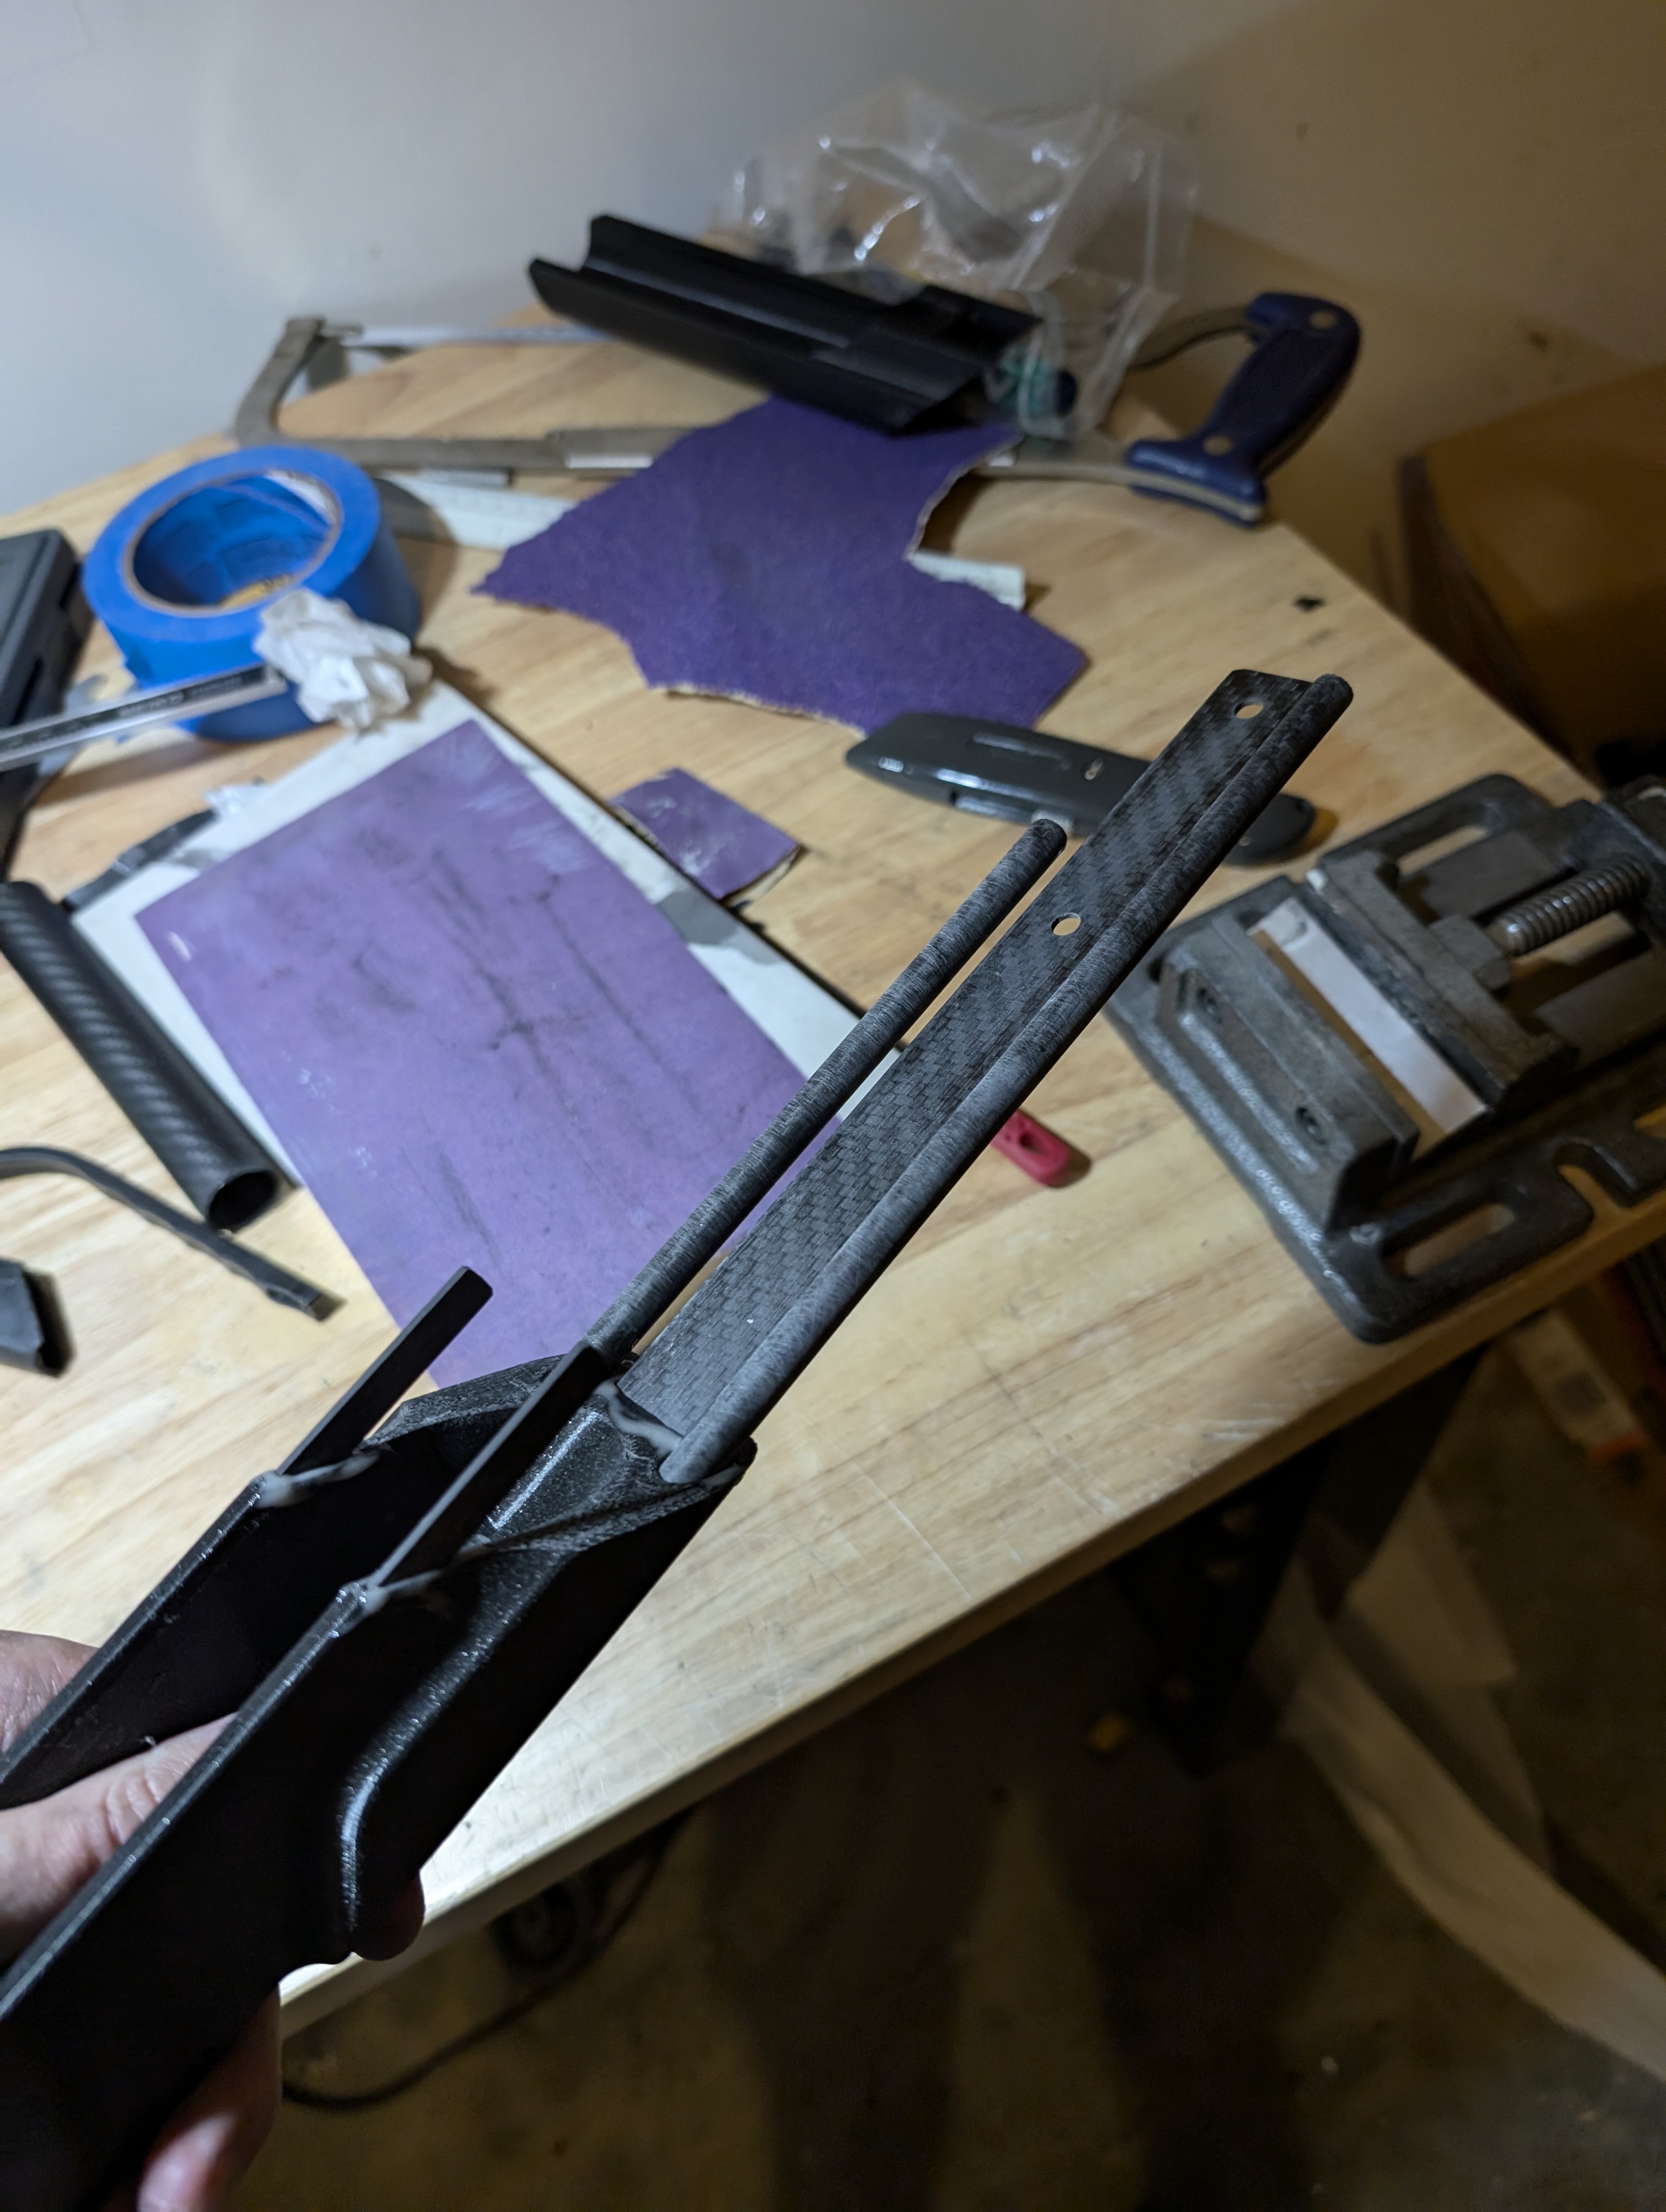
Custom magazine torsion spring using 0.016" spring wire
Gluing V3 stock together
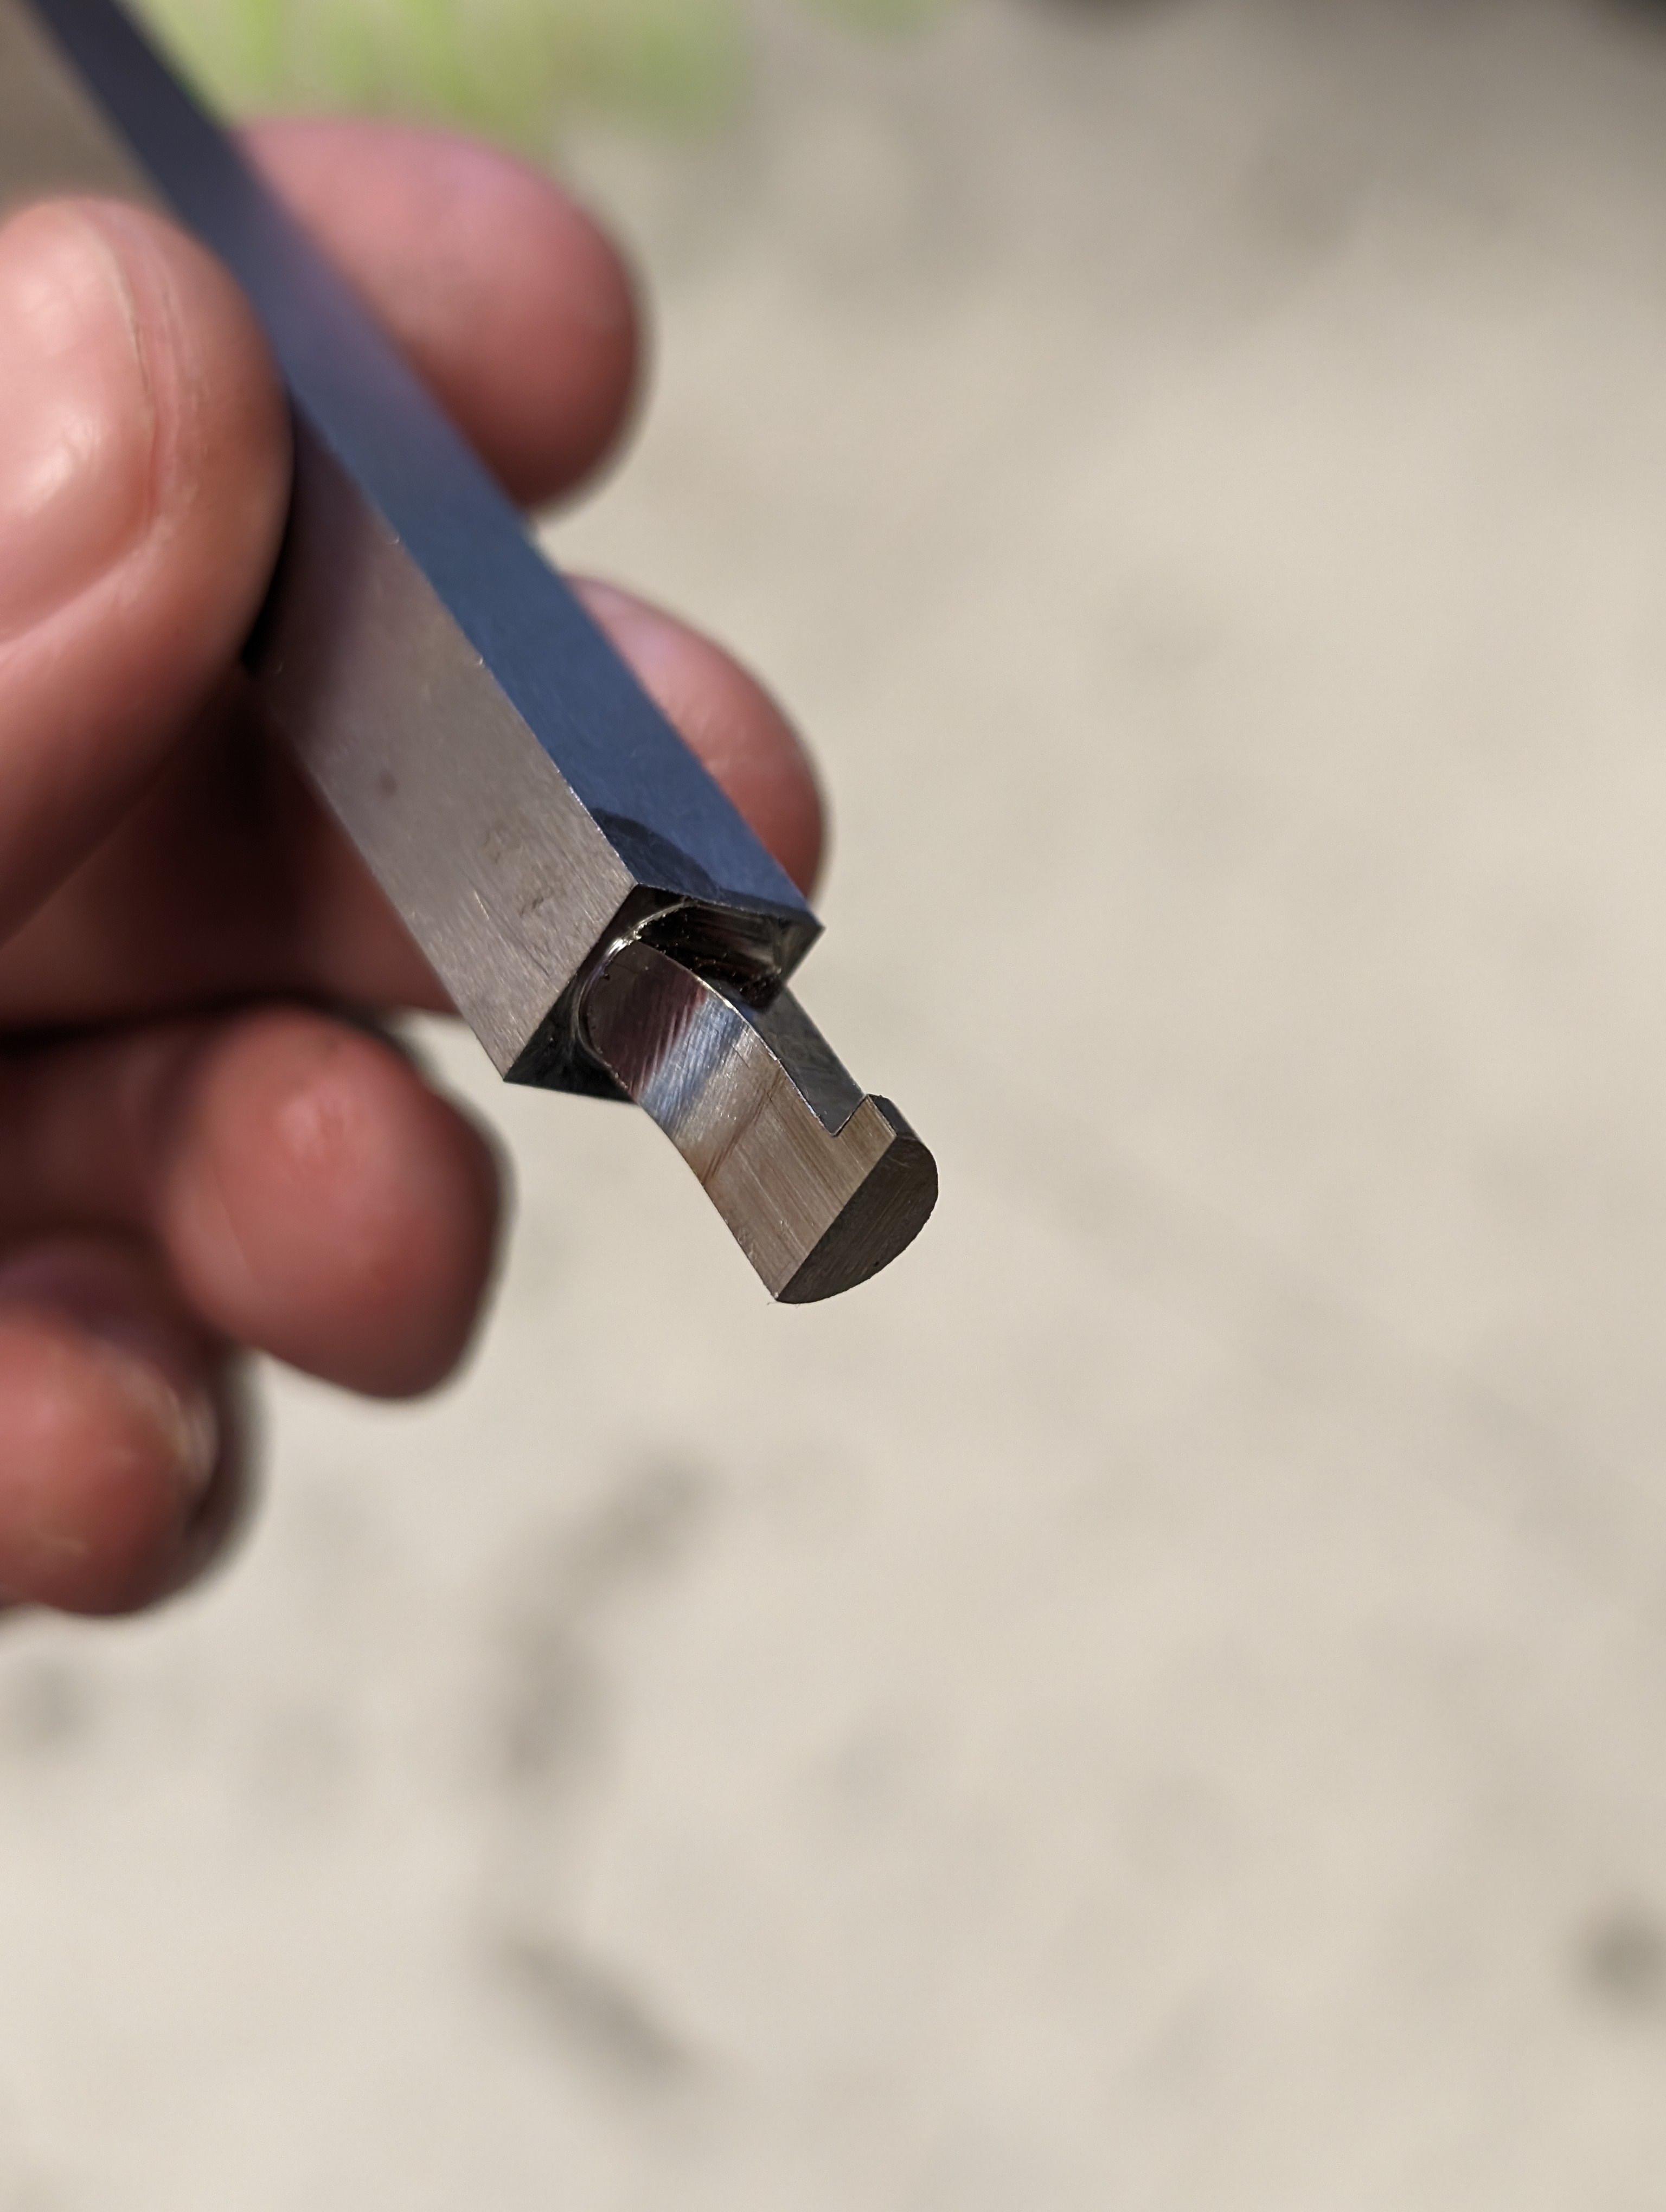
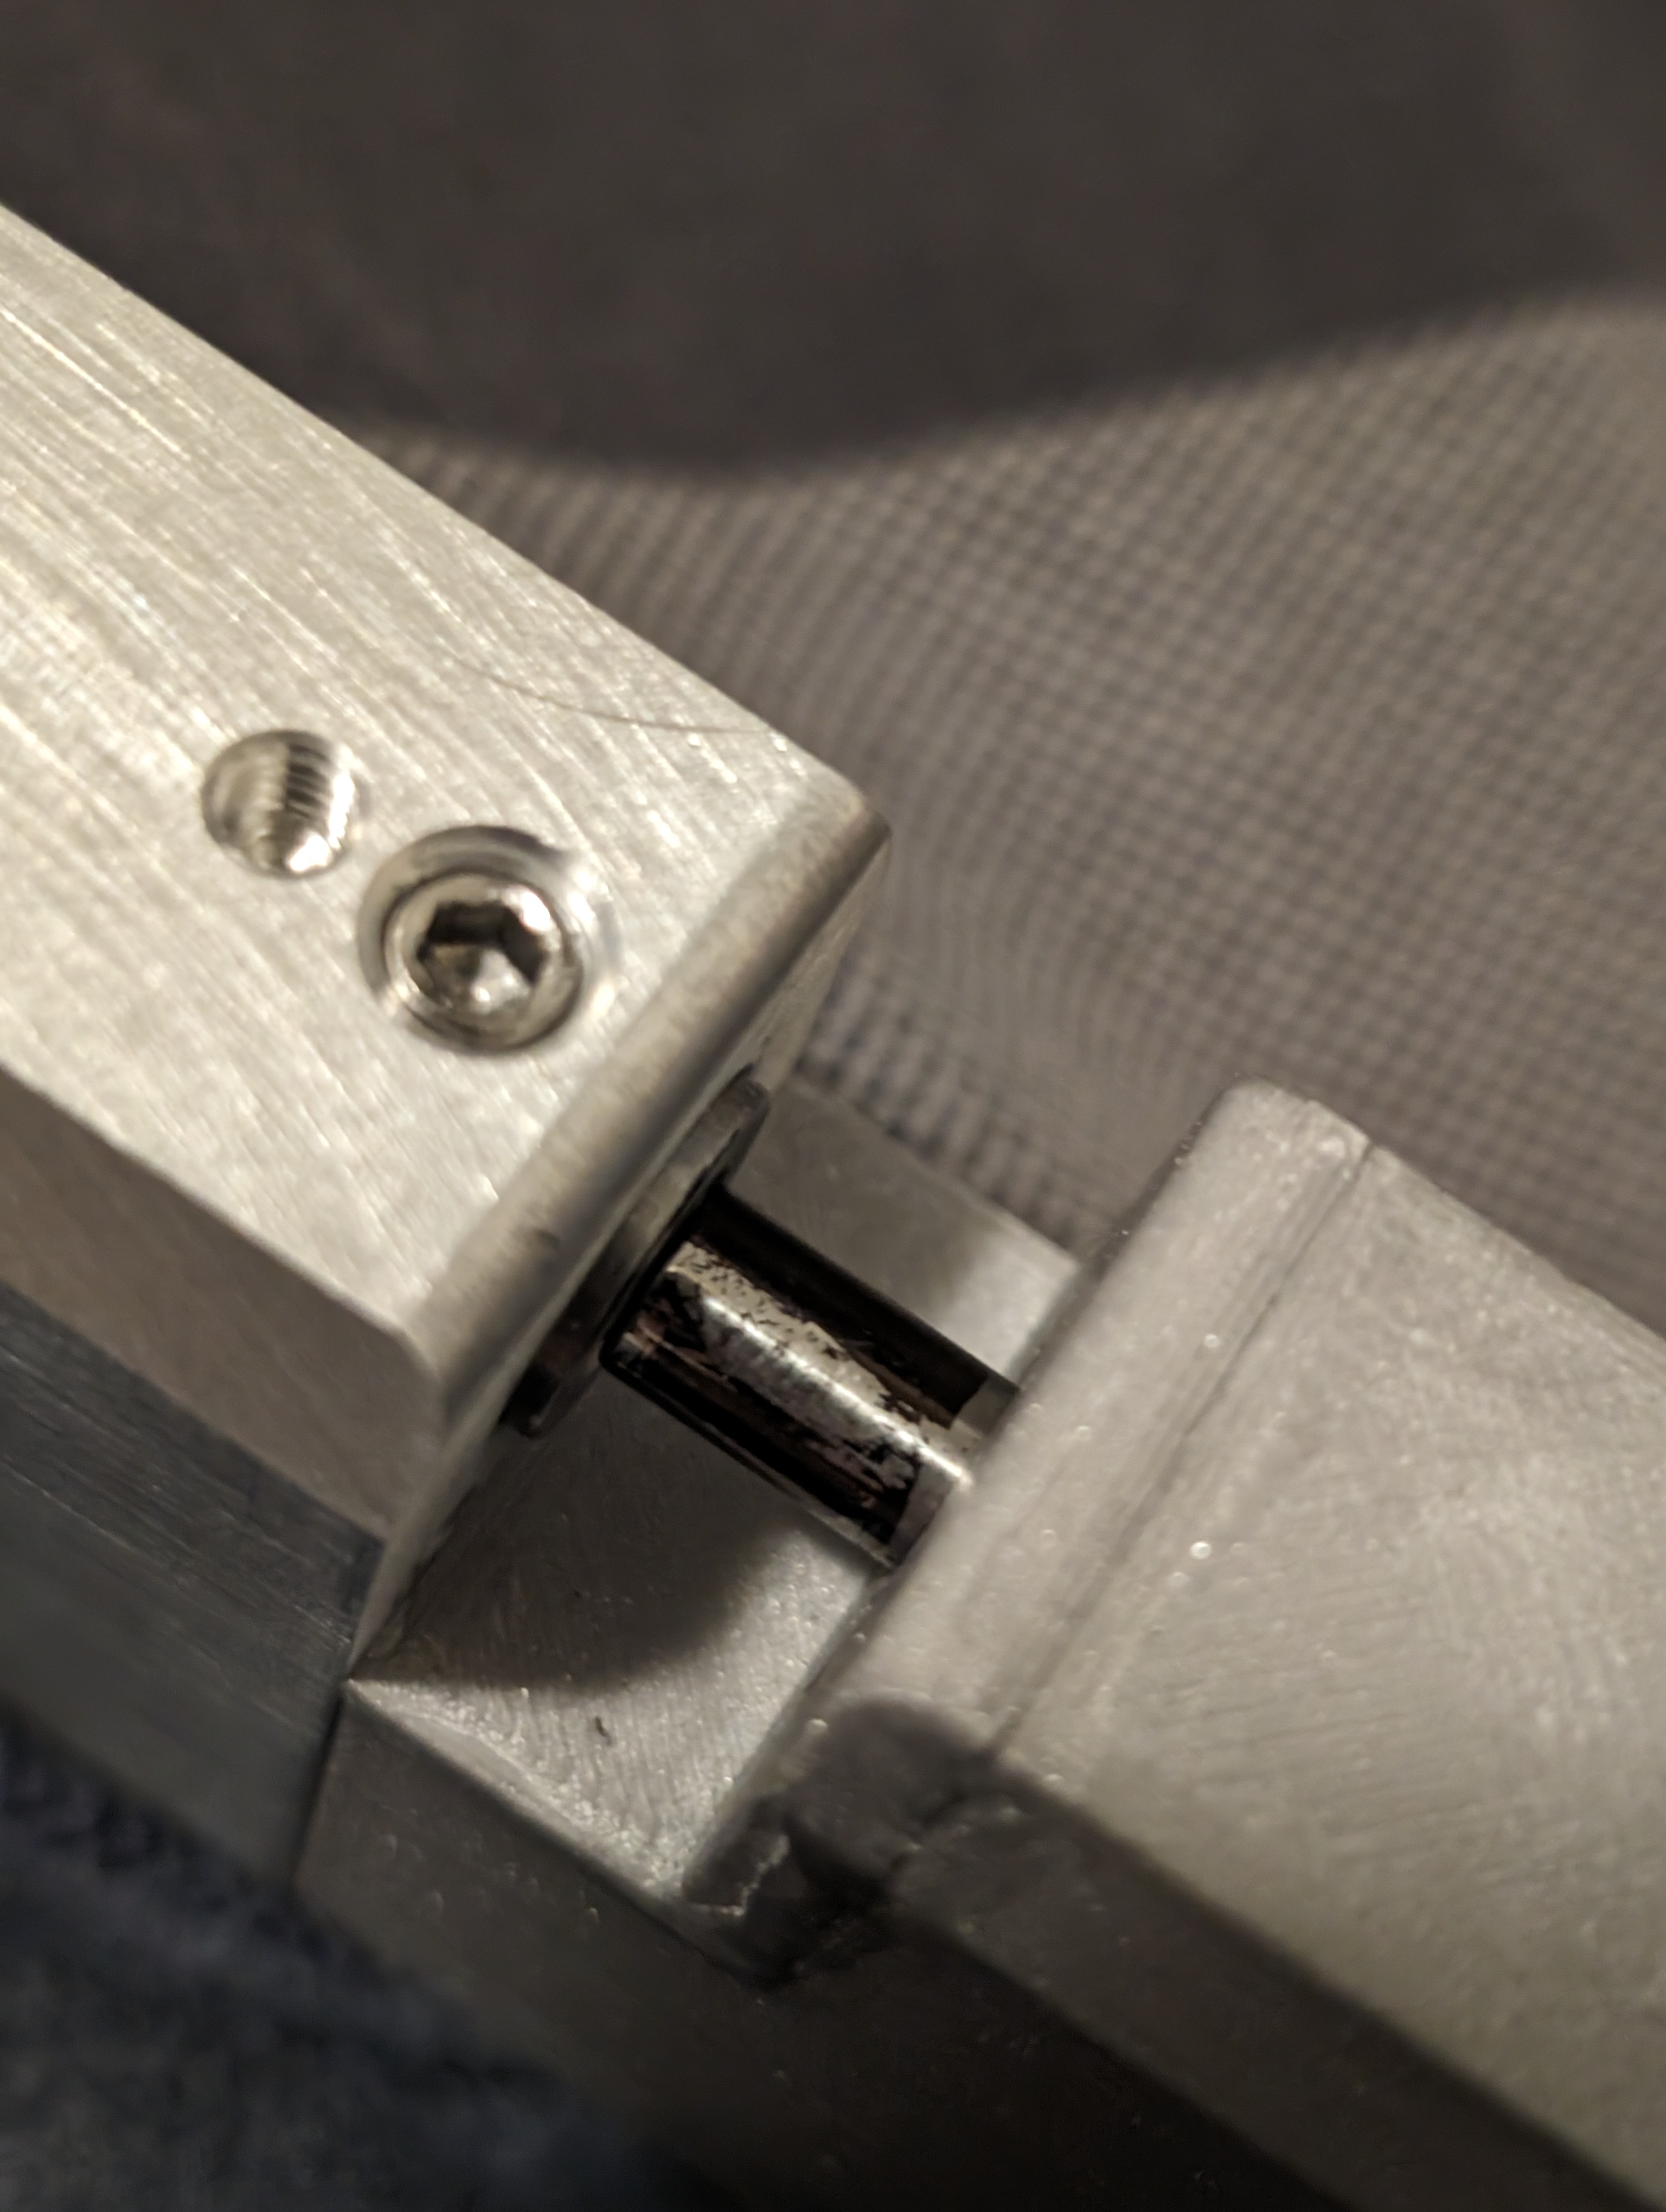
Custom internal O-ring grooving tool for barrel breech seal made from 5/16" HSS lathe tool blank using CNC router
Aligning bolt and barrel breech
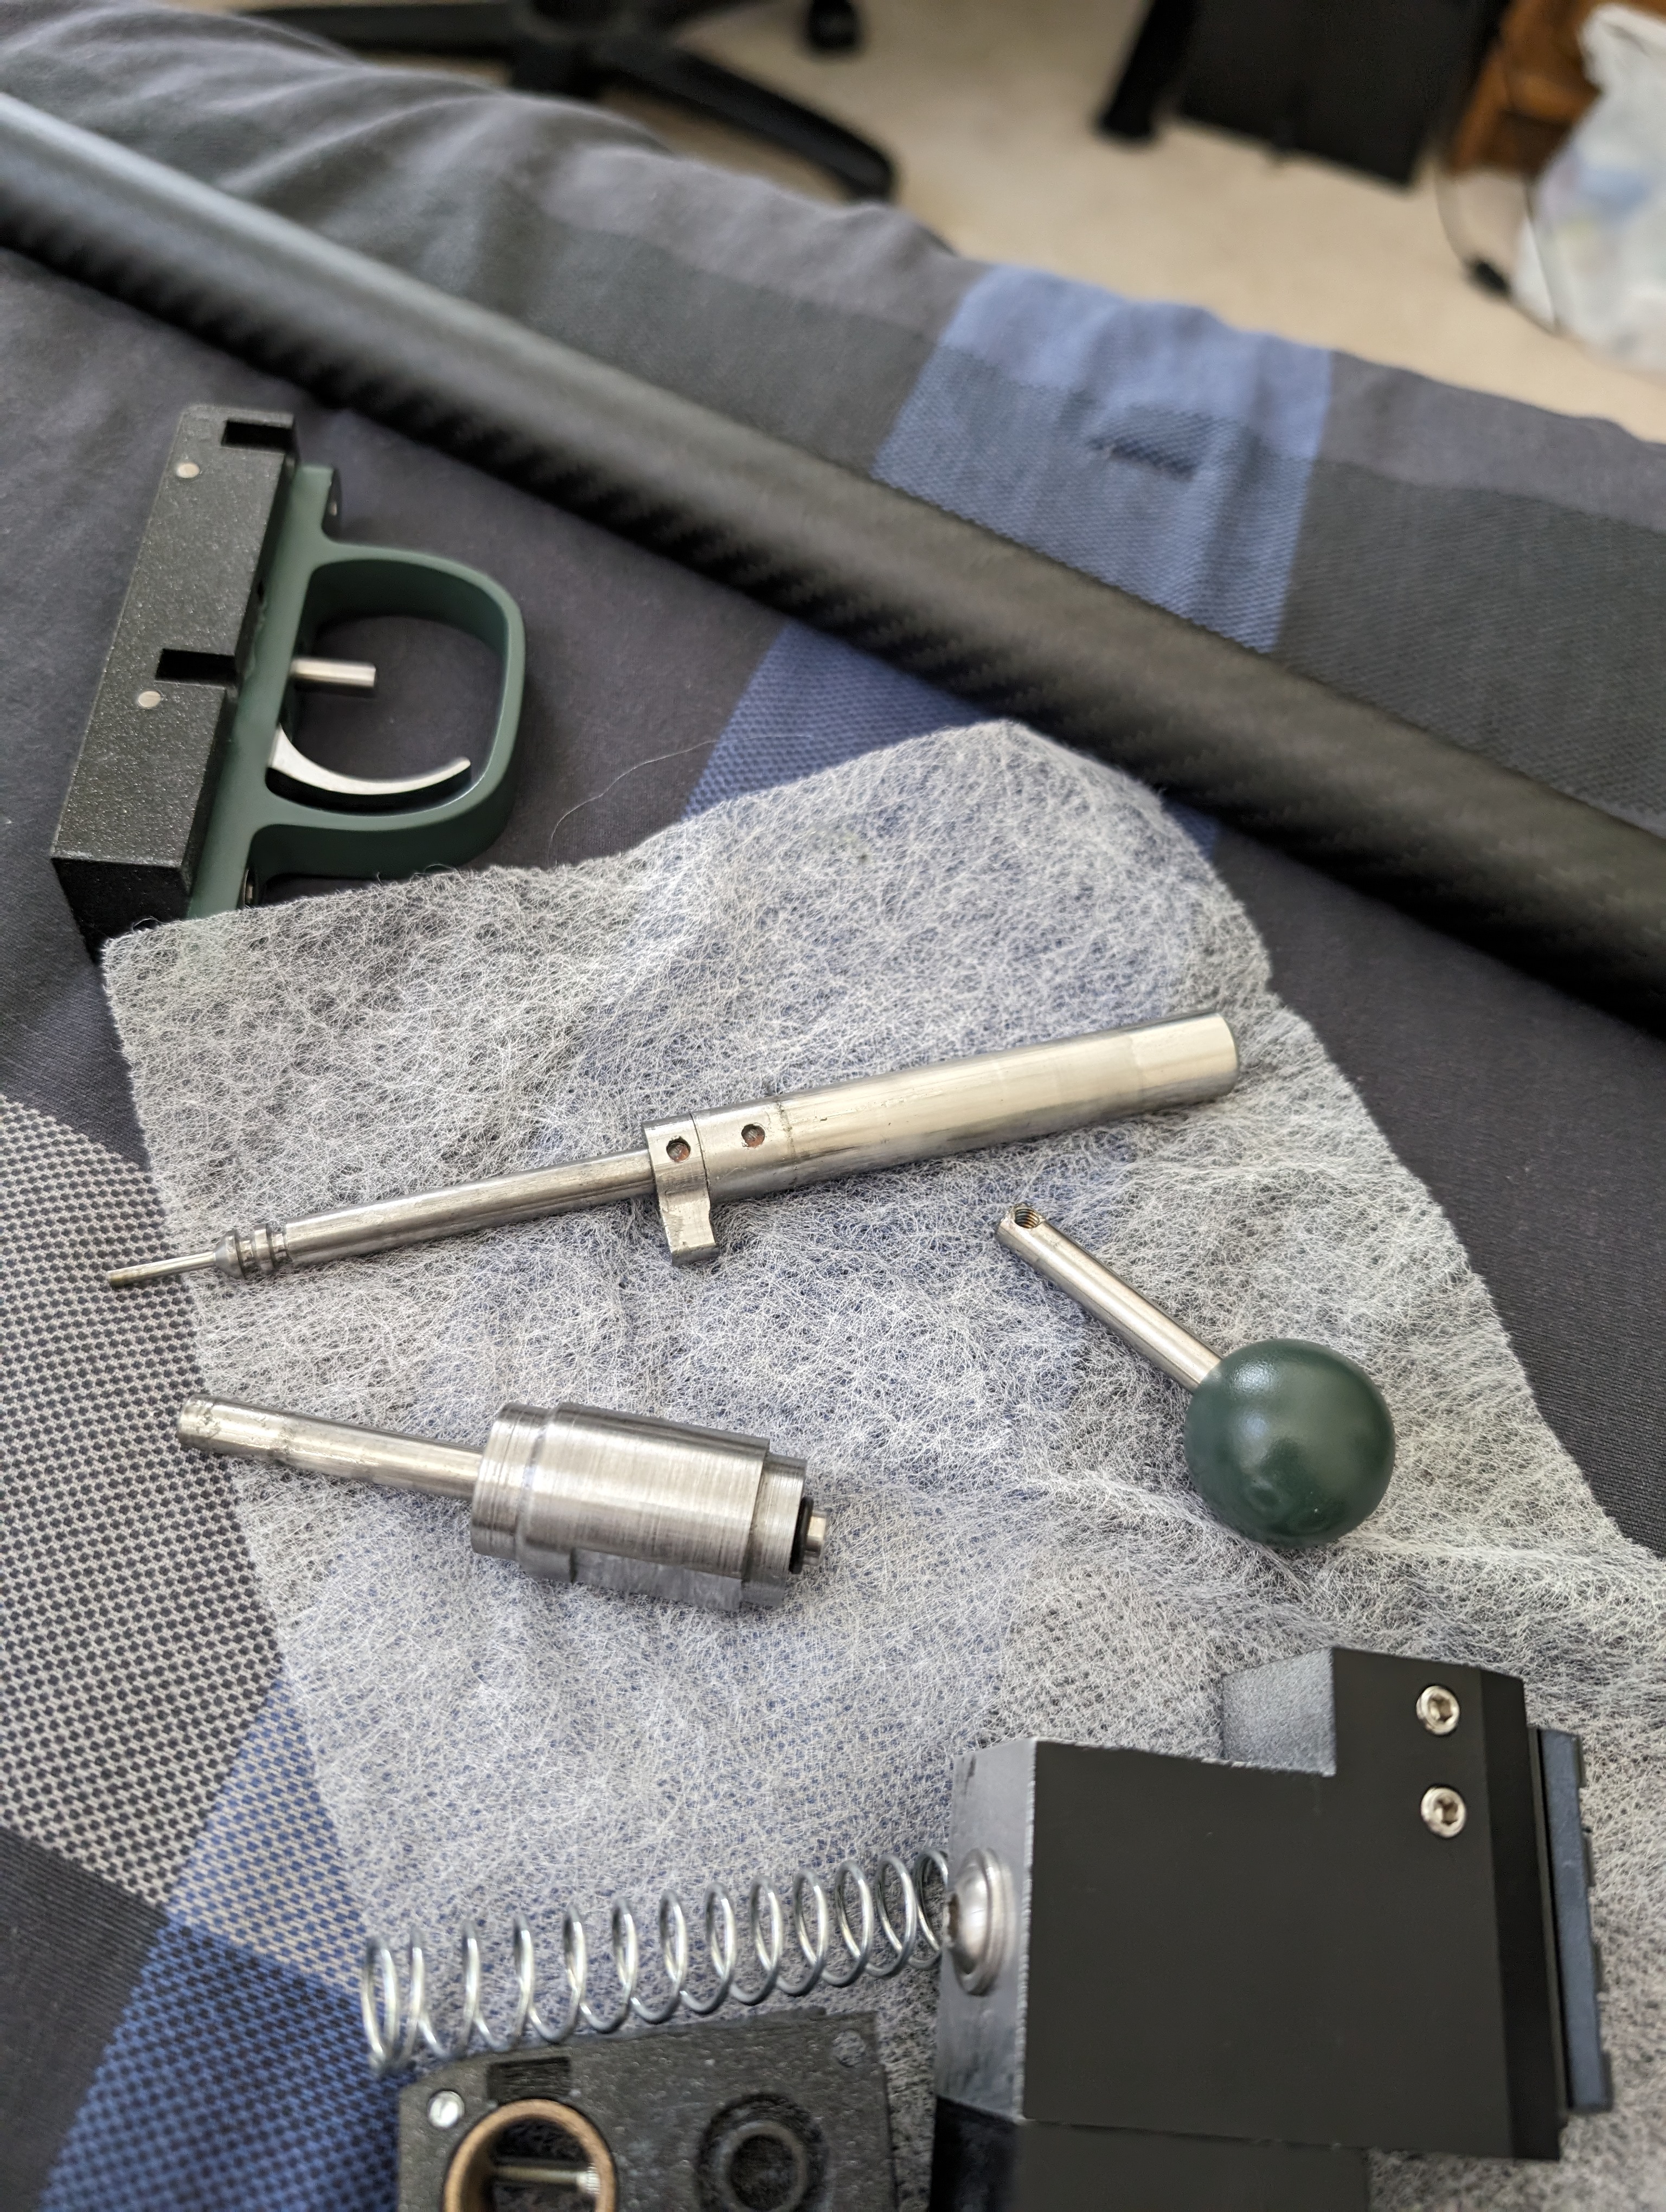
Parts from V1
V1 suppressor (missing shroud) that was really quiet but ruined the accuracy
Final Product
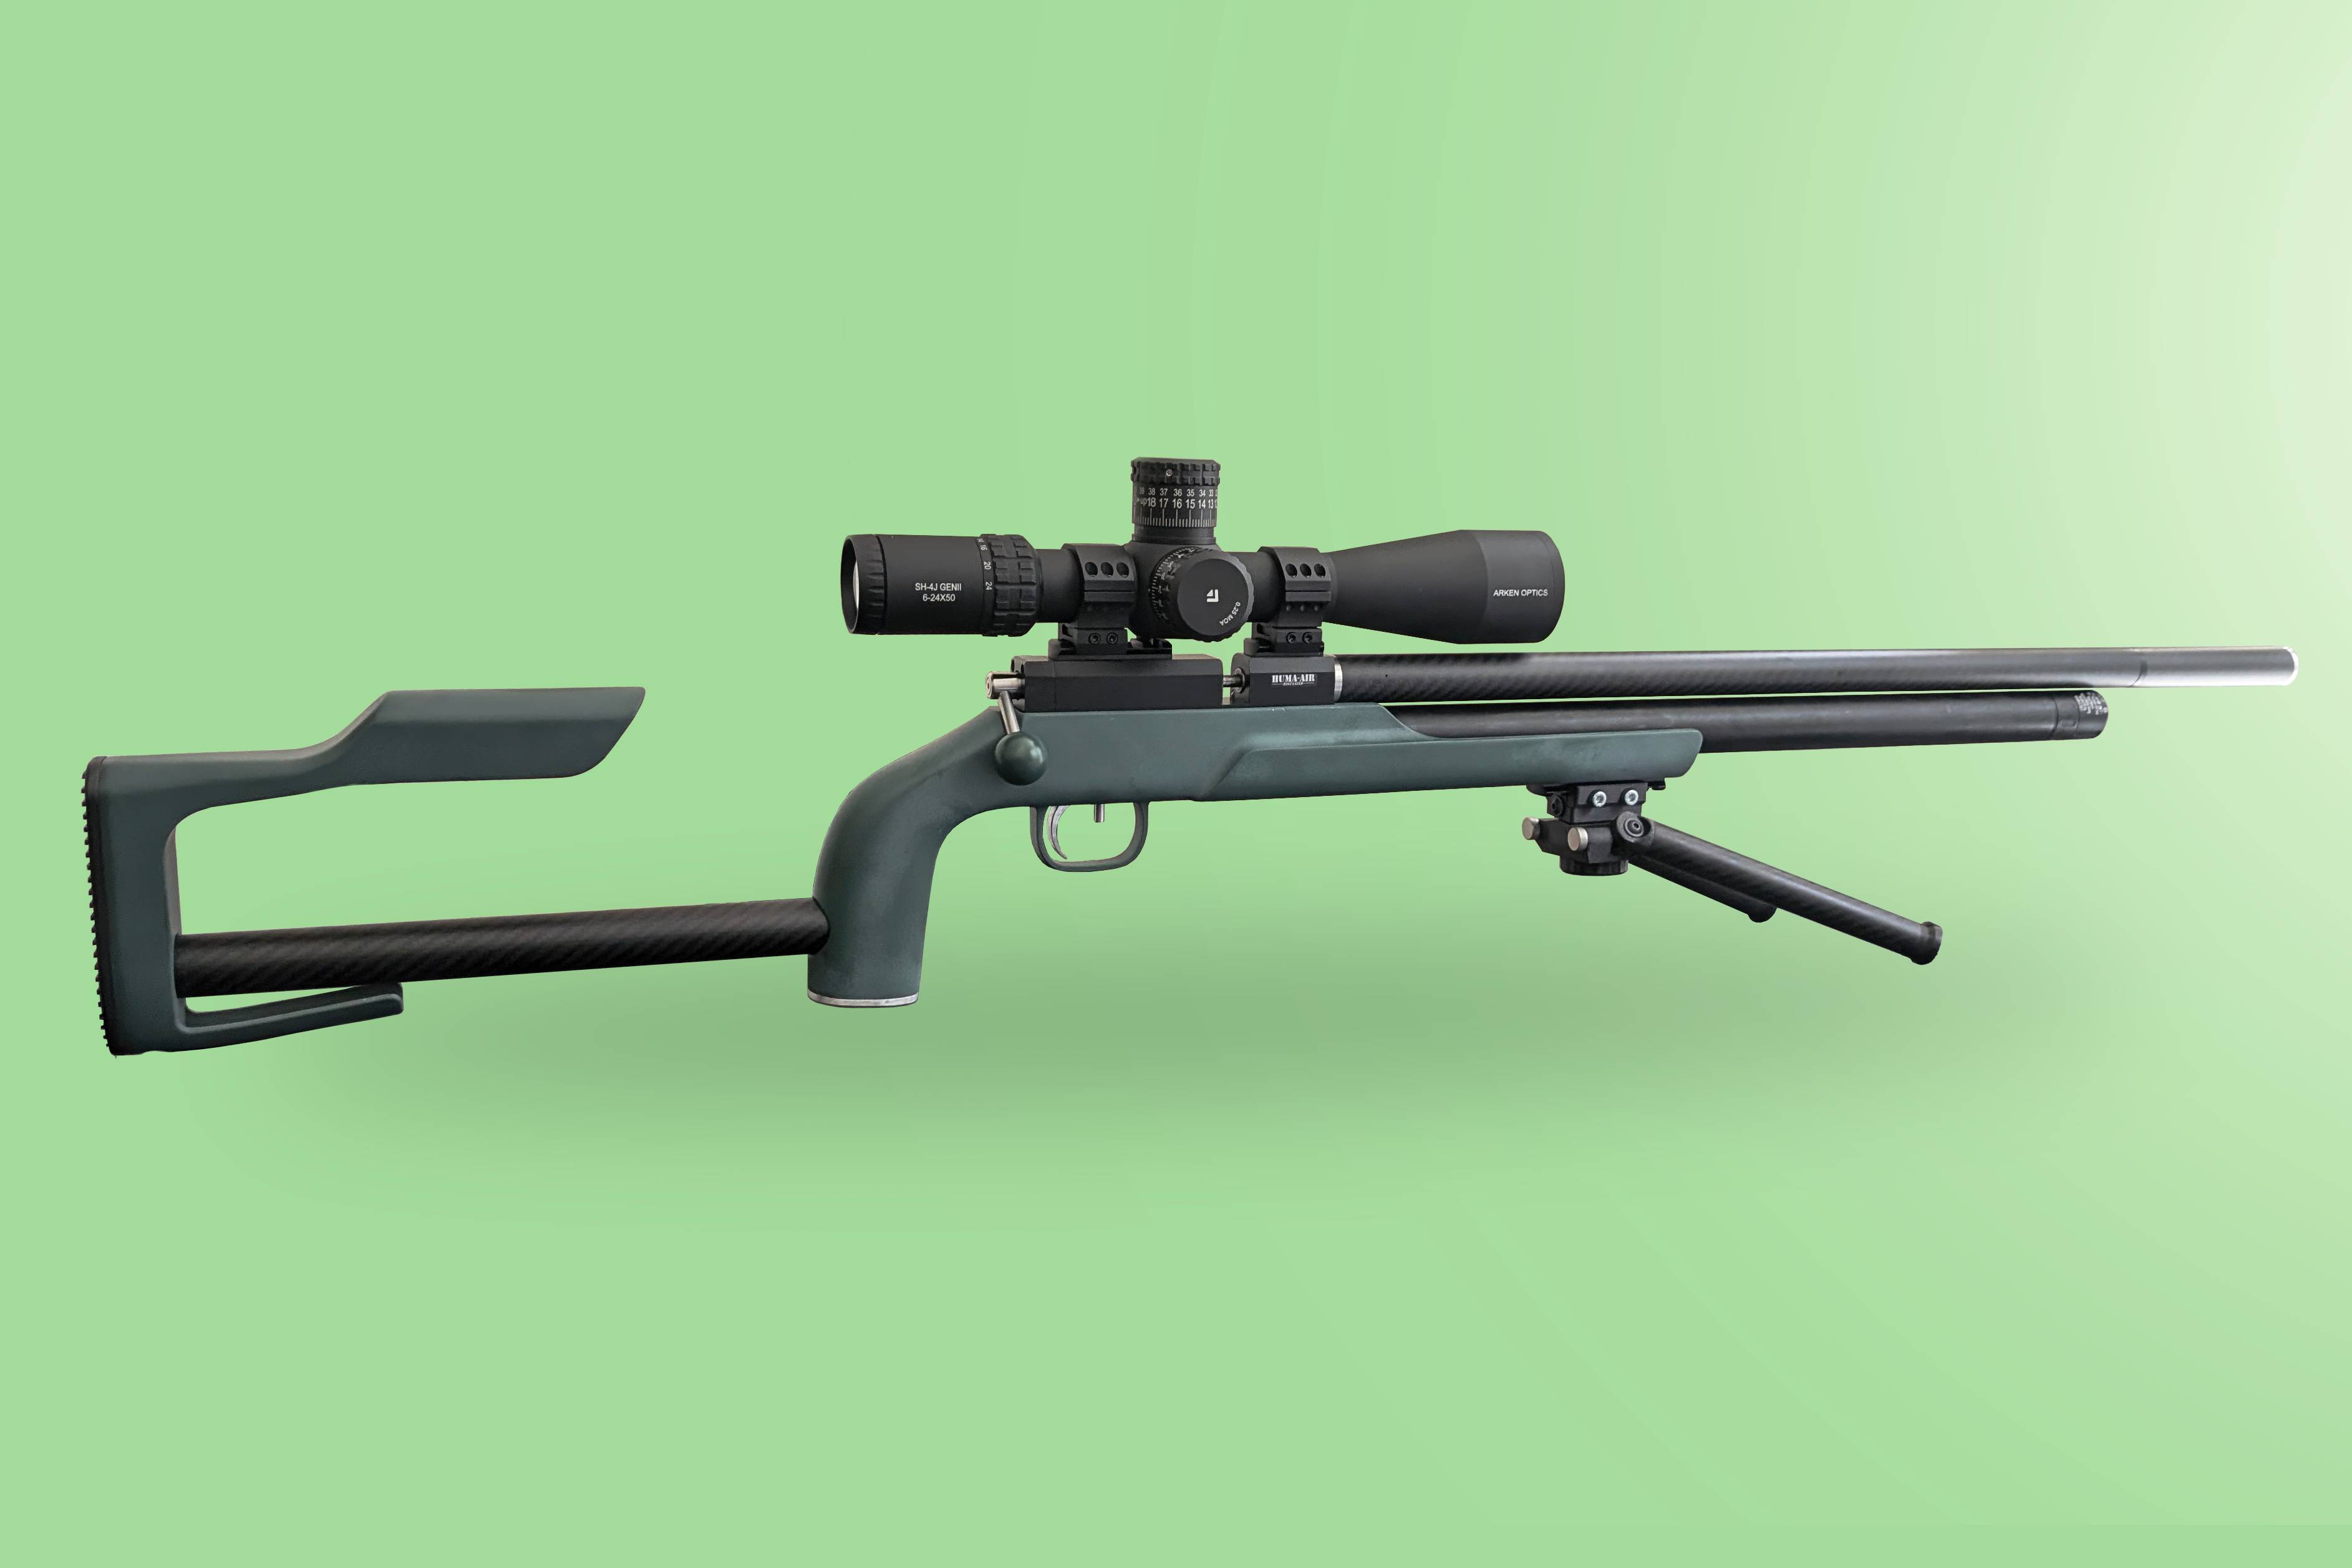
V2, yes I basically made two rifles
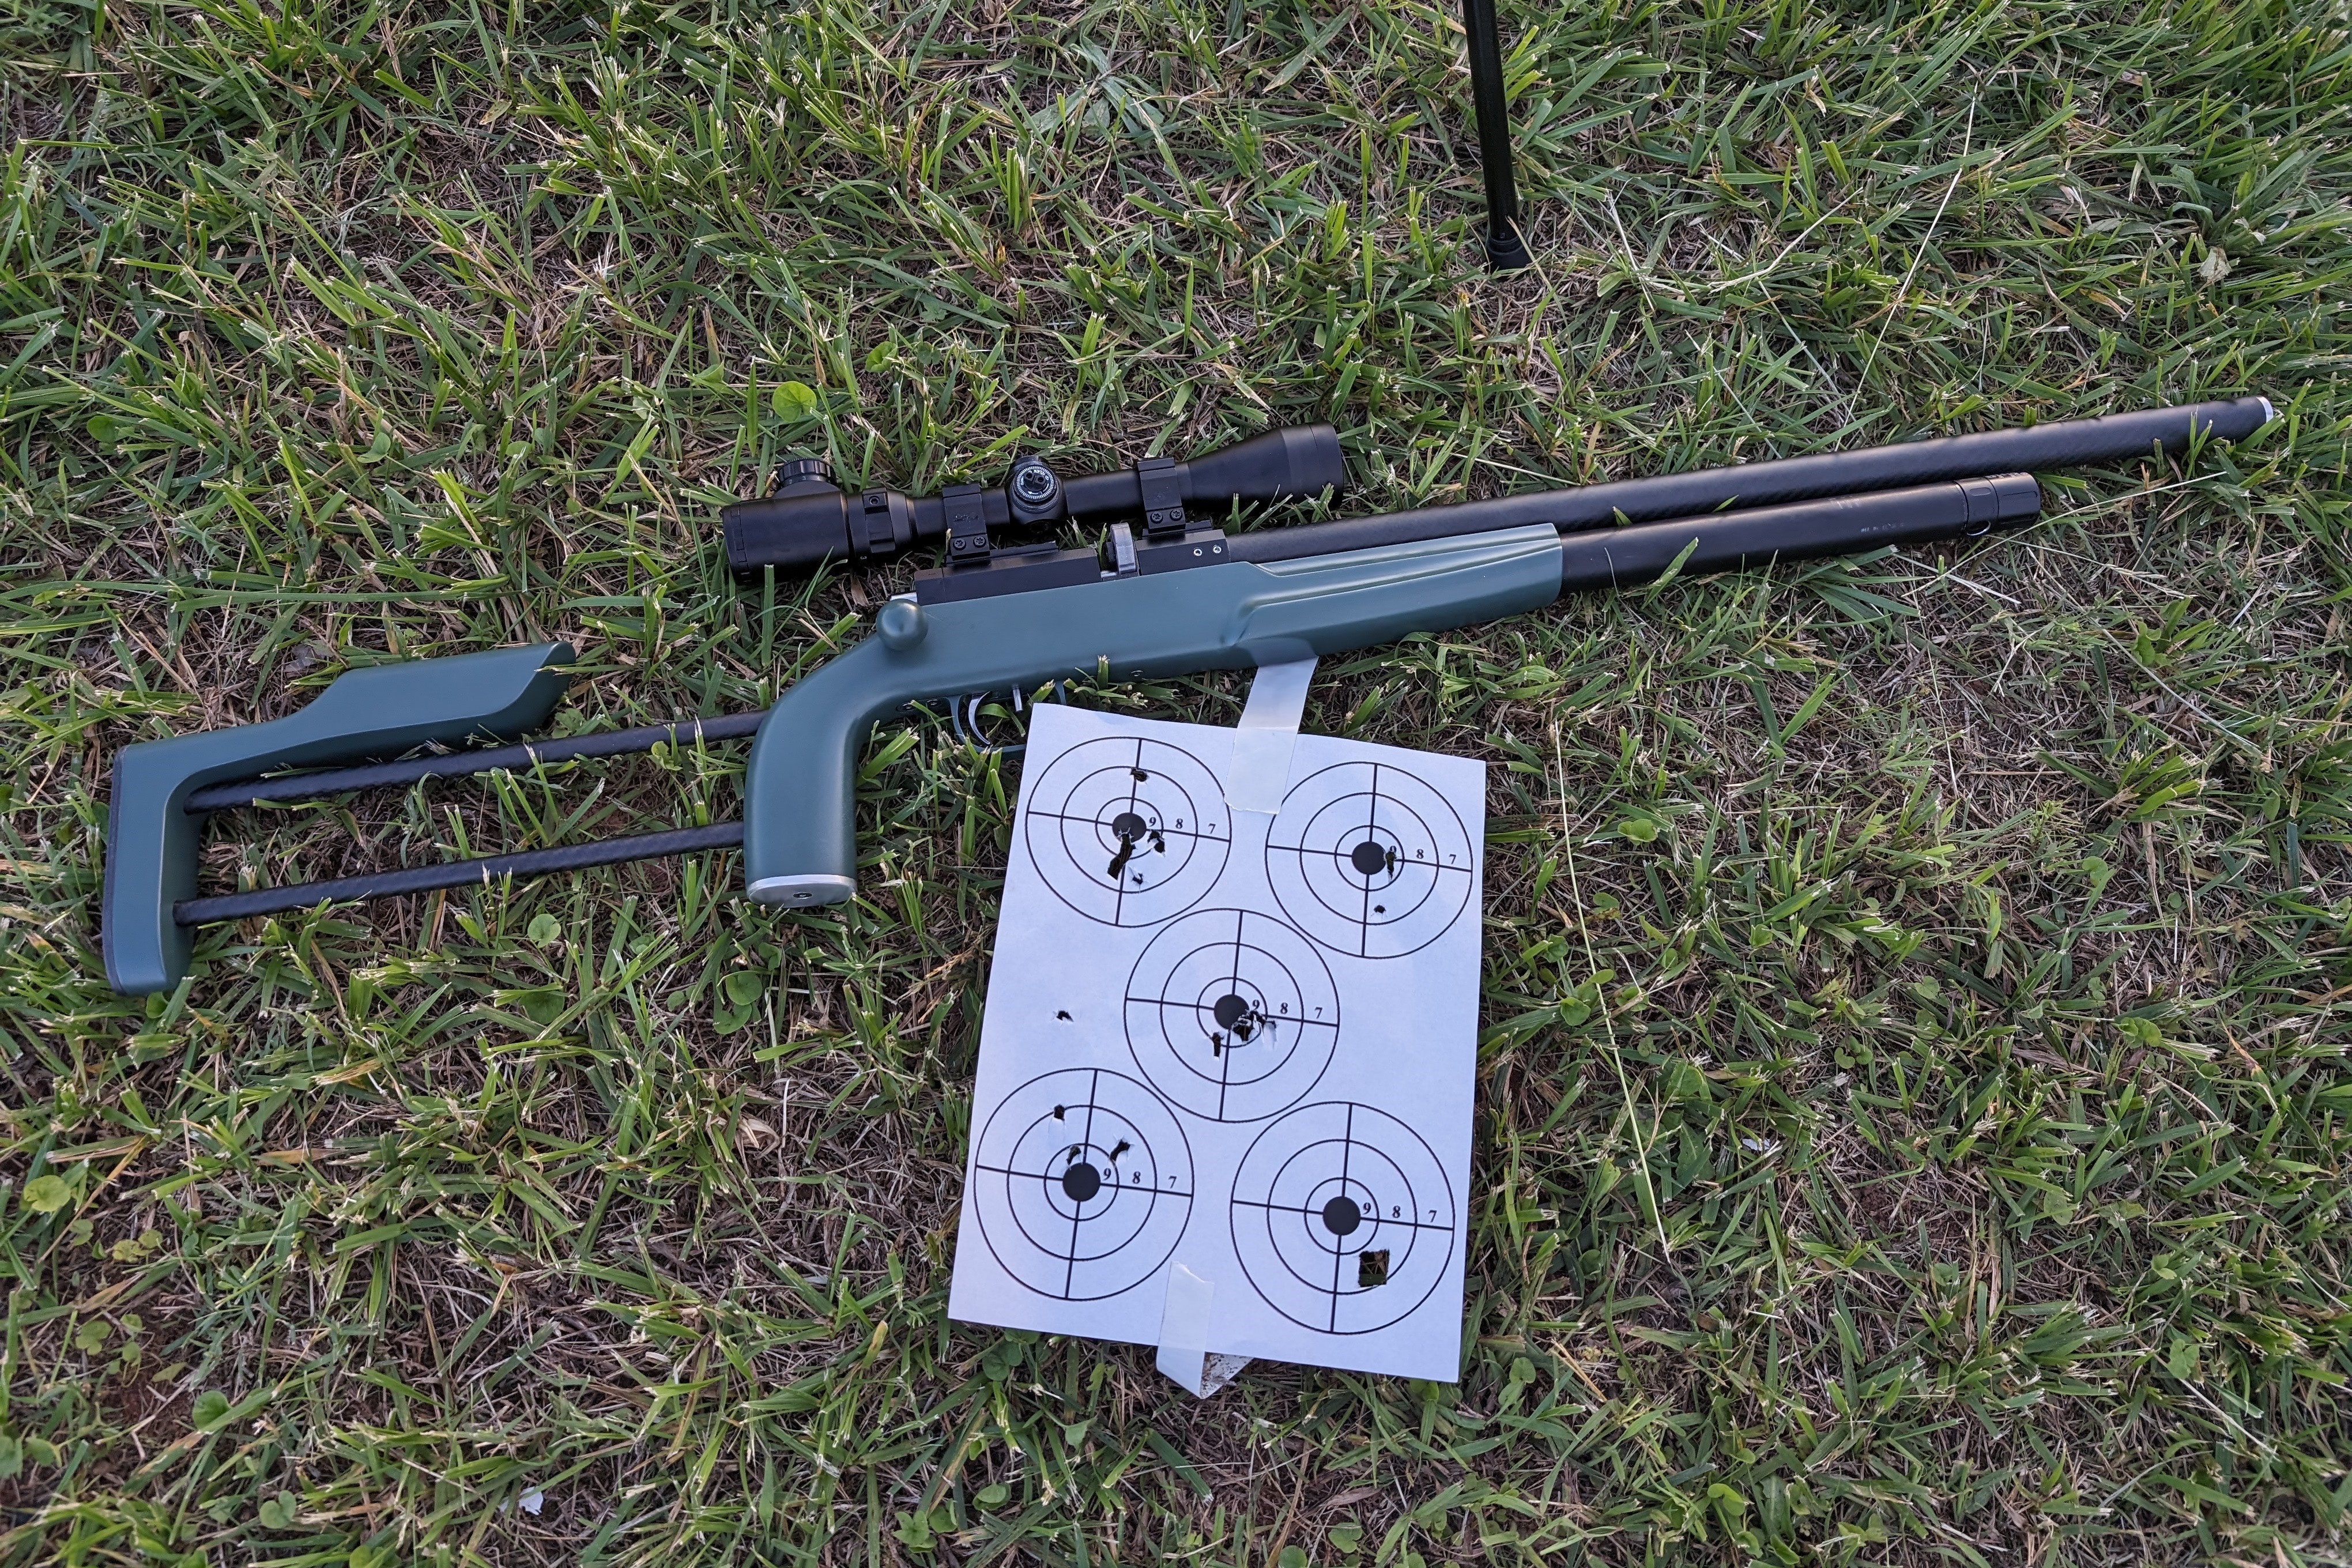
V1 after target practice