Restoration of a Flyzone DHC-2 Beaver
My 9 year old DHC-2 Beaver RC plane had seen better days and needed a restoration. My goal was to repair the broken components, resurface the entire plane, and create new components that enhance its scale appearance. Over the period of 4 months, I painstakingly designed and 3D printed new parts, carefully integrating them into the original construction. After resurfacing and repainting, I could see the restoration was extremely successful with enhanced portability, function, and aesthetics.
Design
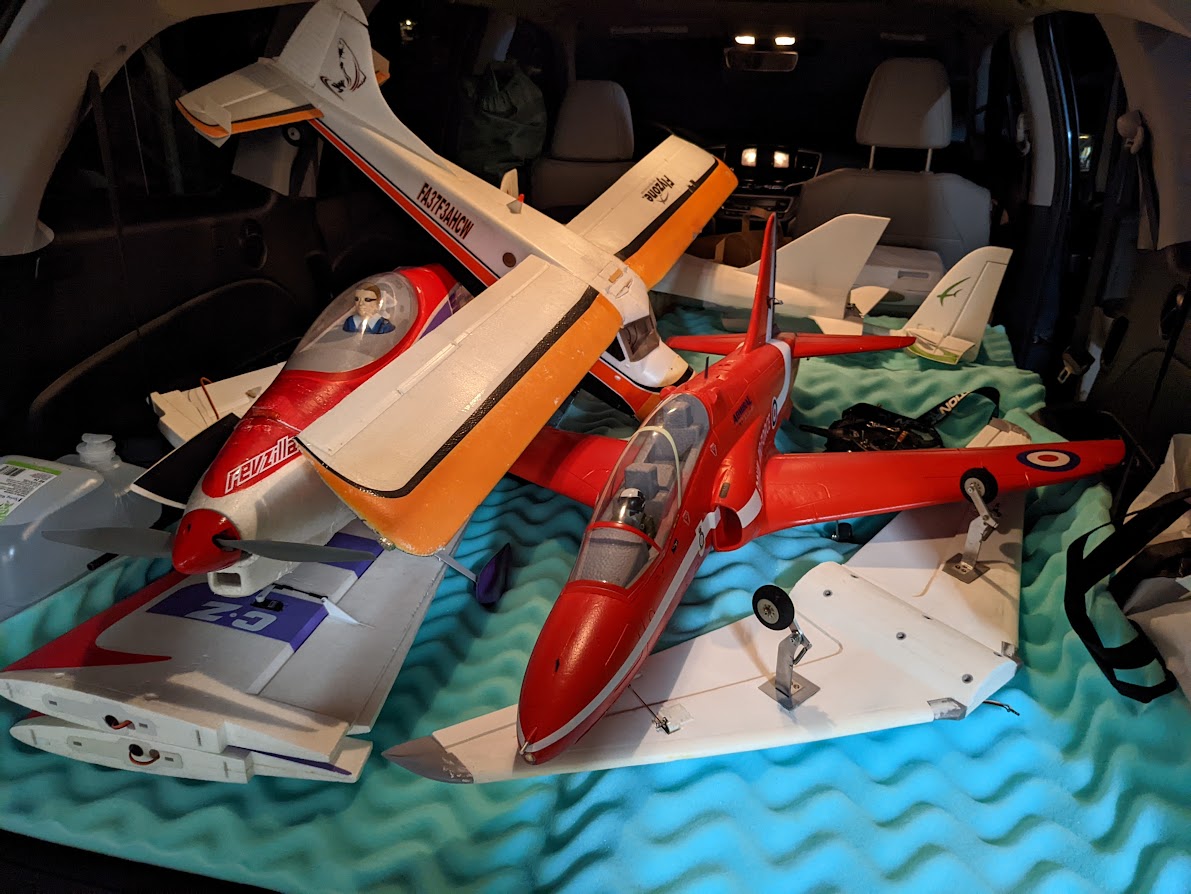
There were several things wrong with the airplane: the rudder counterbalance was broken, the top hatch was torn up, the windows were peeling, the wings were dinged up, the trailing edge of the wingtips were falling off, the engine cowling was cracked, and the original tail wheel assembly was missing, along with the float rudders.
Originally I did not intend to replace or add as many parts as I did. As I started to disassmble the plane, I uncovered issues that I could solve by way of modification or printing new parts.
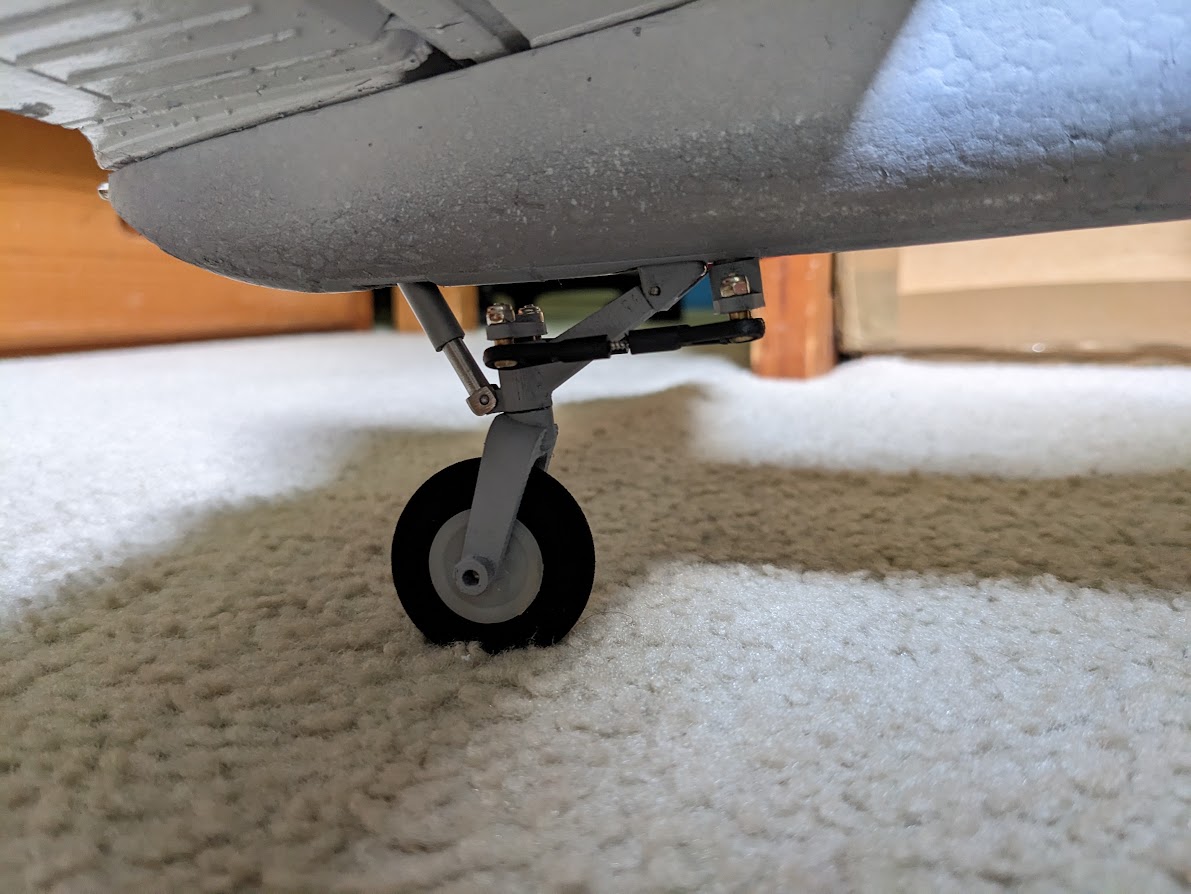
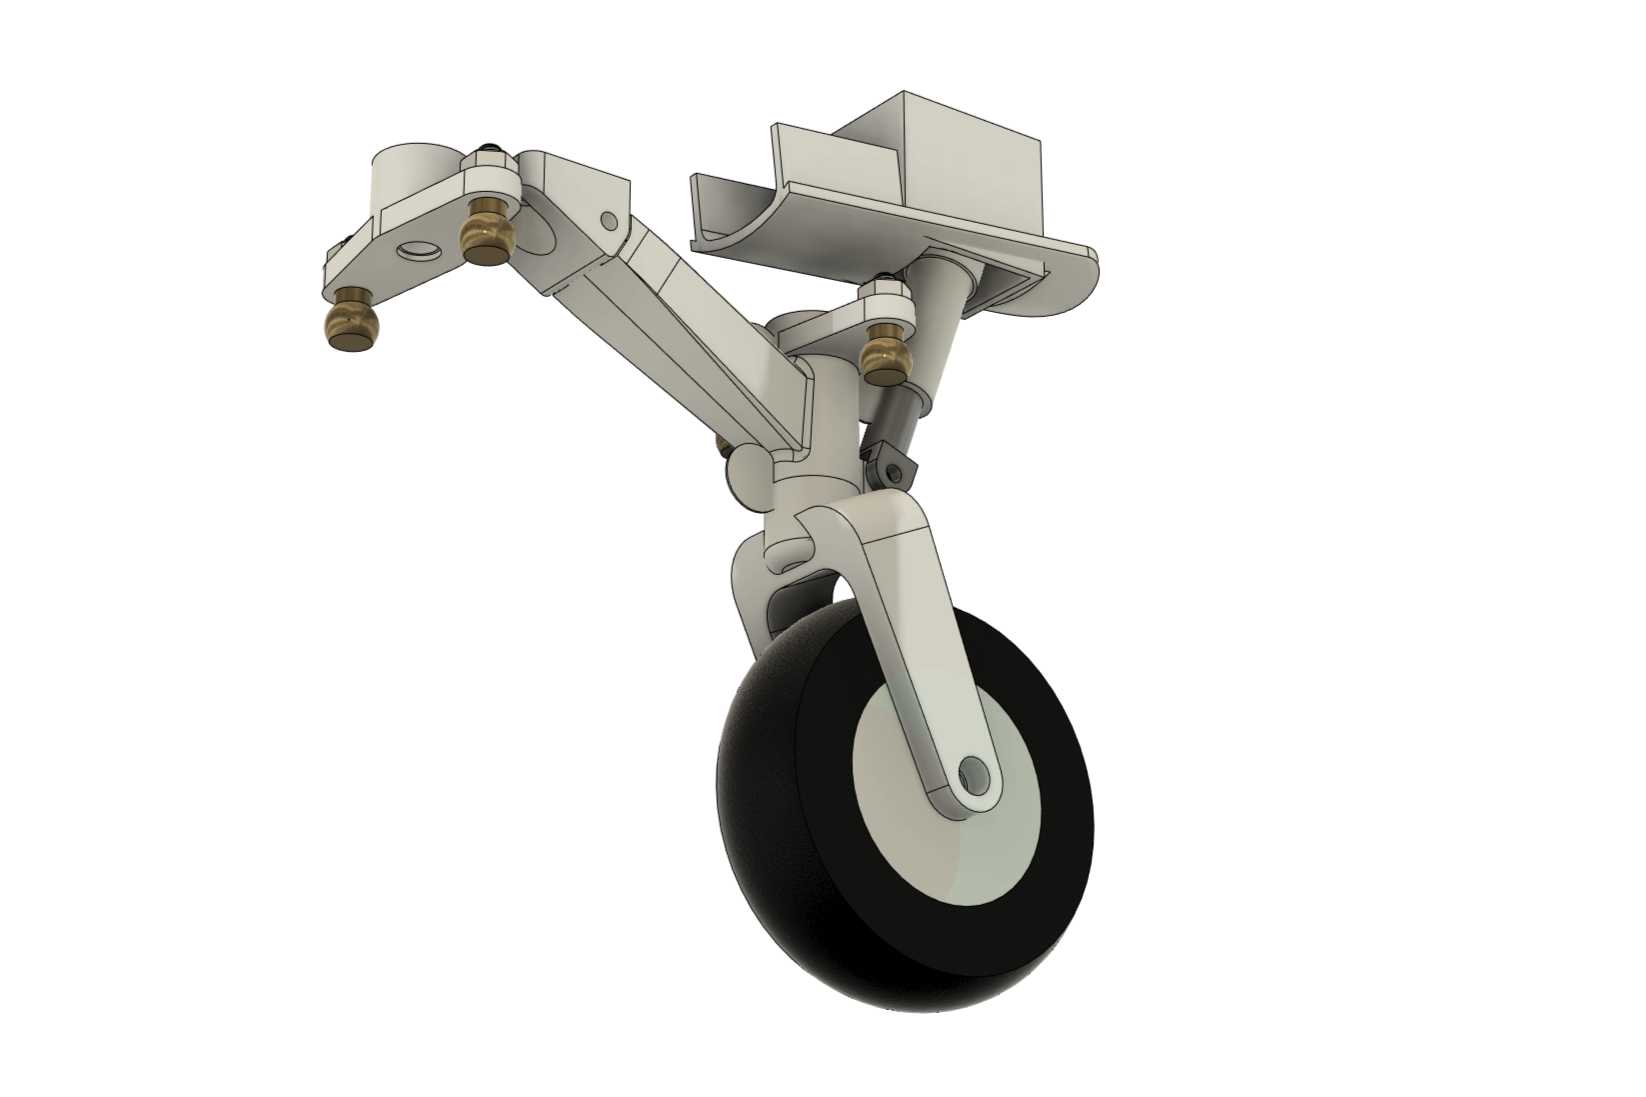
One of the first parts I made was a scale tail wheel assembly. This assembly had a working piston that I grinded out of a M4 screw. Even though the new tail wheel worked well, I ultimately decided to keep the Beaver on floats as that is its natural environment.
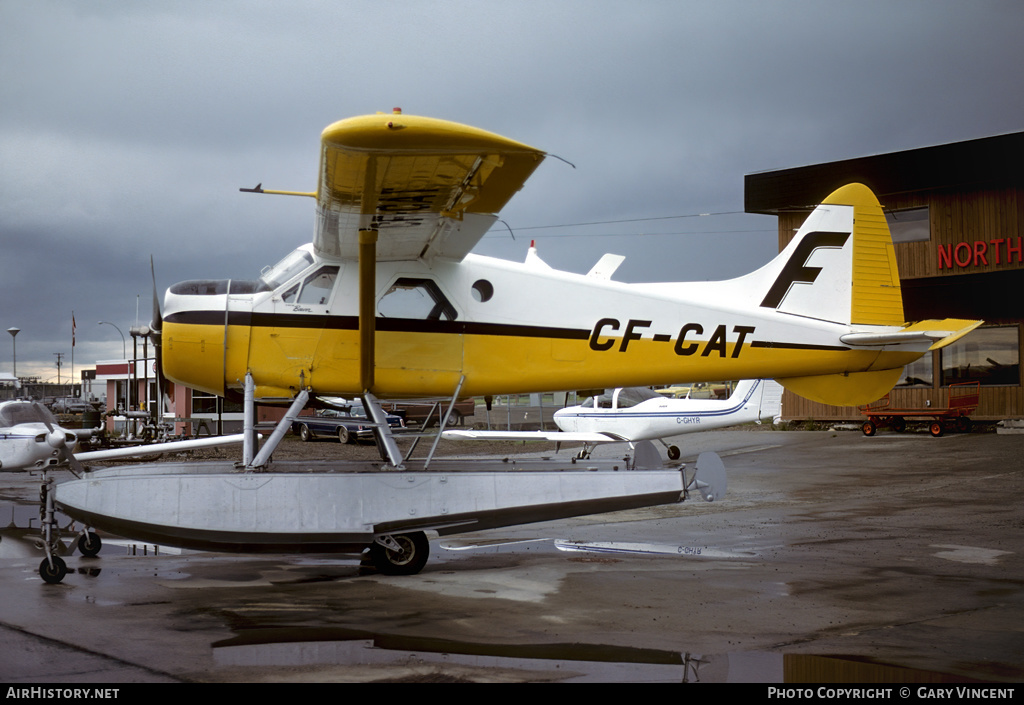
I had to find a scheme that would be suitable for my airplane. I stumbled upon this airplane that was operated by Finning, a distributor of Caterpillar equipment. Initially, I was not a fan of the scheme, but I grew to appreciate it. This airplane is quite special as its registration number was CF-CAT, and my initials happen to be CAT. Also, my father works for Caterpillar and is going to retire at the end of 2023. I decided this scheme was the only one suitable for my airplane.
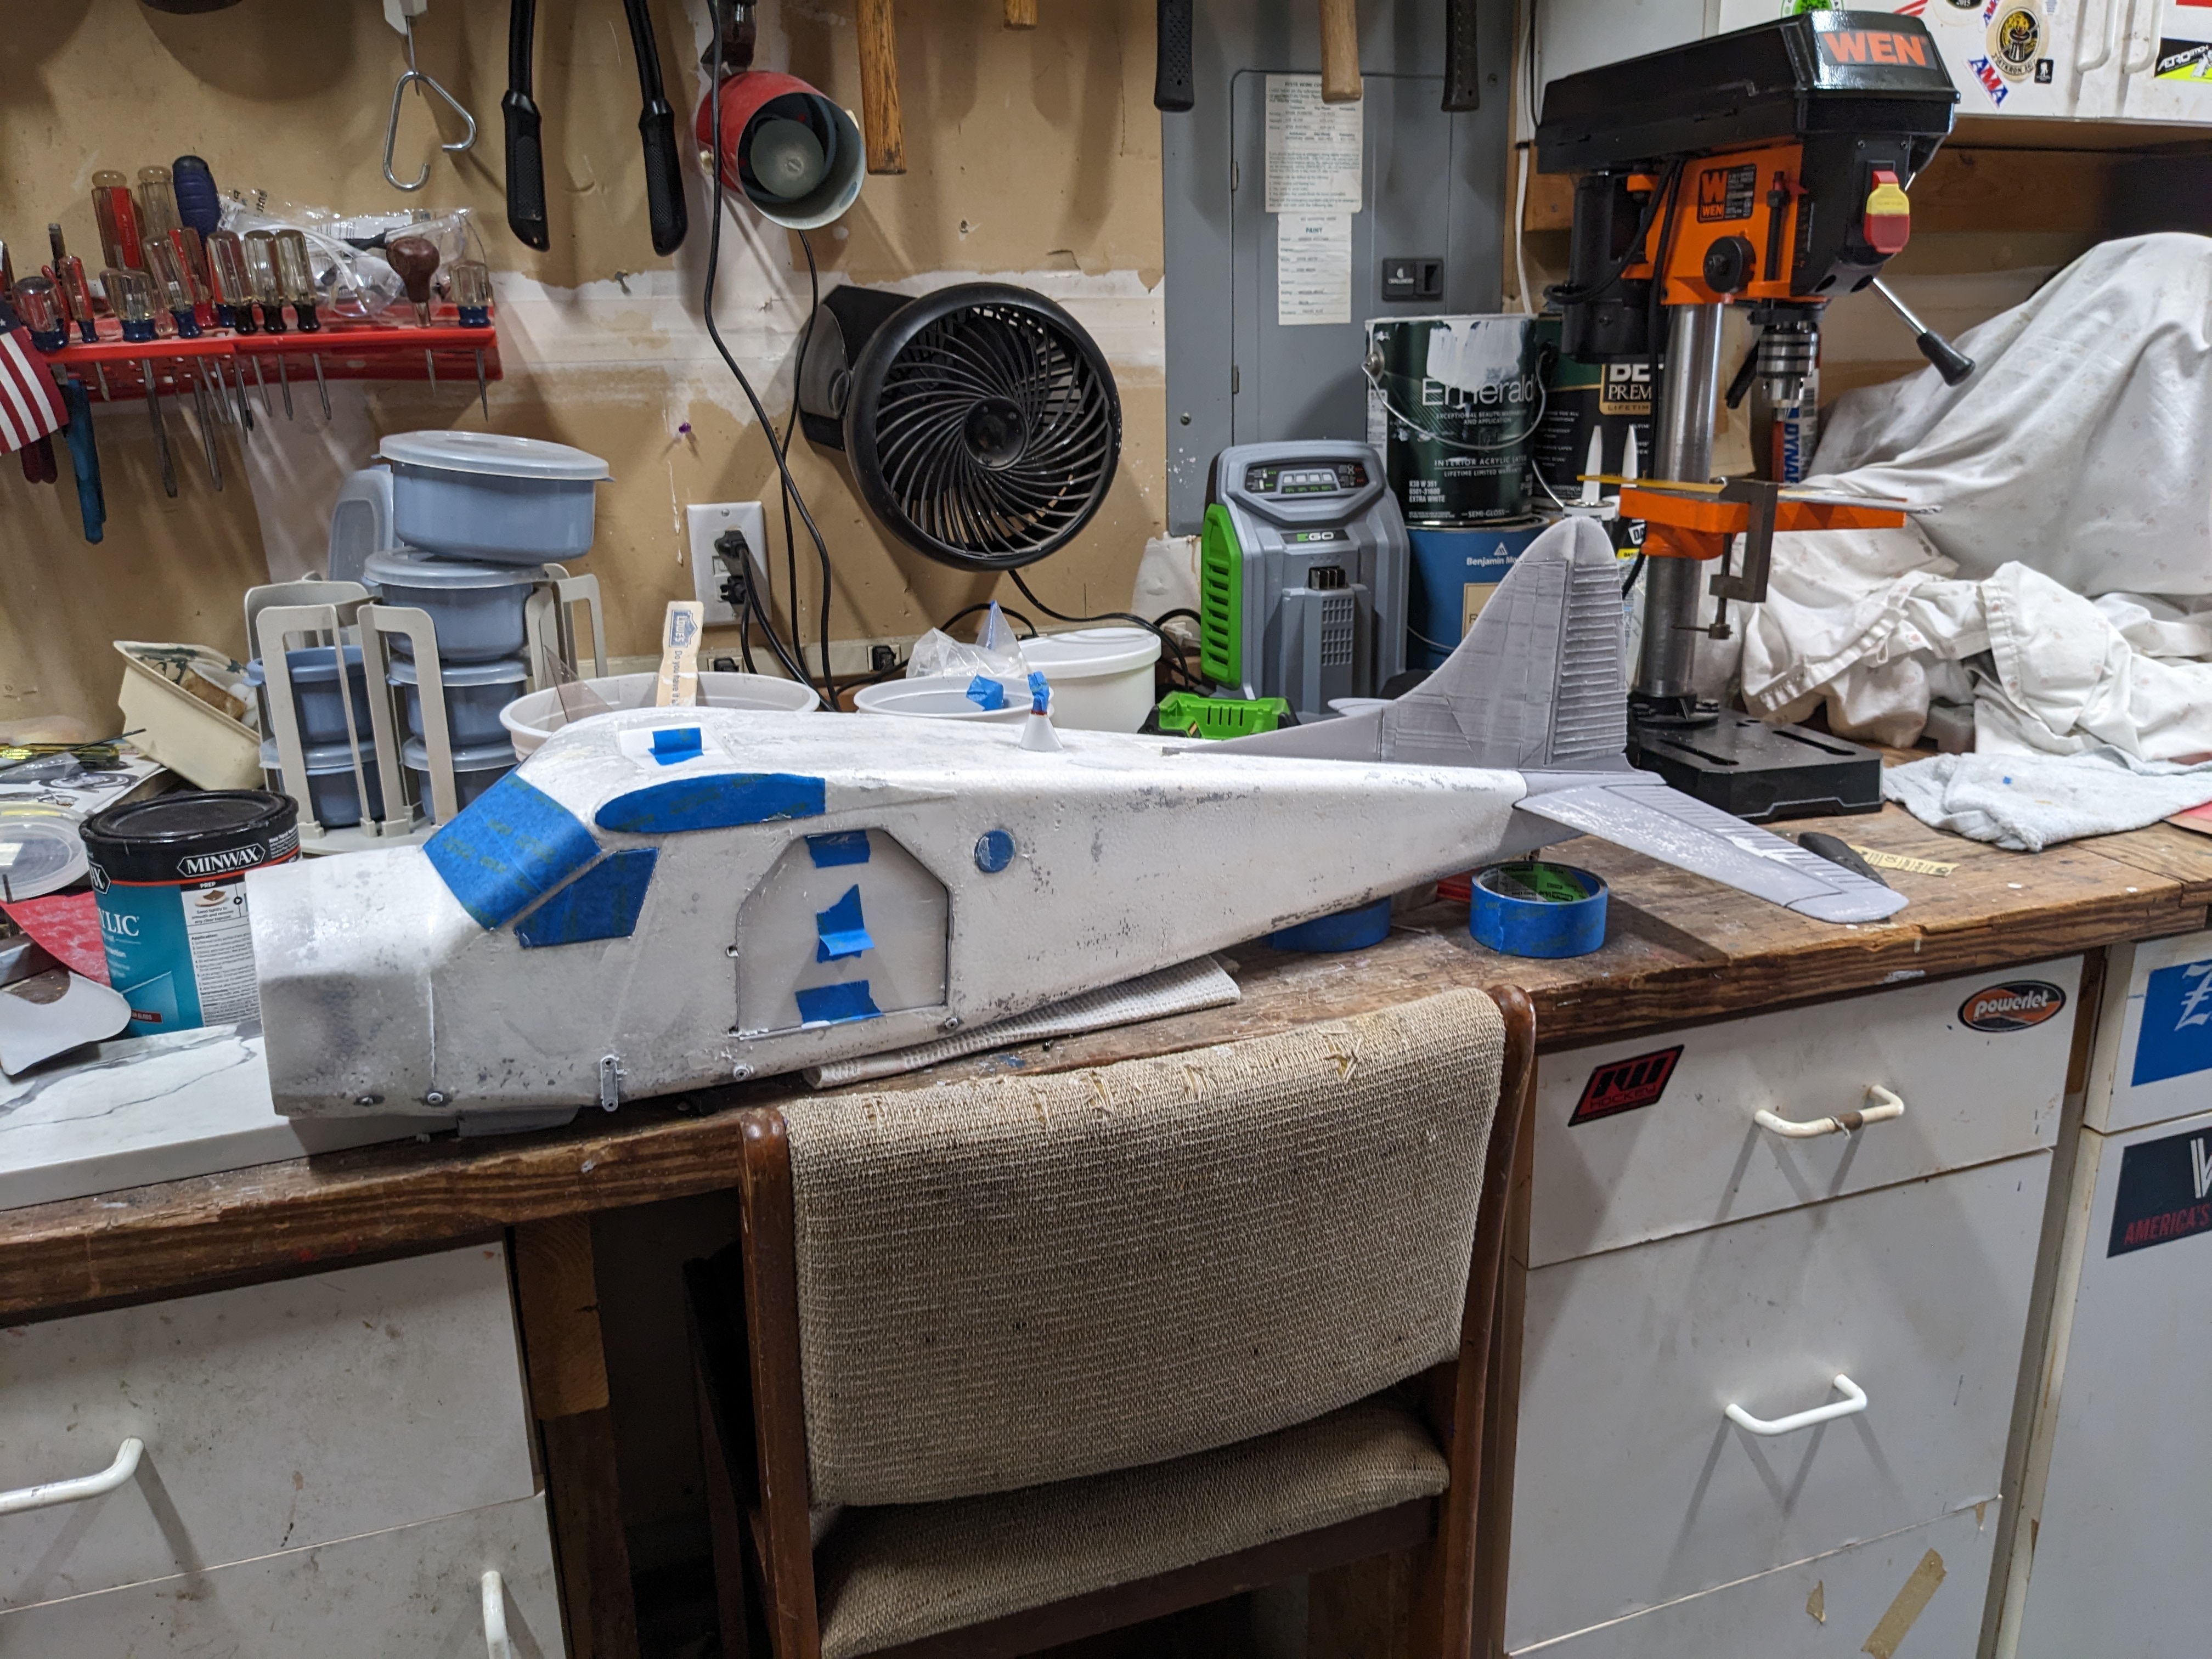
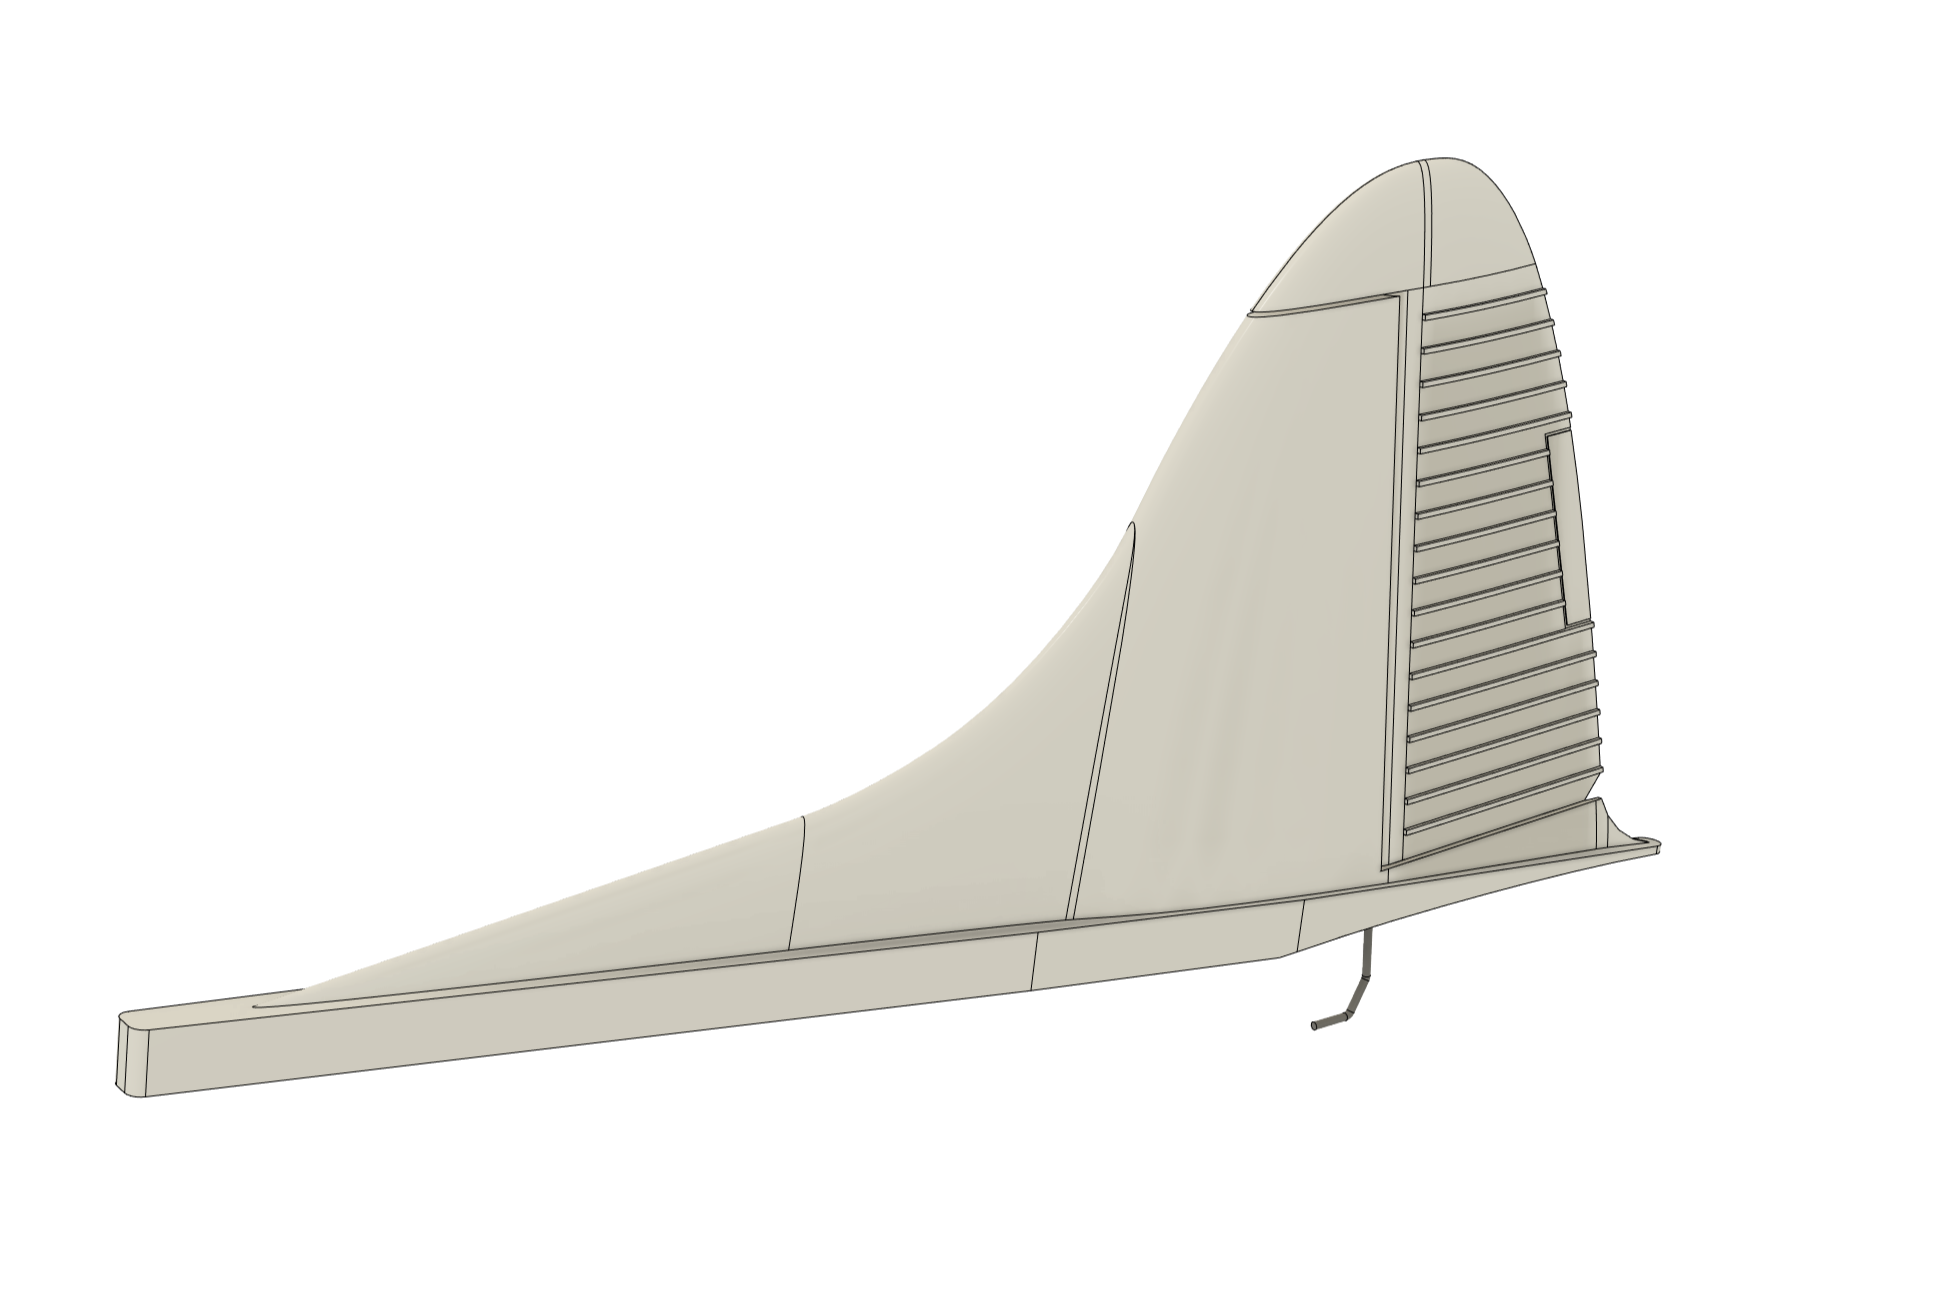
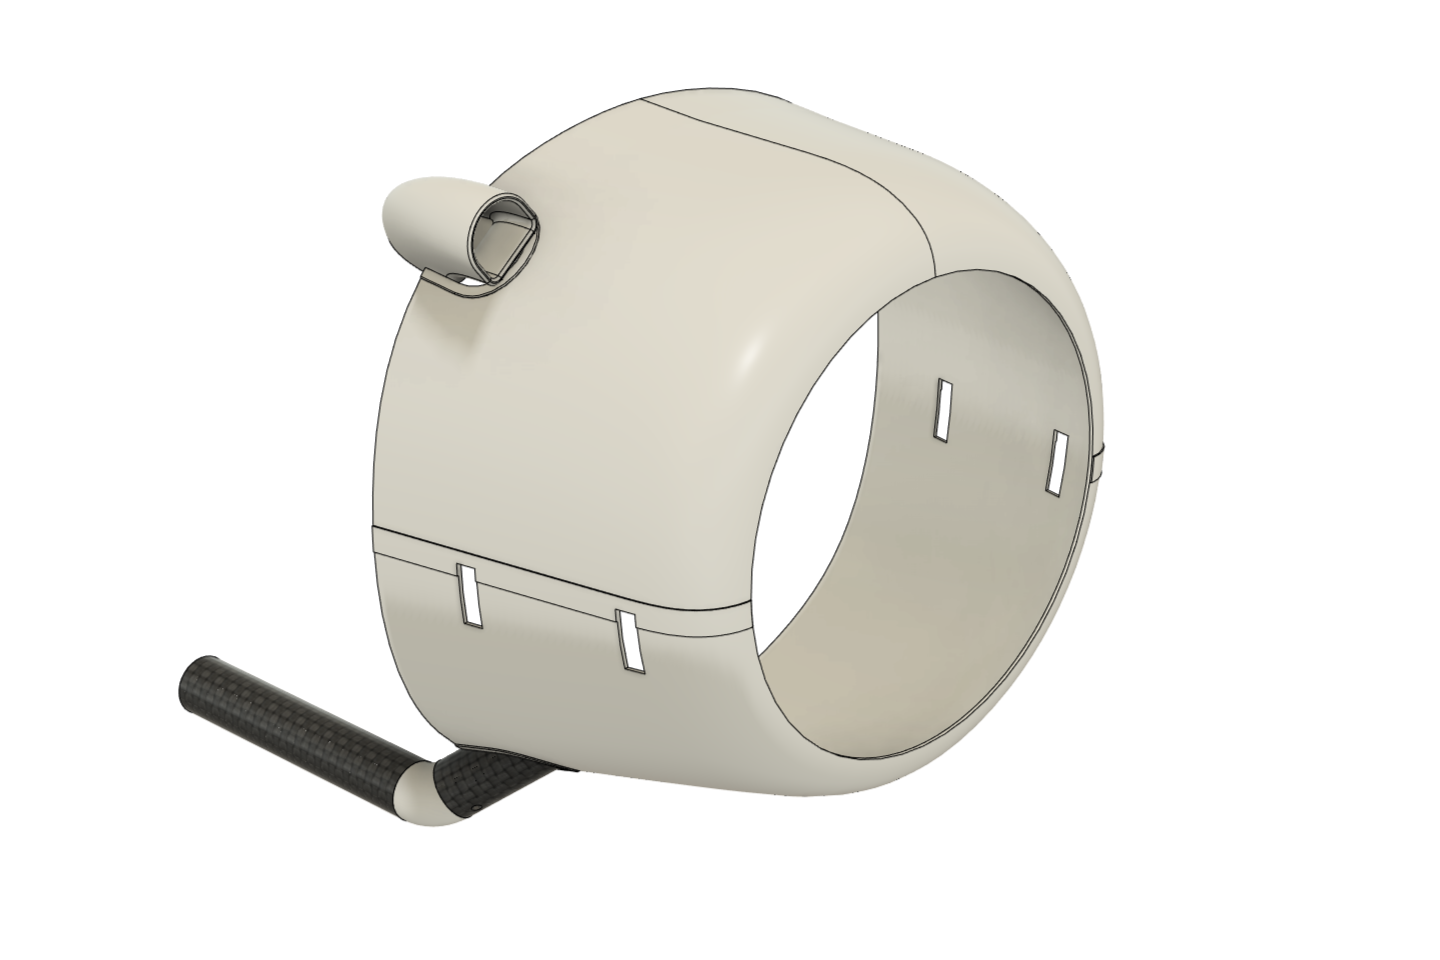
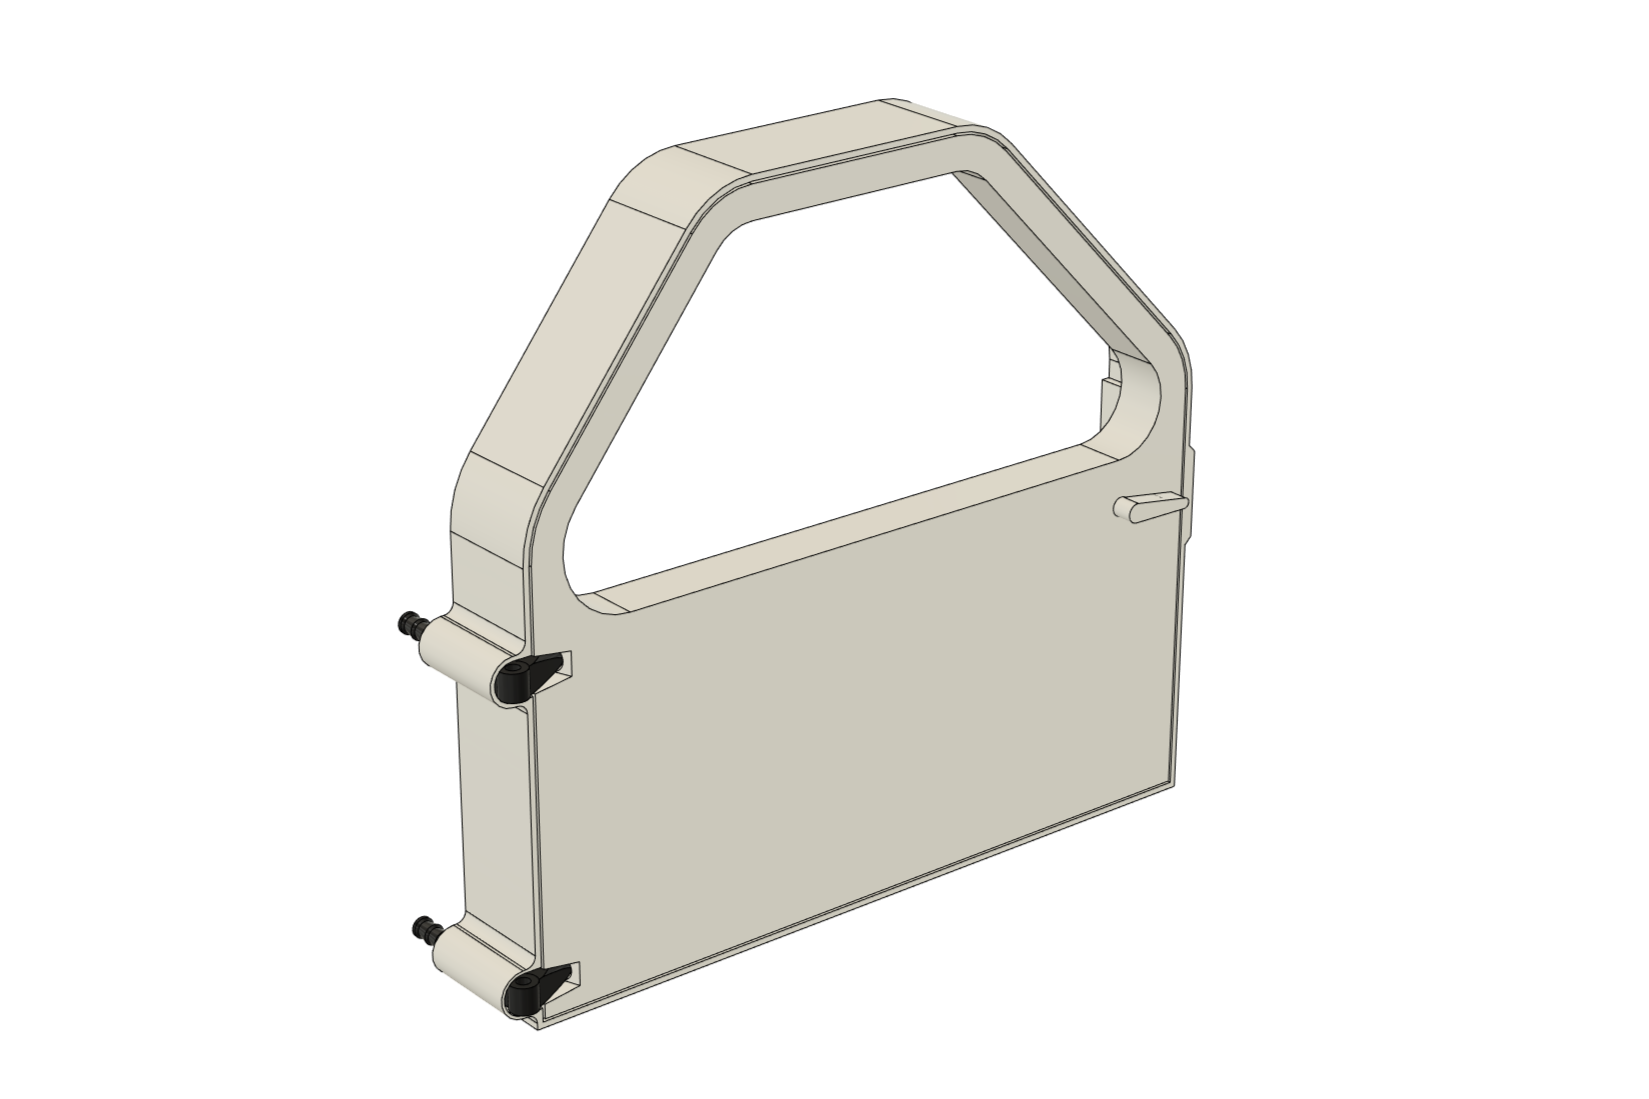
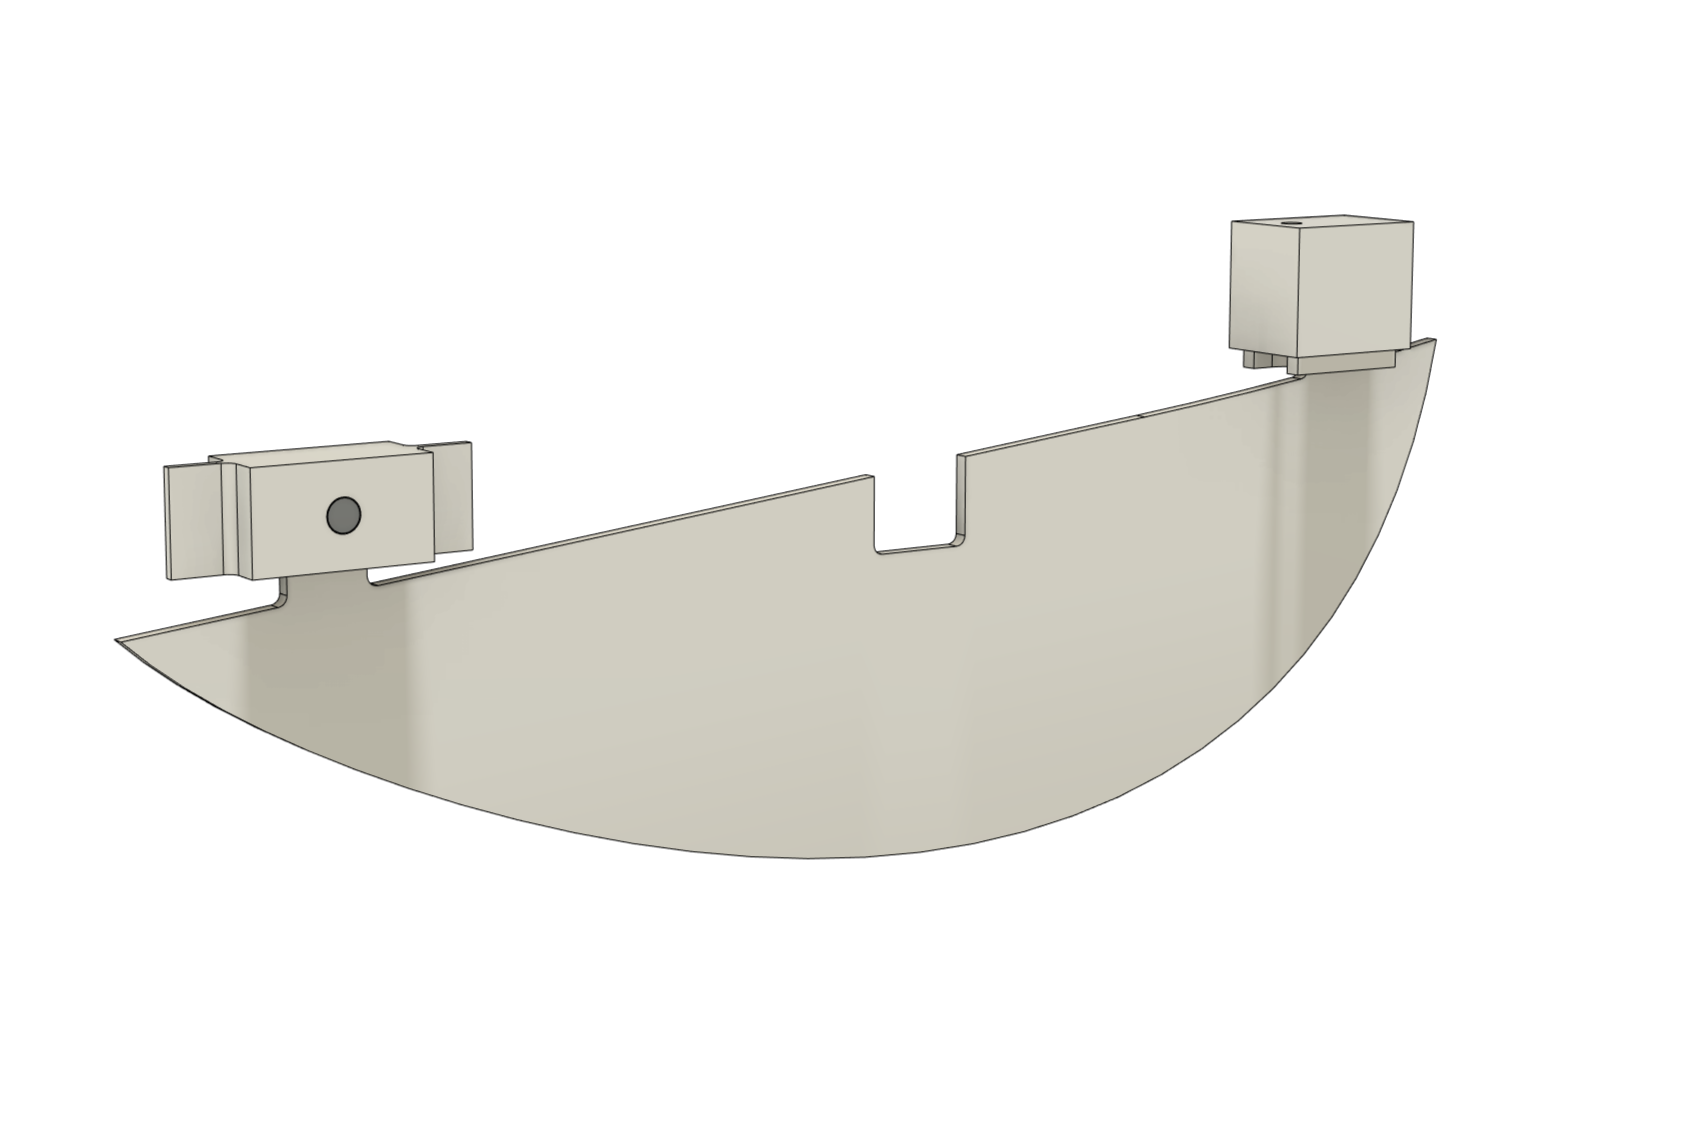
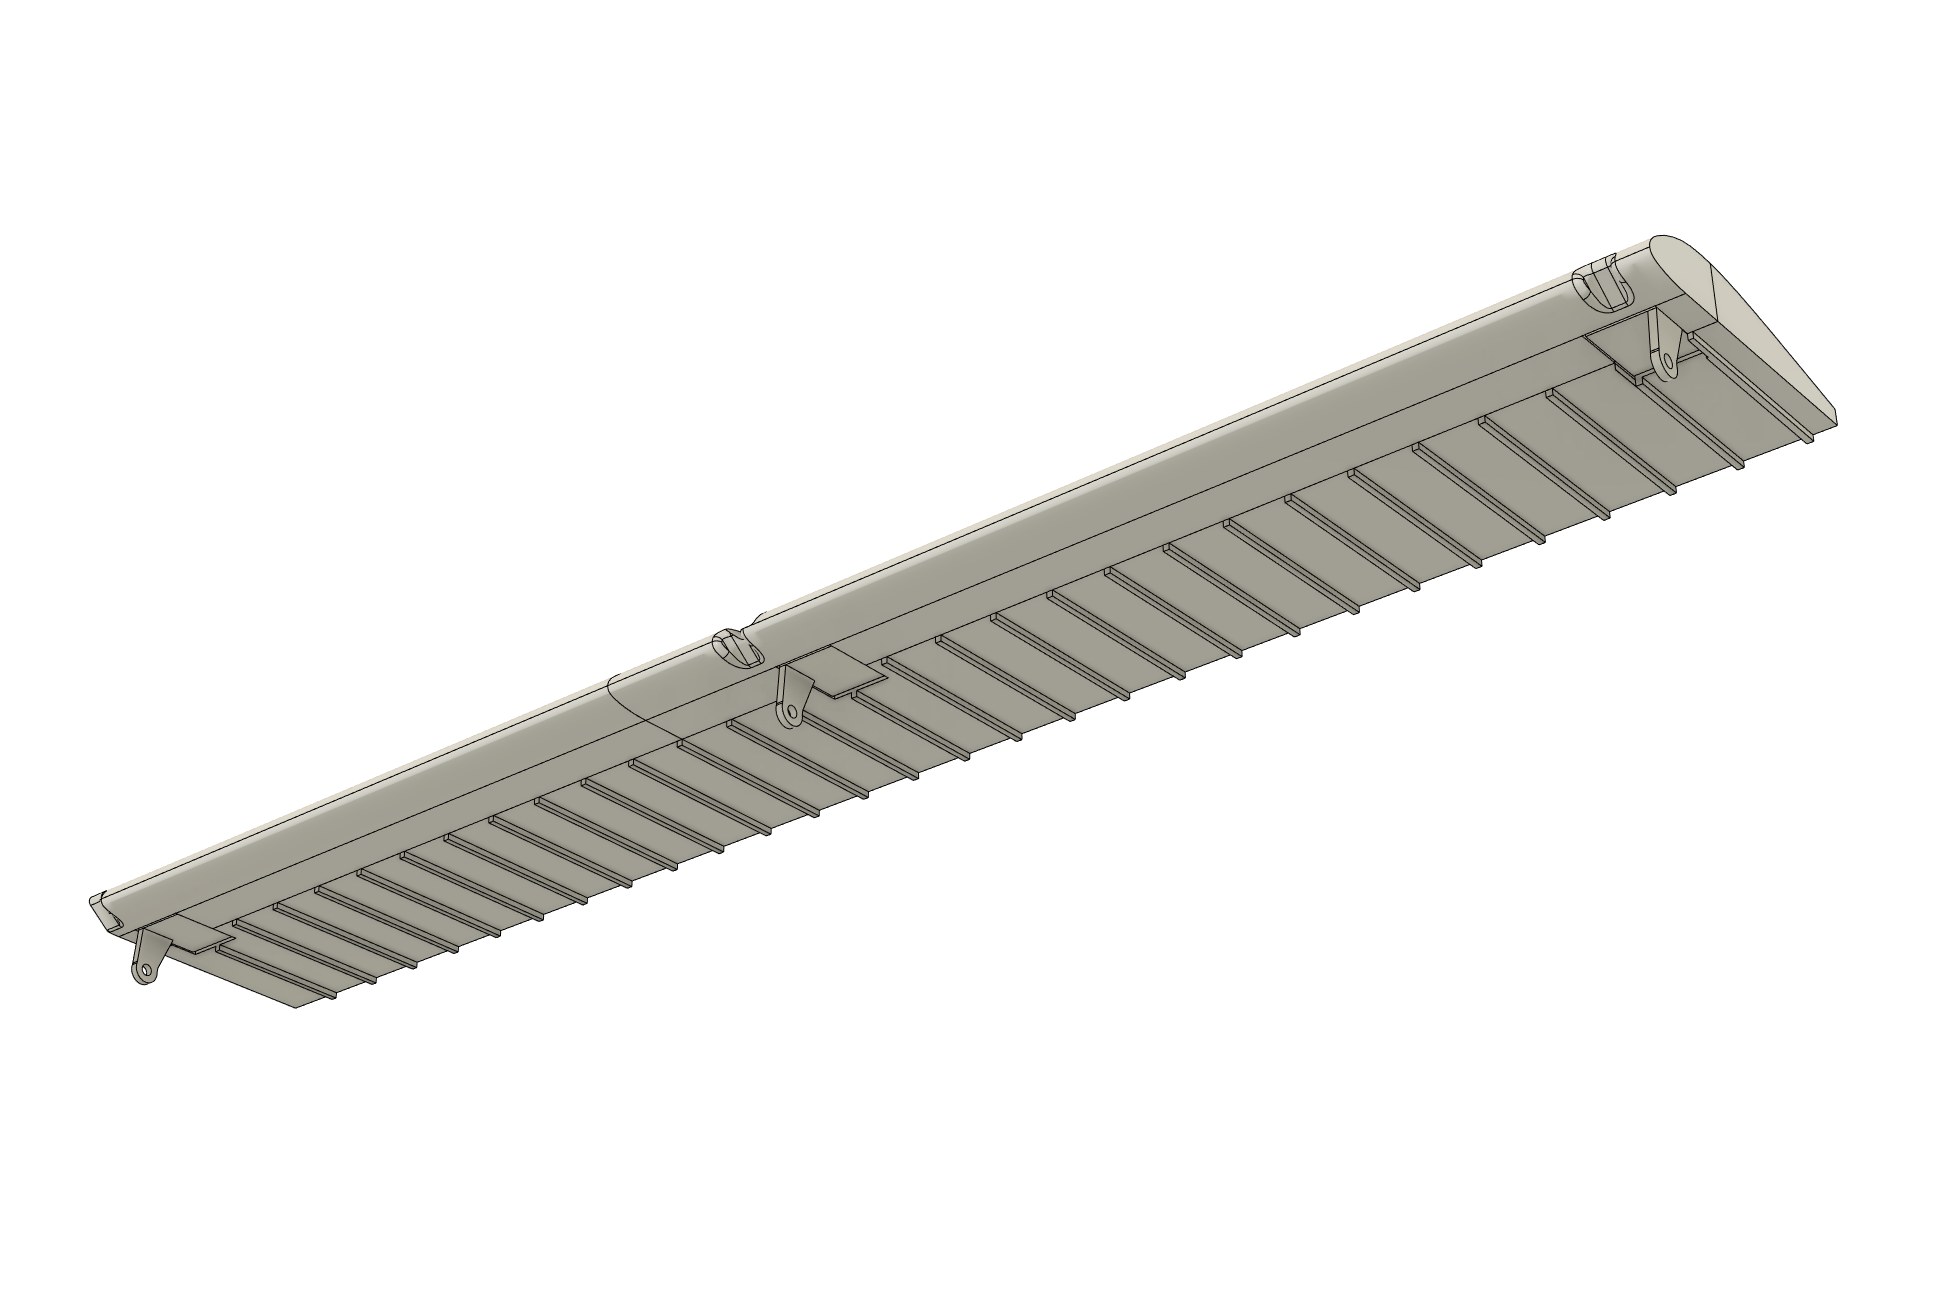
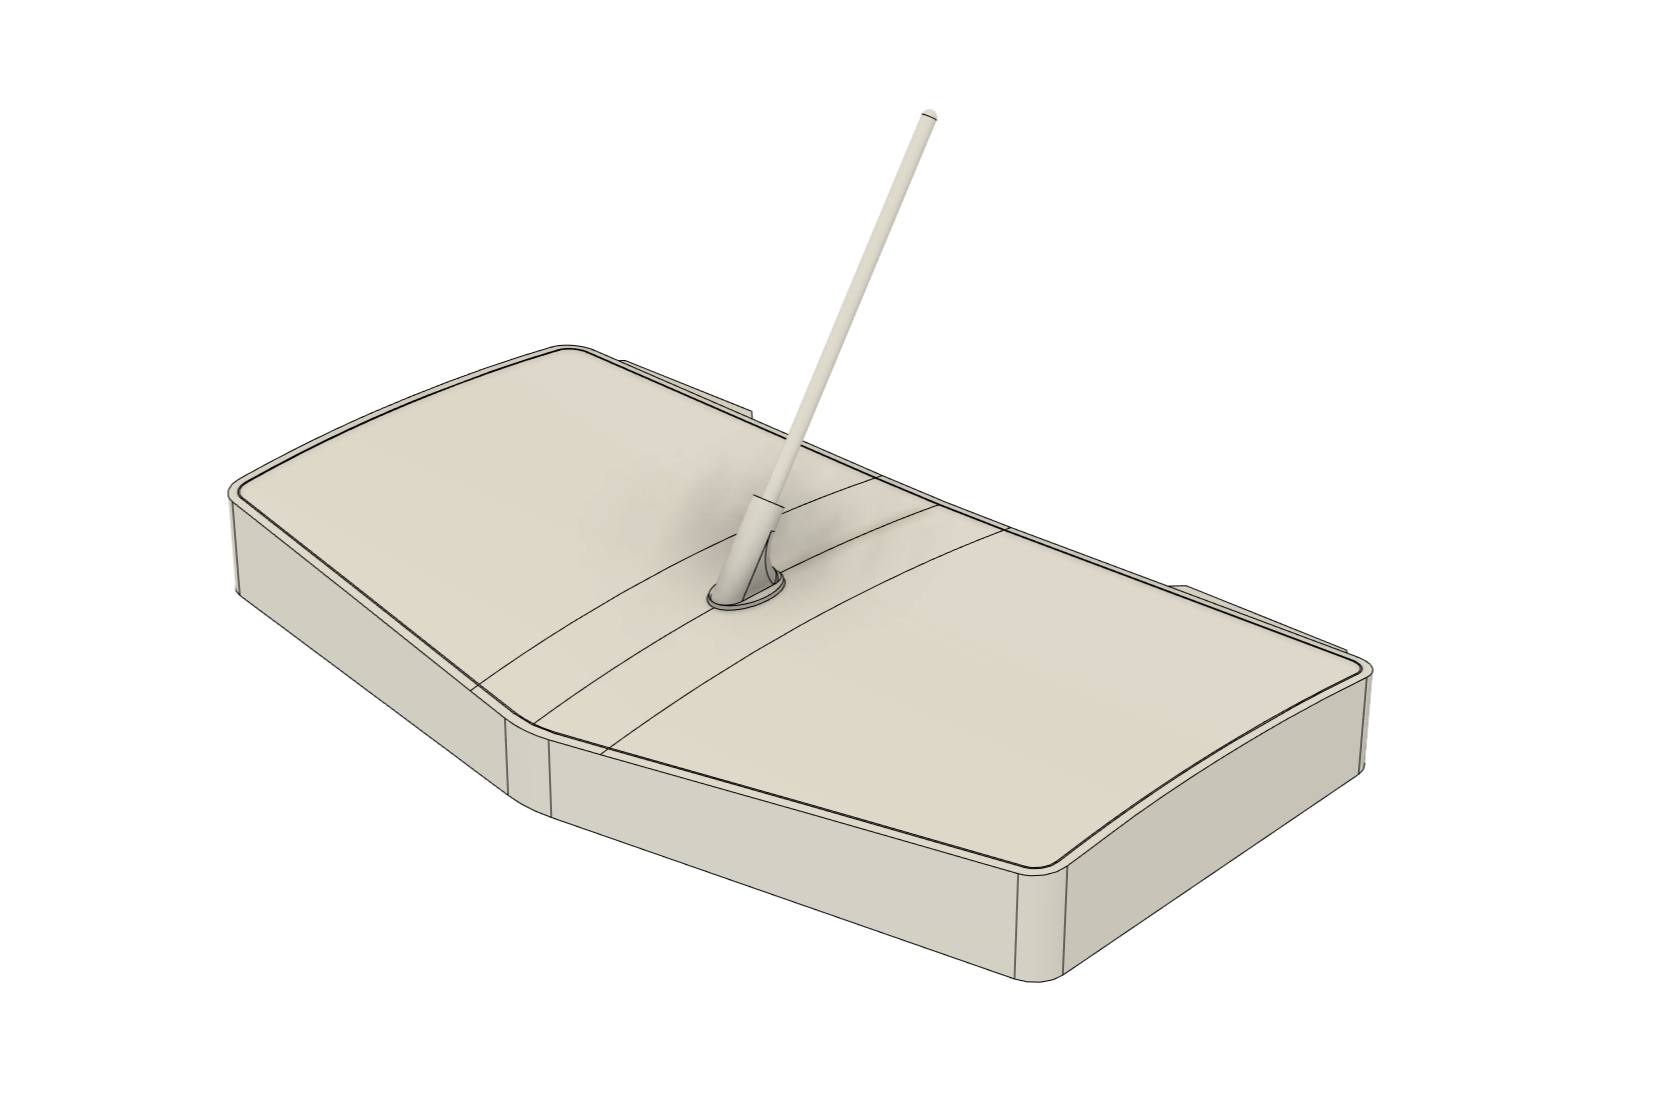
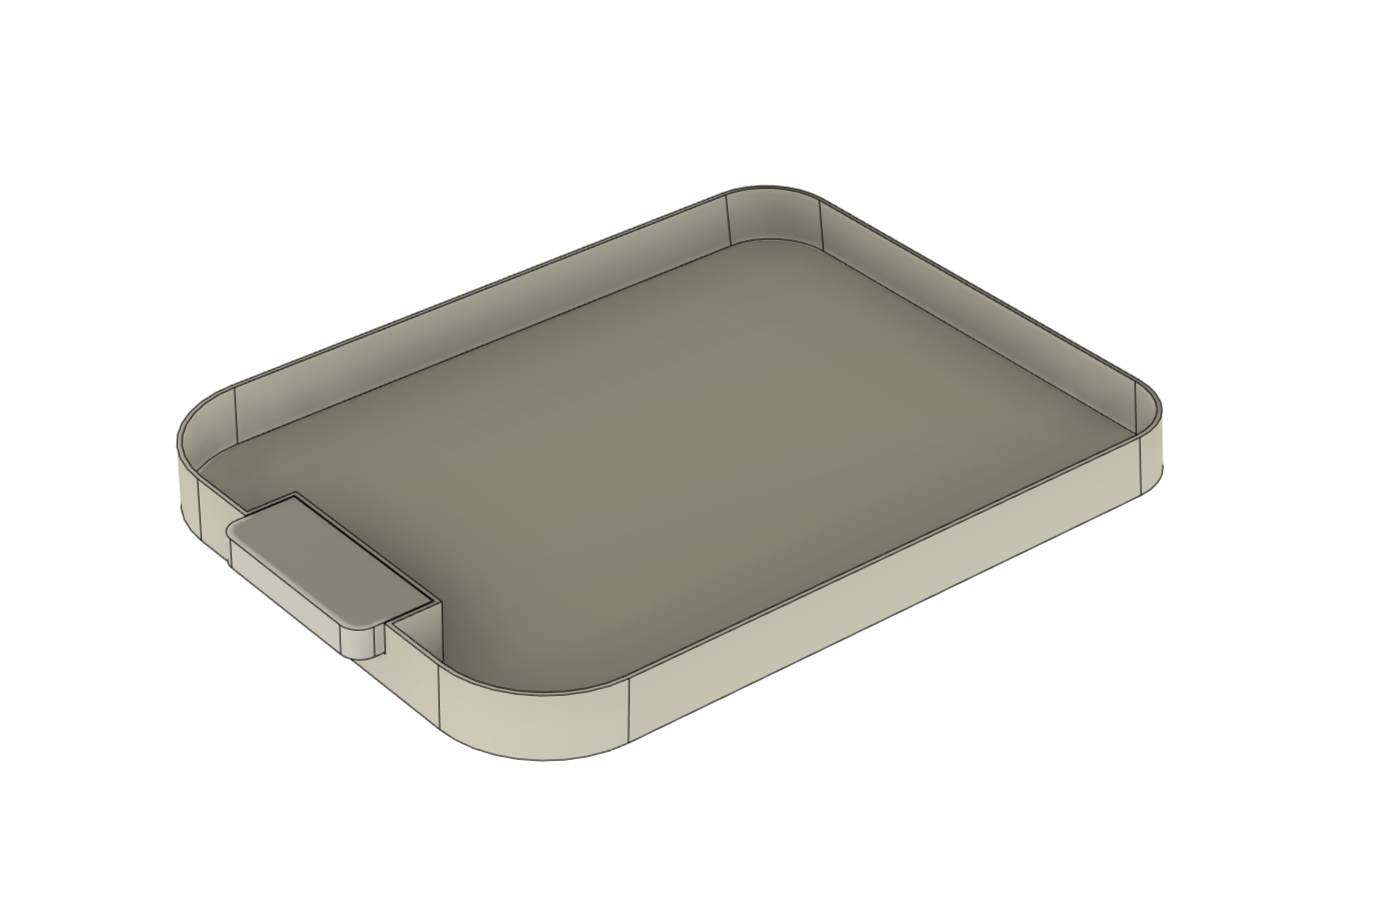
This airplane is long discontinued so it was necessary to design and 3D print any parts that needed replacing. I 3D printed replacements for the entire vertical stabilizer and rudder assembly, the top hatch, the battery hatch, the trailing edge of the wing tips, the water rudders, the engine cowling, and the right aileron. Additional parts that I printed that did not come with the original kit was new a cowling mount point, new wing mounts, a scale fin antenna, a scale ventral fin, a radiator intake, an exhaust, and a side door frame and door. Non-printed parts included a new wing beacon light cover, pitot tube, and an electronics shelf.
Installing New Parts, Resurfacing, and Painting
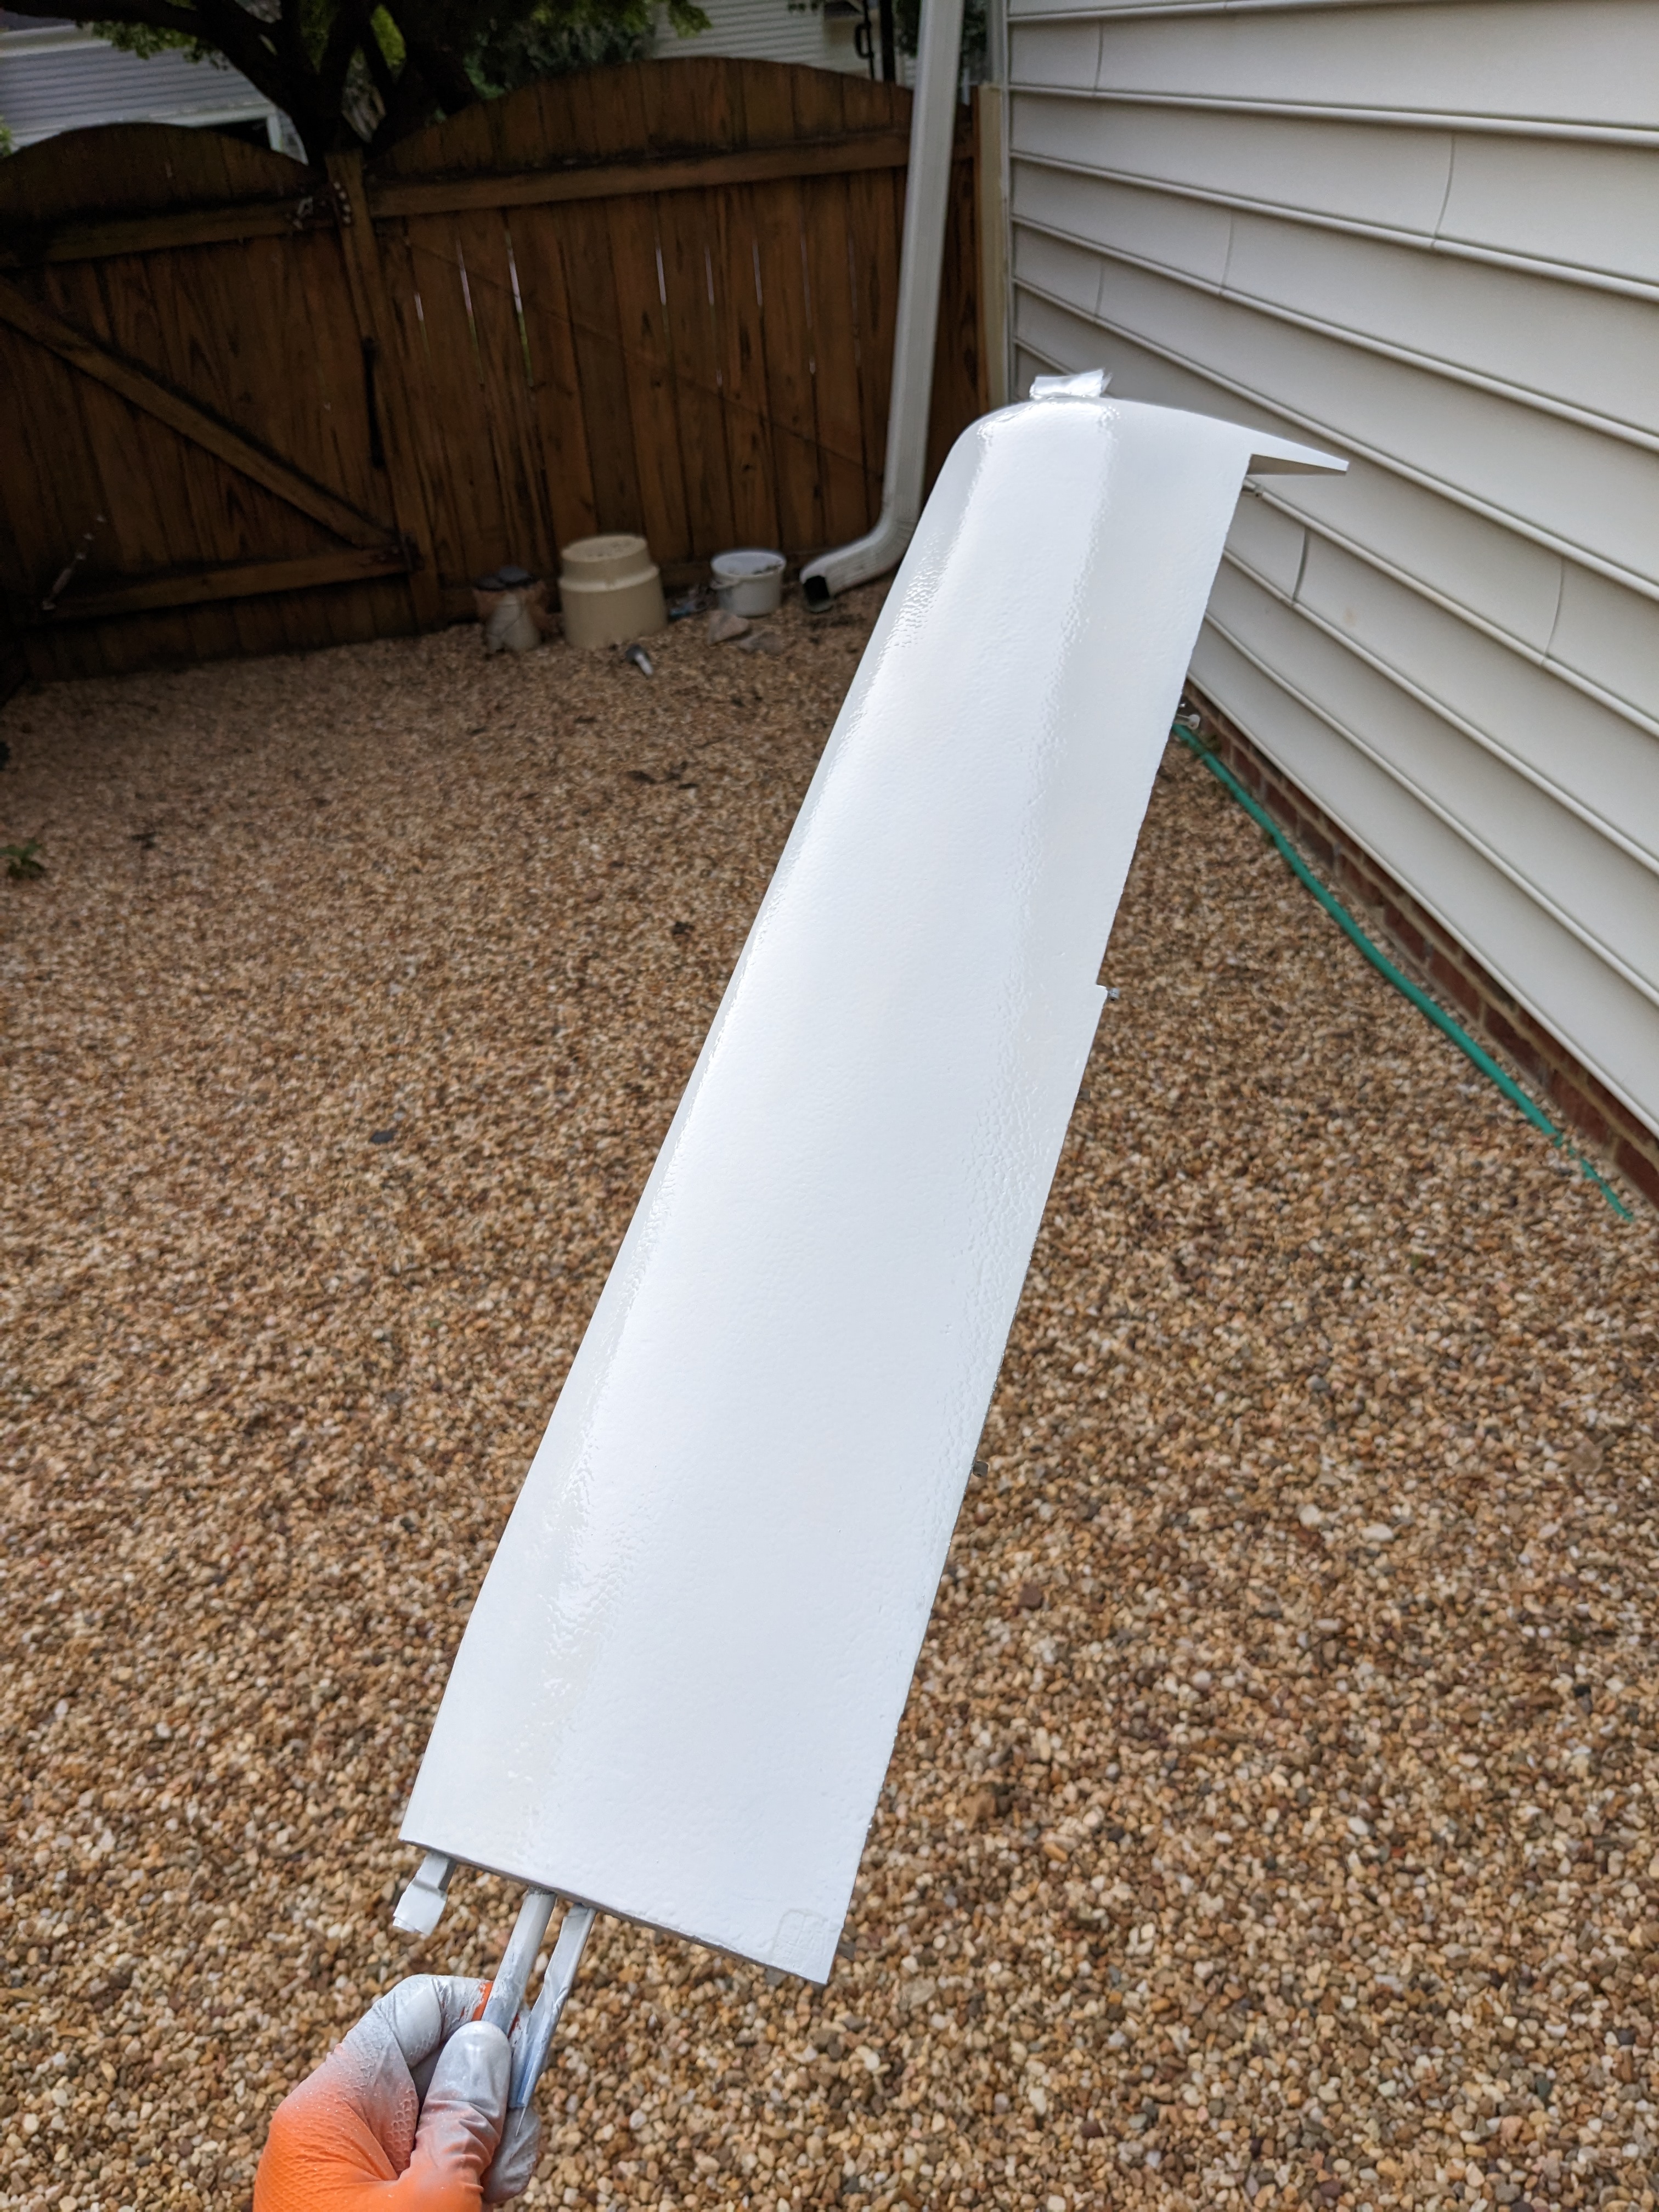
To resurface all of the original EPO foam parts, it was necessary to strip any factory paint with acetone, lightly sand the surface with 220 grit sandpaper, then meticulously fill and sand any surface imperfections with a lightweight filler. After that, 3-6 coats of brush applicated polycrylic was applied, sanding between each layer. The polycrylic sealed the foam and filler and provided a consistent surface to apply primer and paint.
Missing any step in this process would risk the polycrylic and paint peeling off the surface.
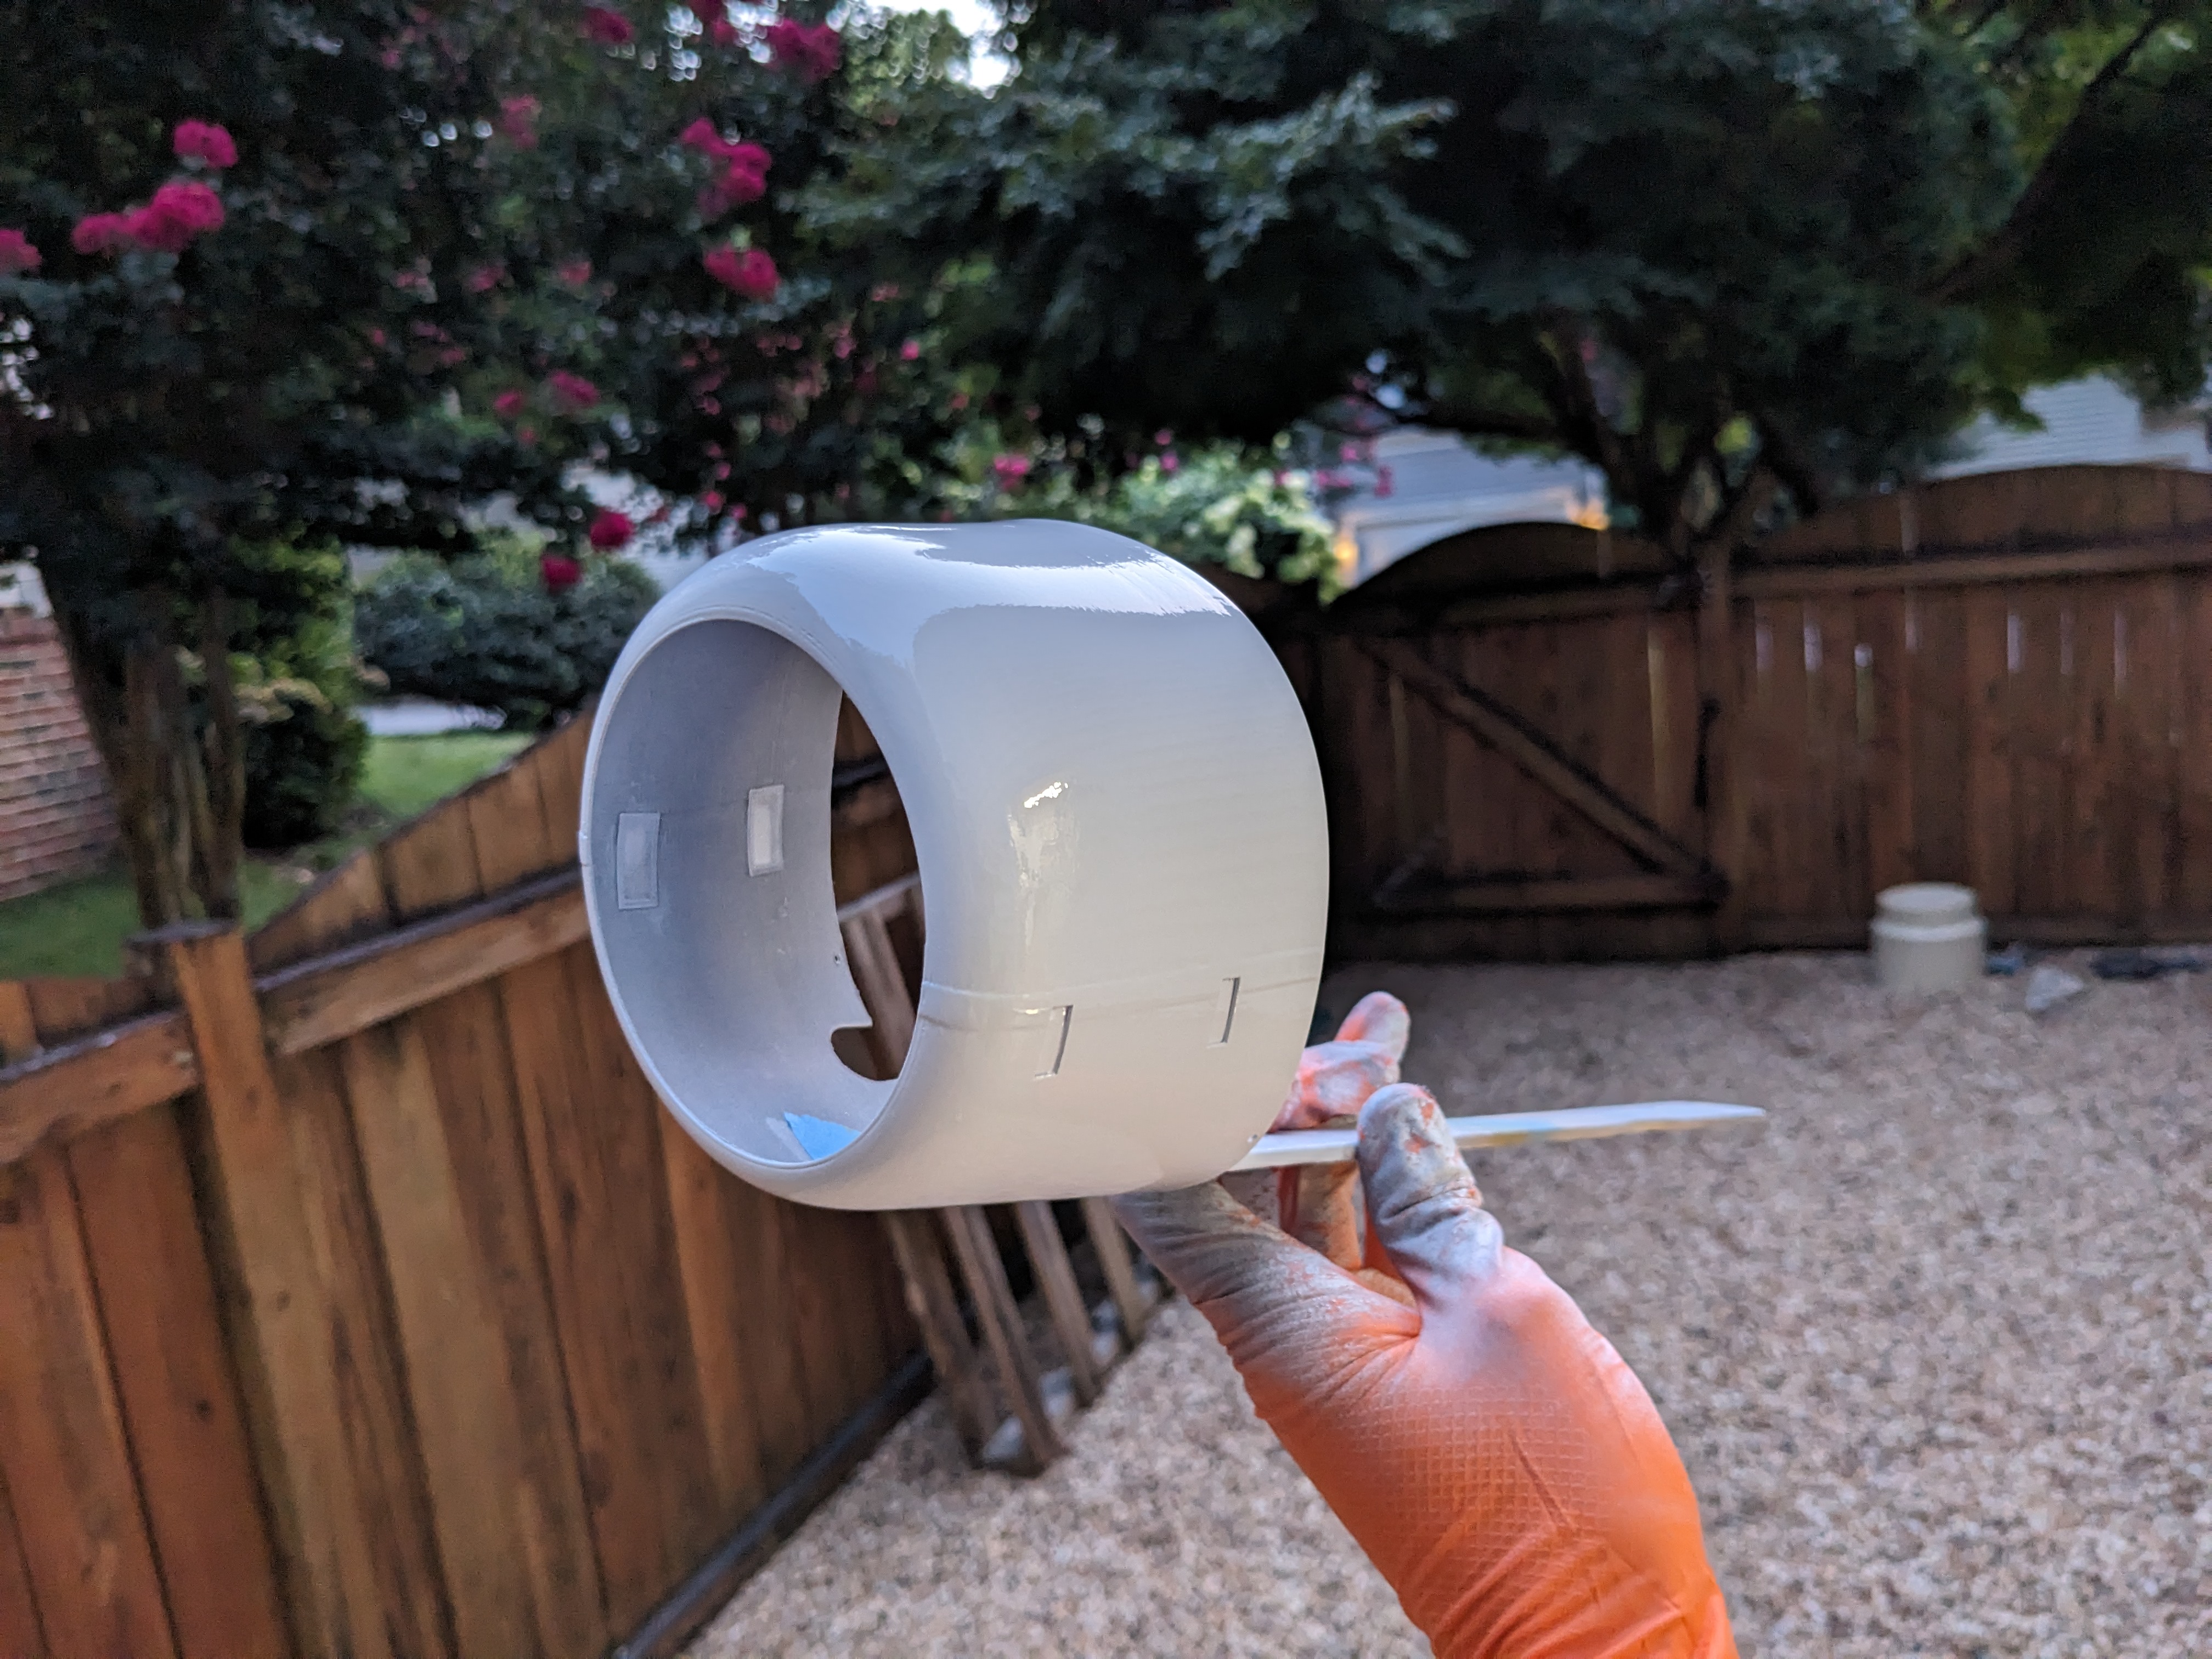
Finishing the 3D printed parts were easier in comparision to the original EPO foam parts. They still required extensive sanding, but no polycrylic was necessary and the risk of peeling was nearly zero. Also, the finish they presented were significantly more appealing than the foam parts.
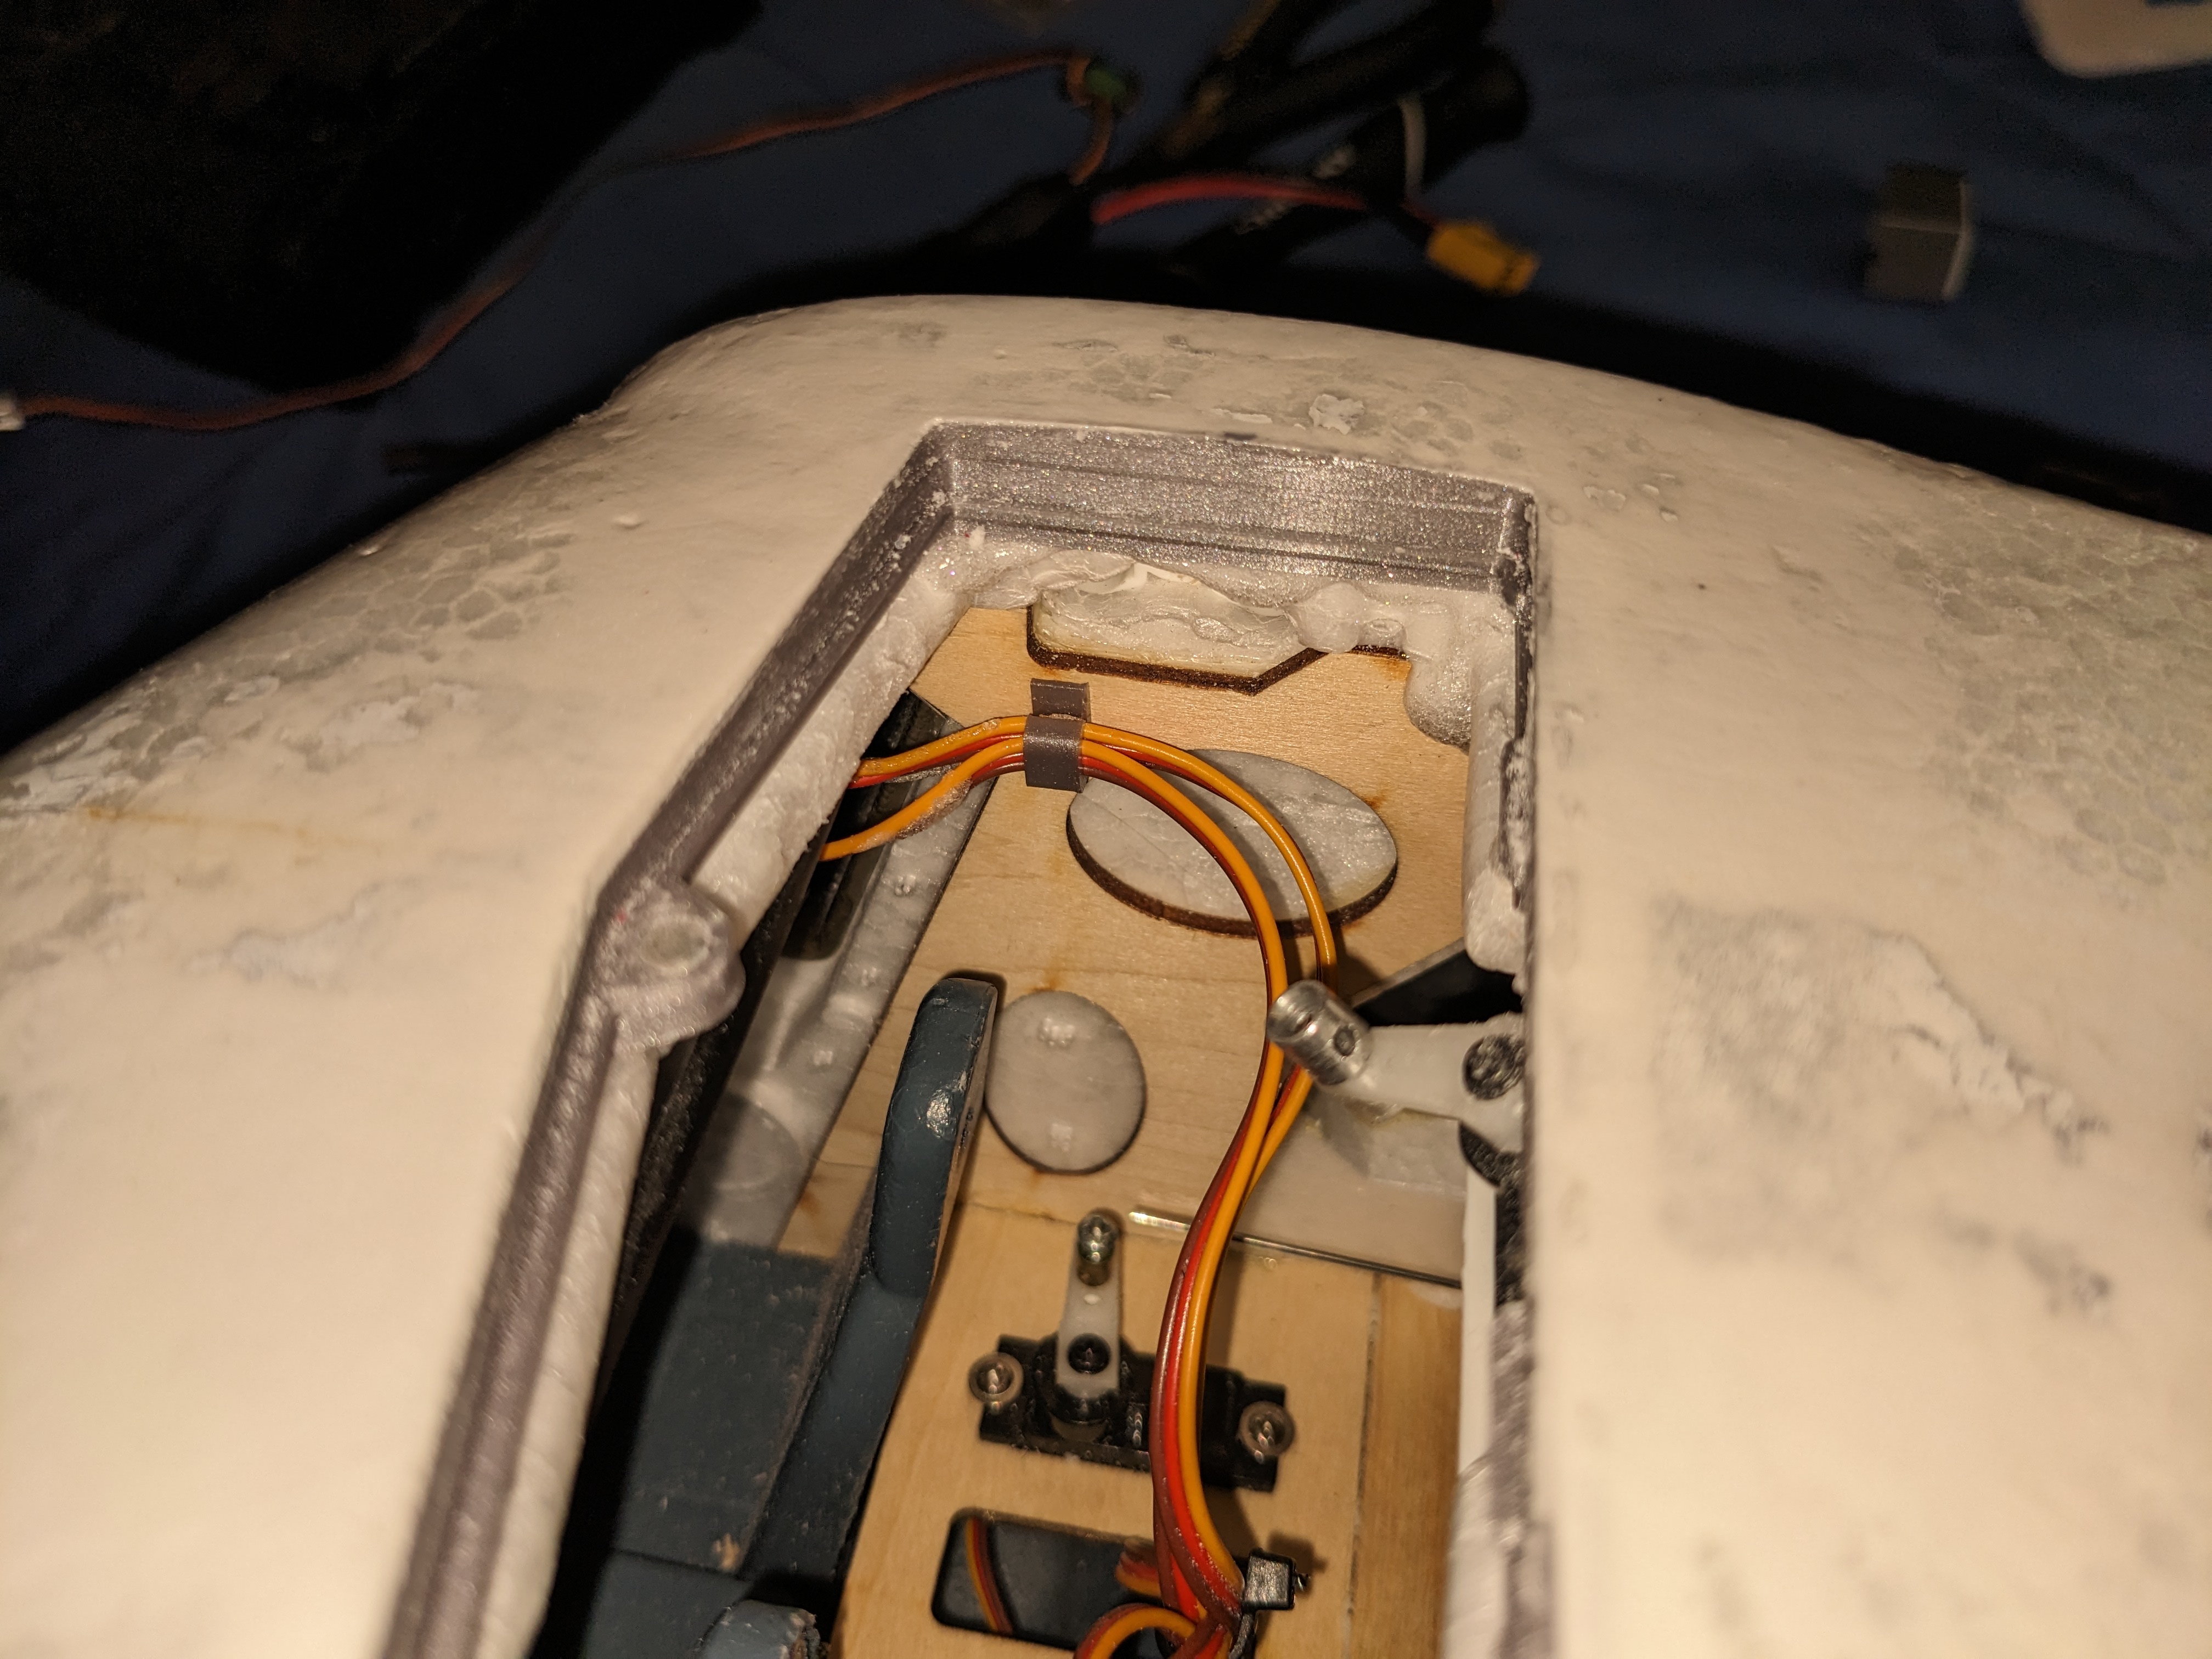
For the installation of the 3D printed parts, a lightweight filler was used to fill and blend the original body and new parts together.
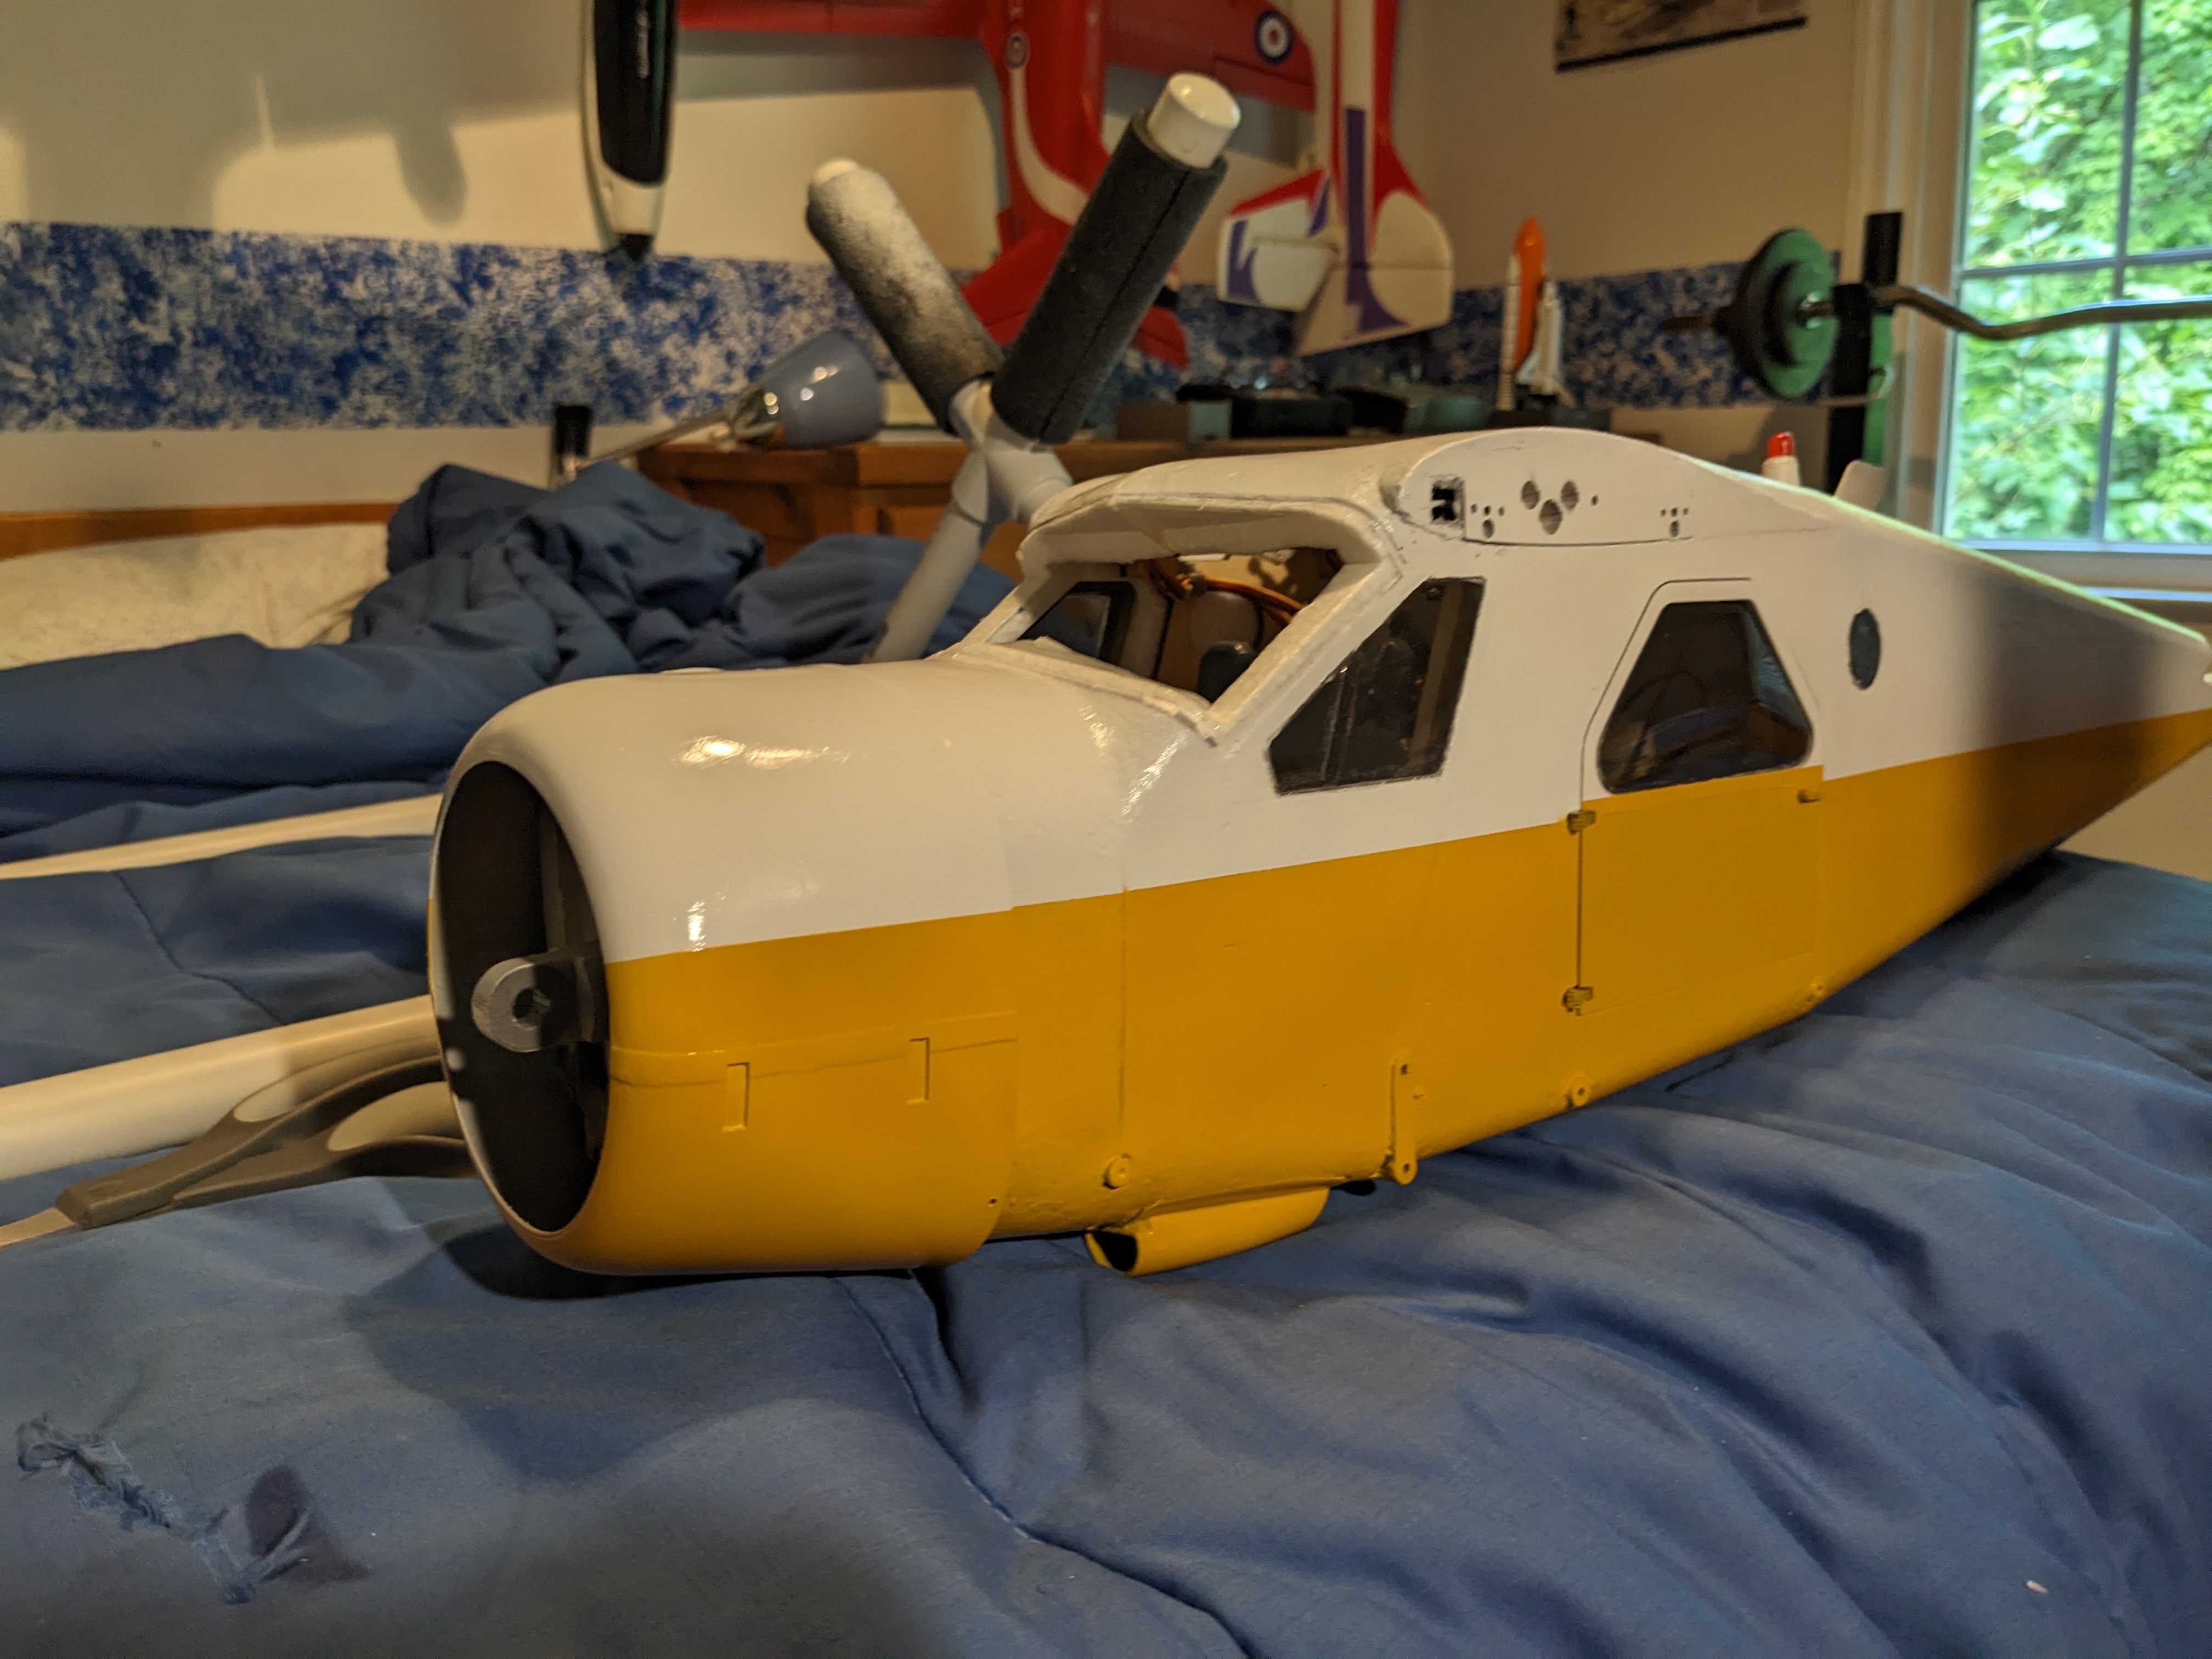
Painting the yellow and black onto the fuselage was a labor intensive process that required extreme patience as to not damage or peel the underlying paint.
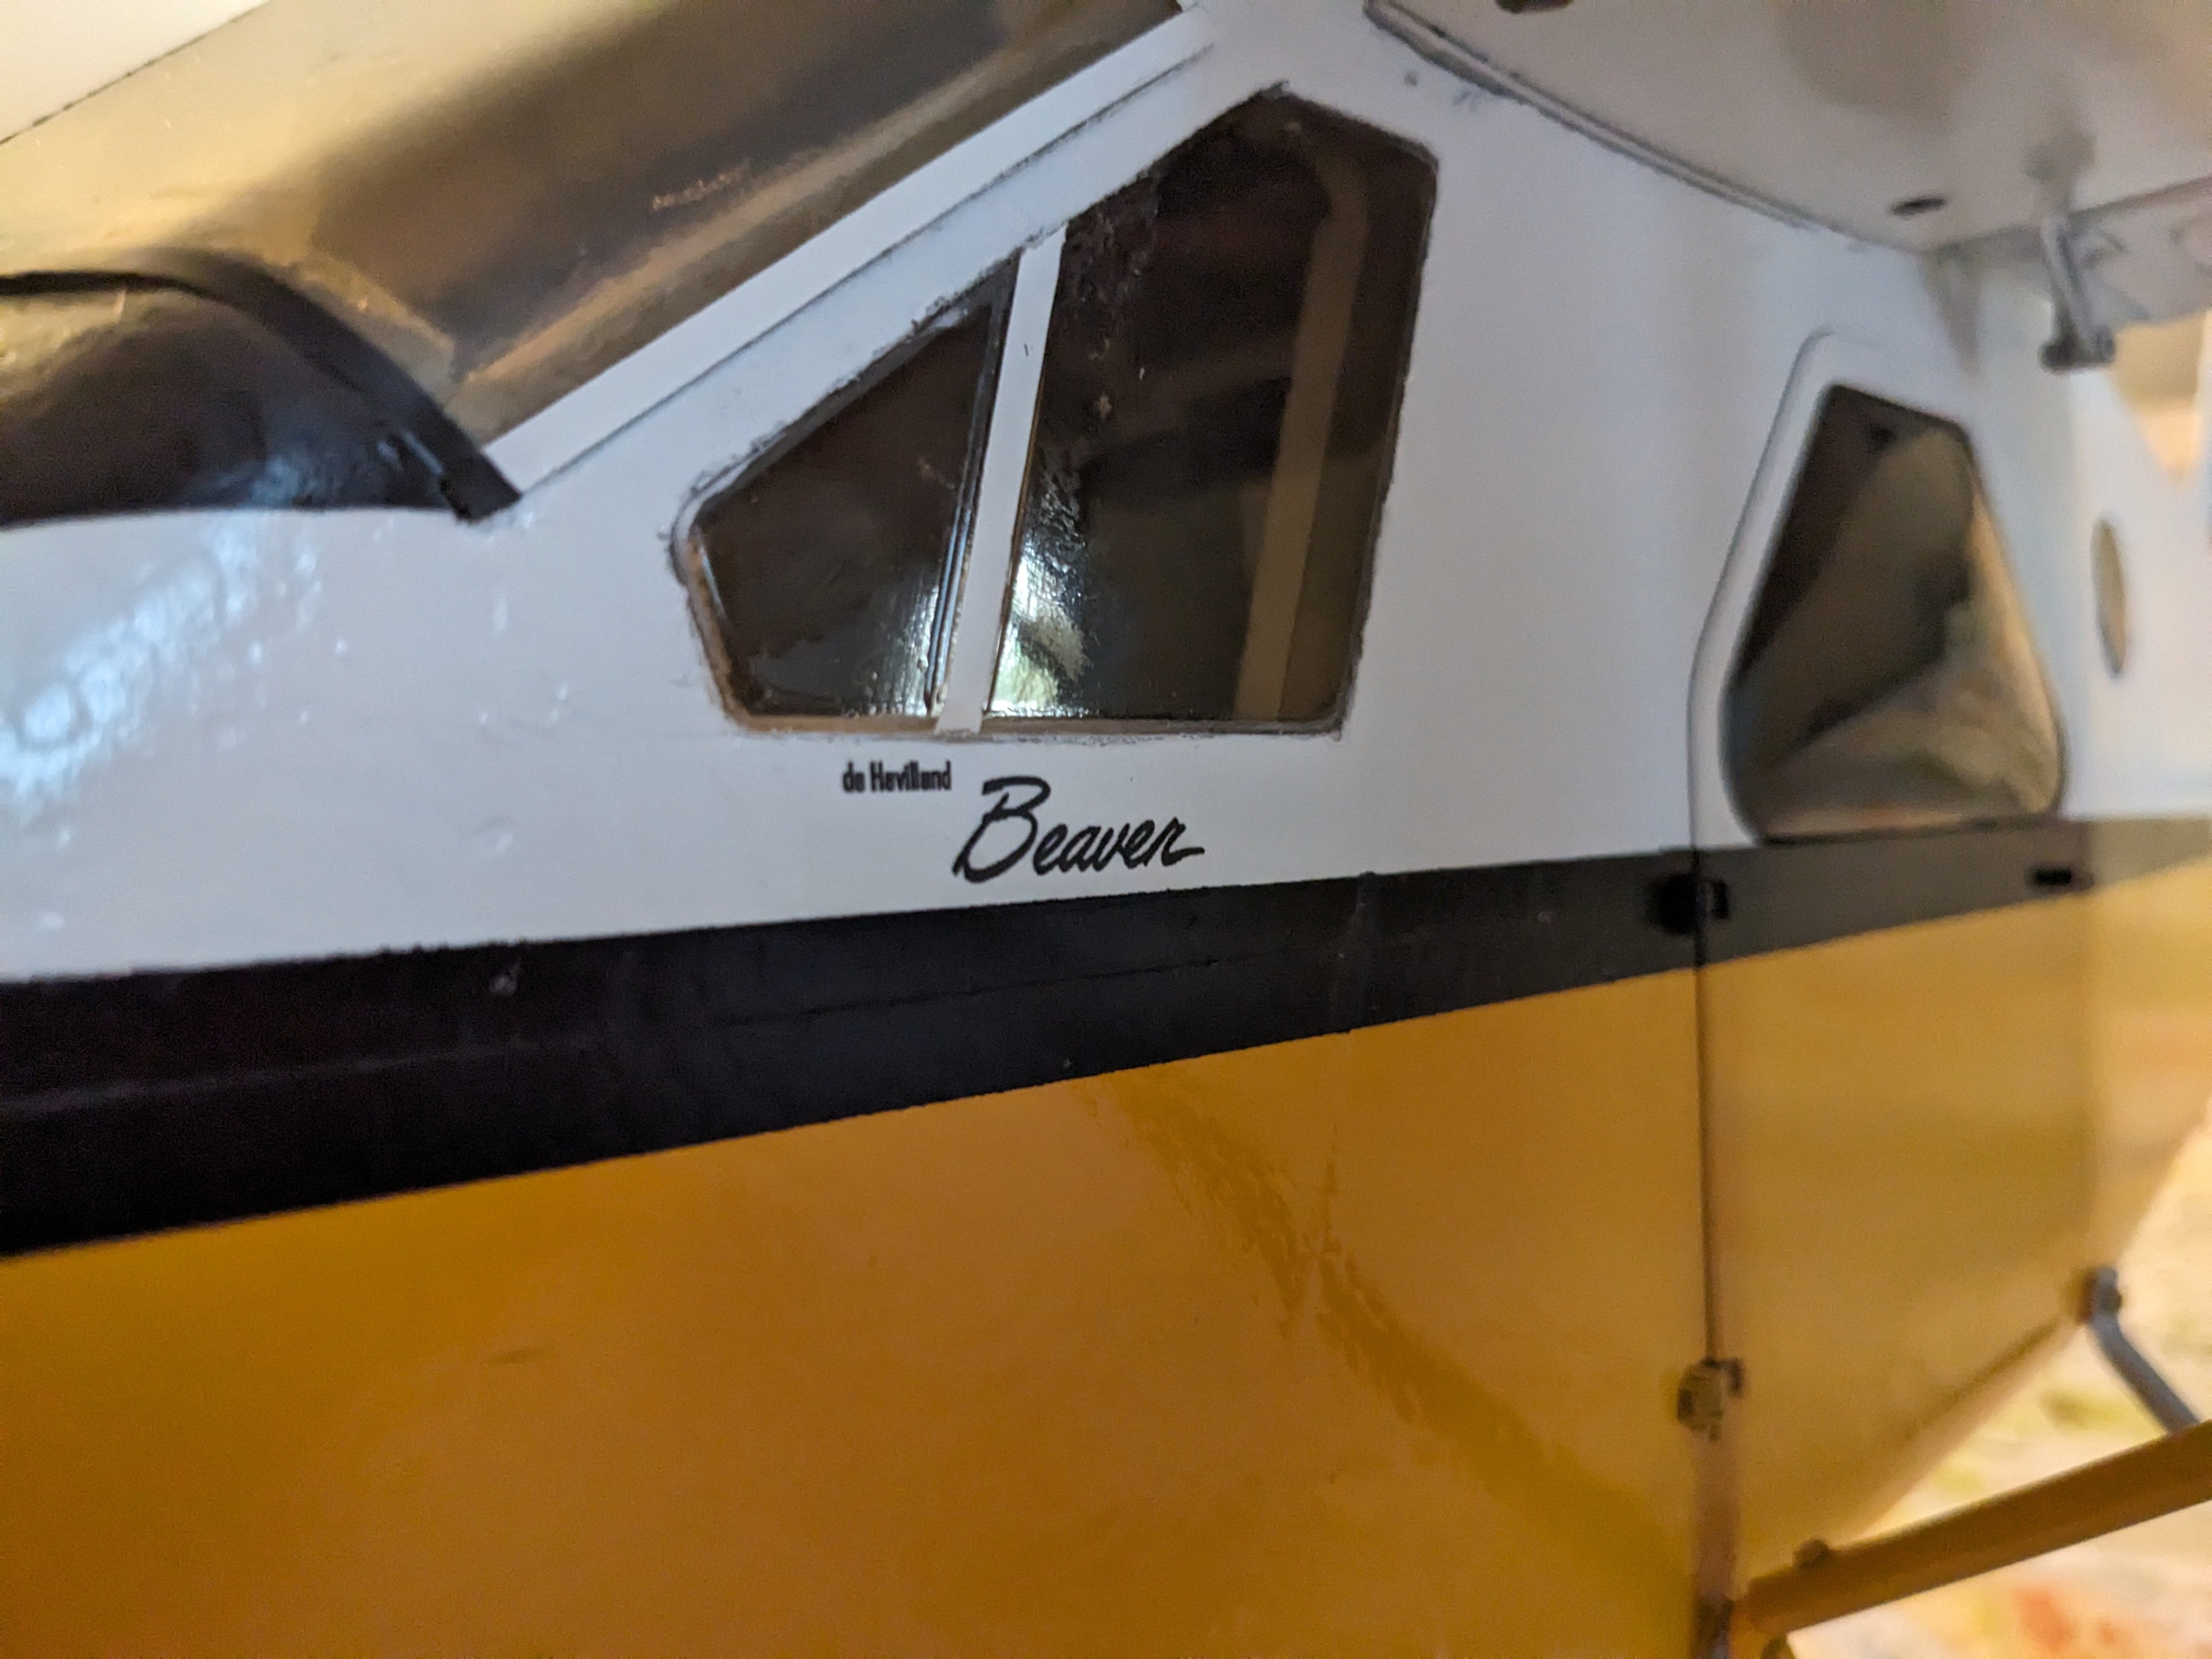
I designed decals that closely resembled the original scheme, including de Havilland's "Beaver" signature, the registration code CF-CAT, and Finning's logo on the vertical stabilizer.
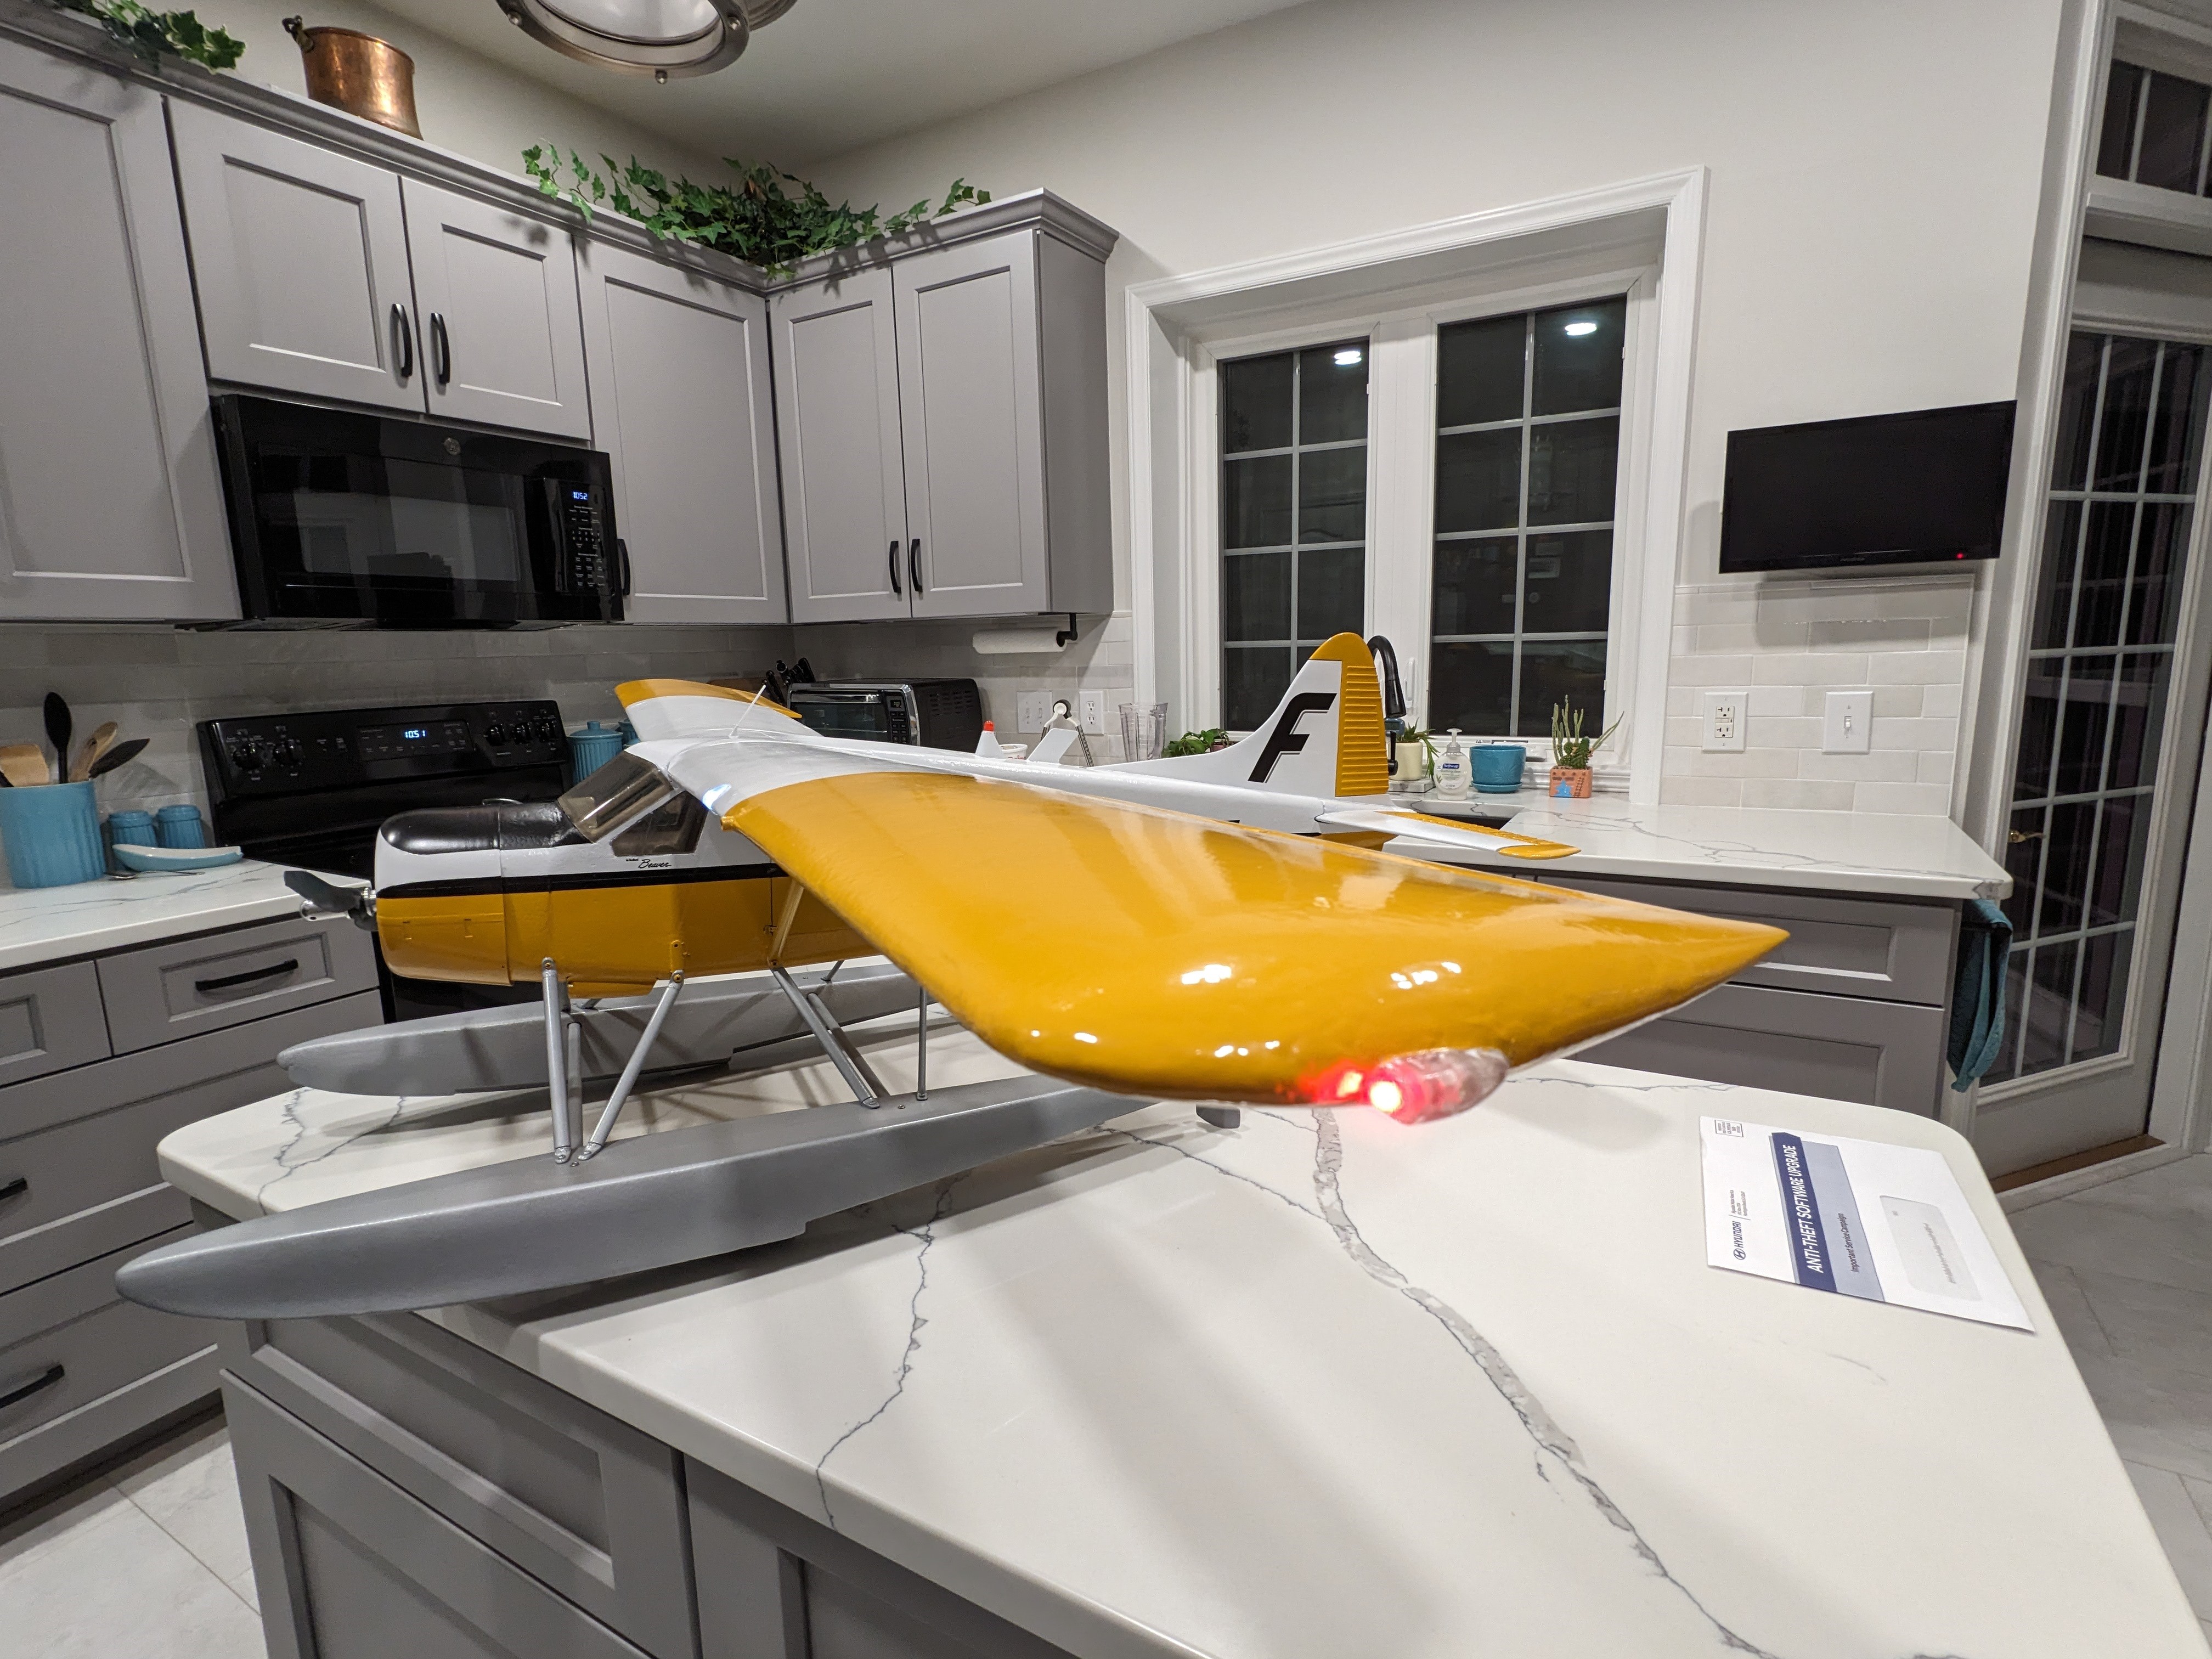
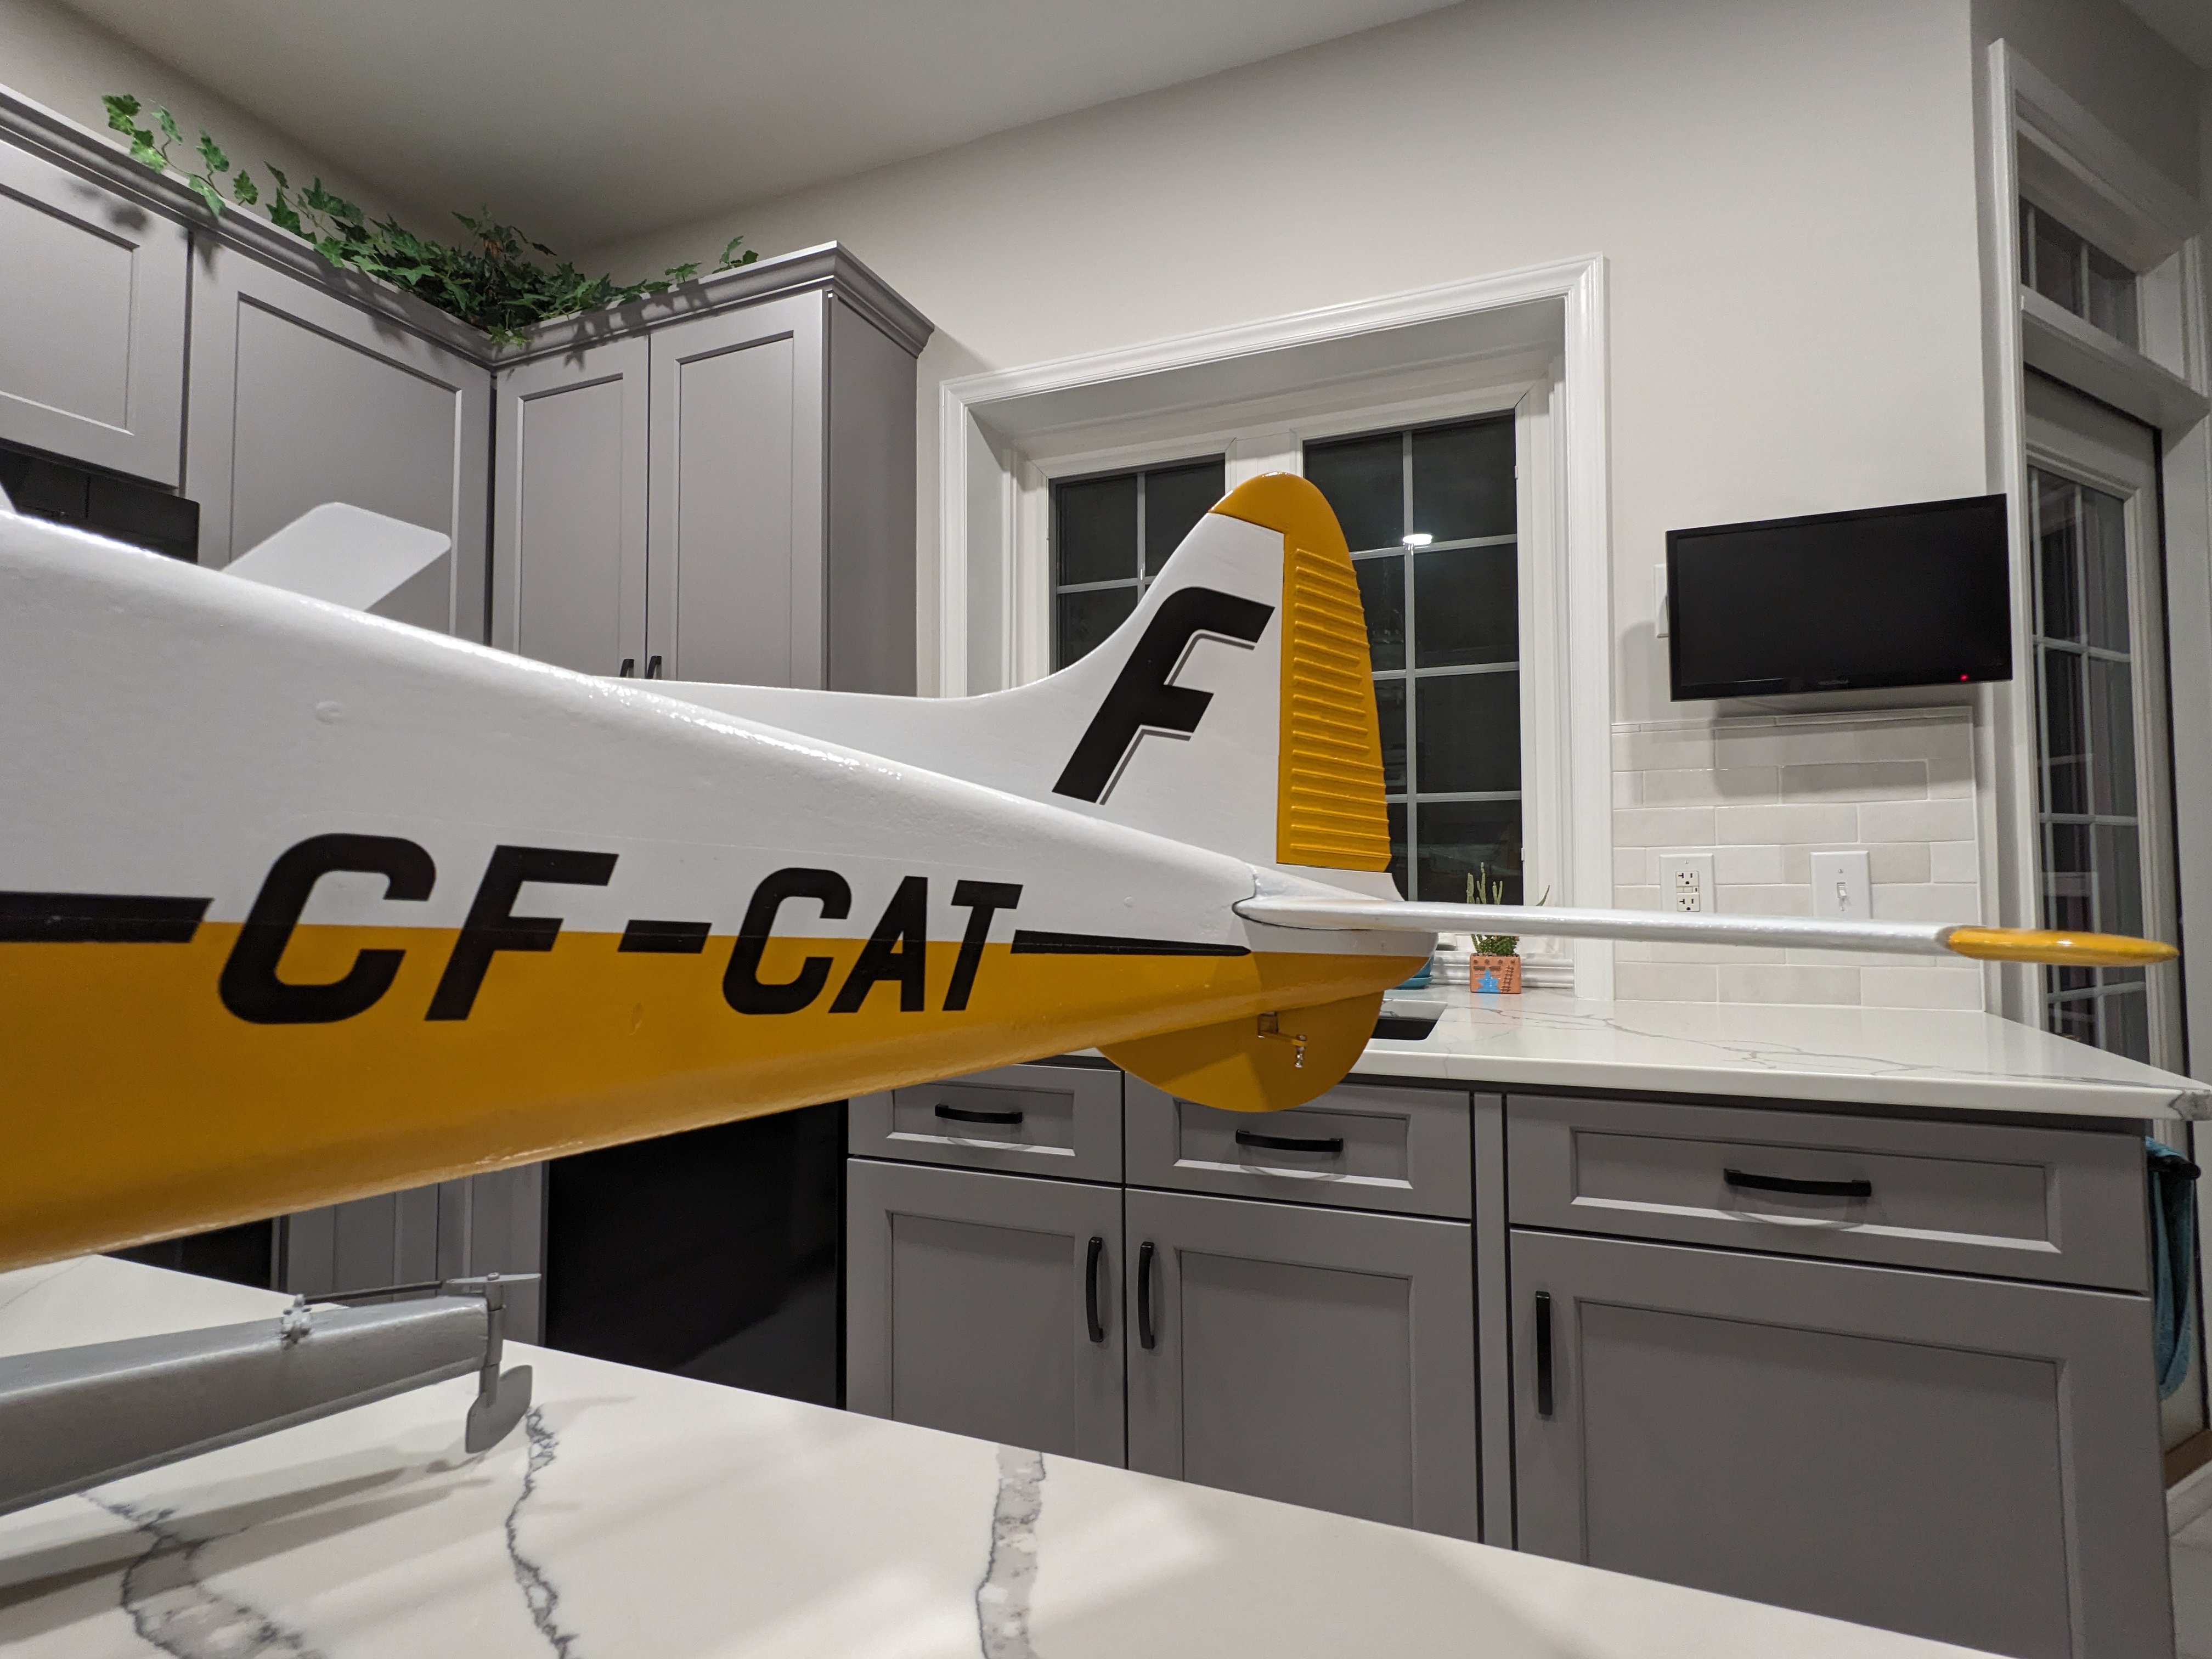
Final Product
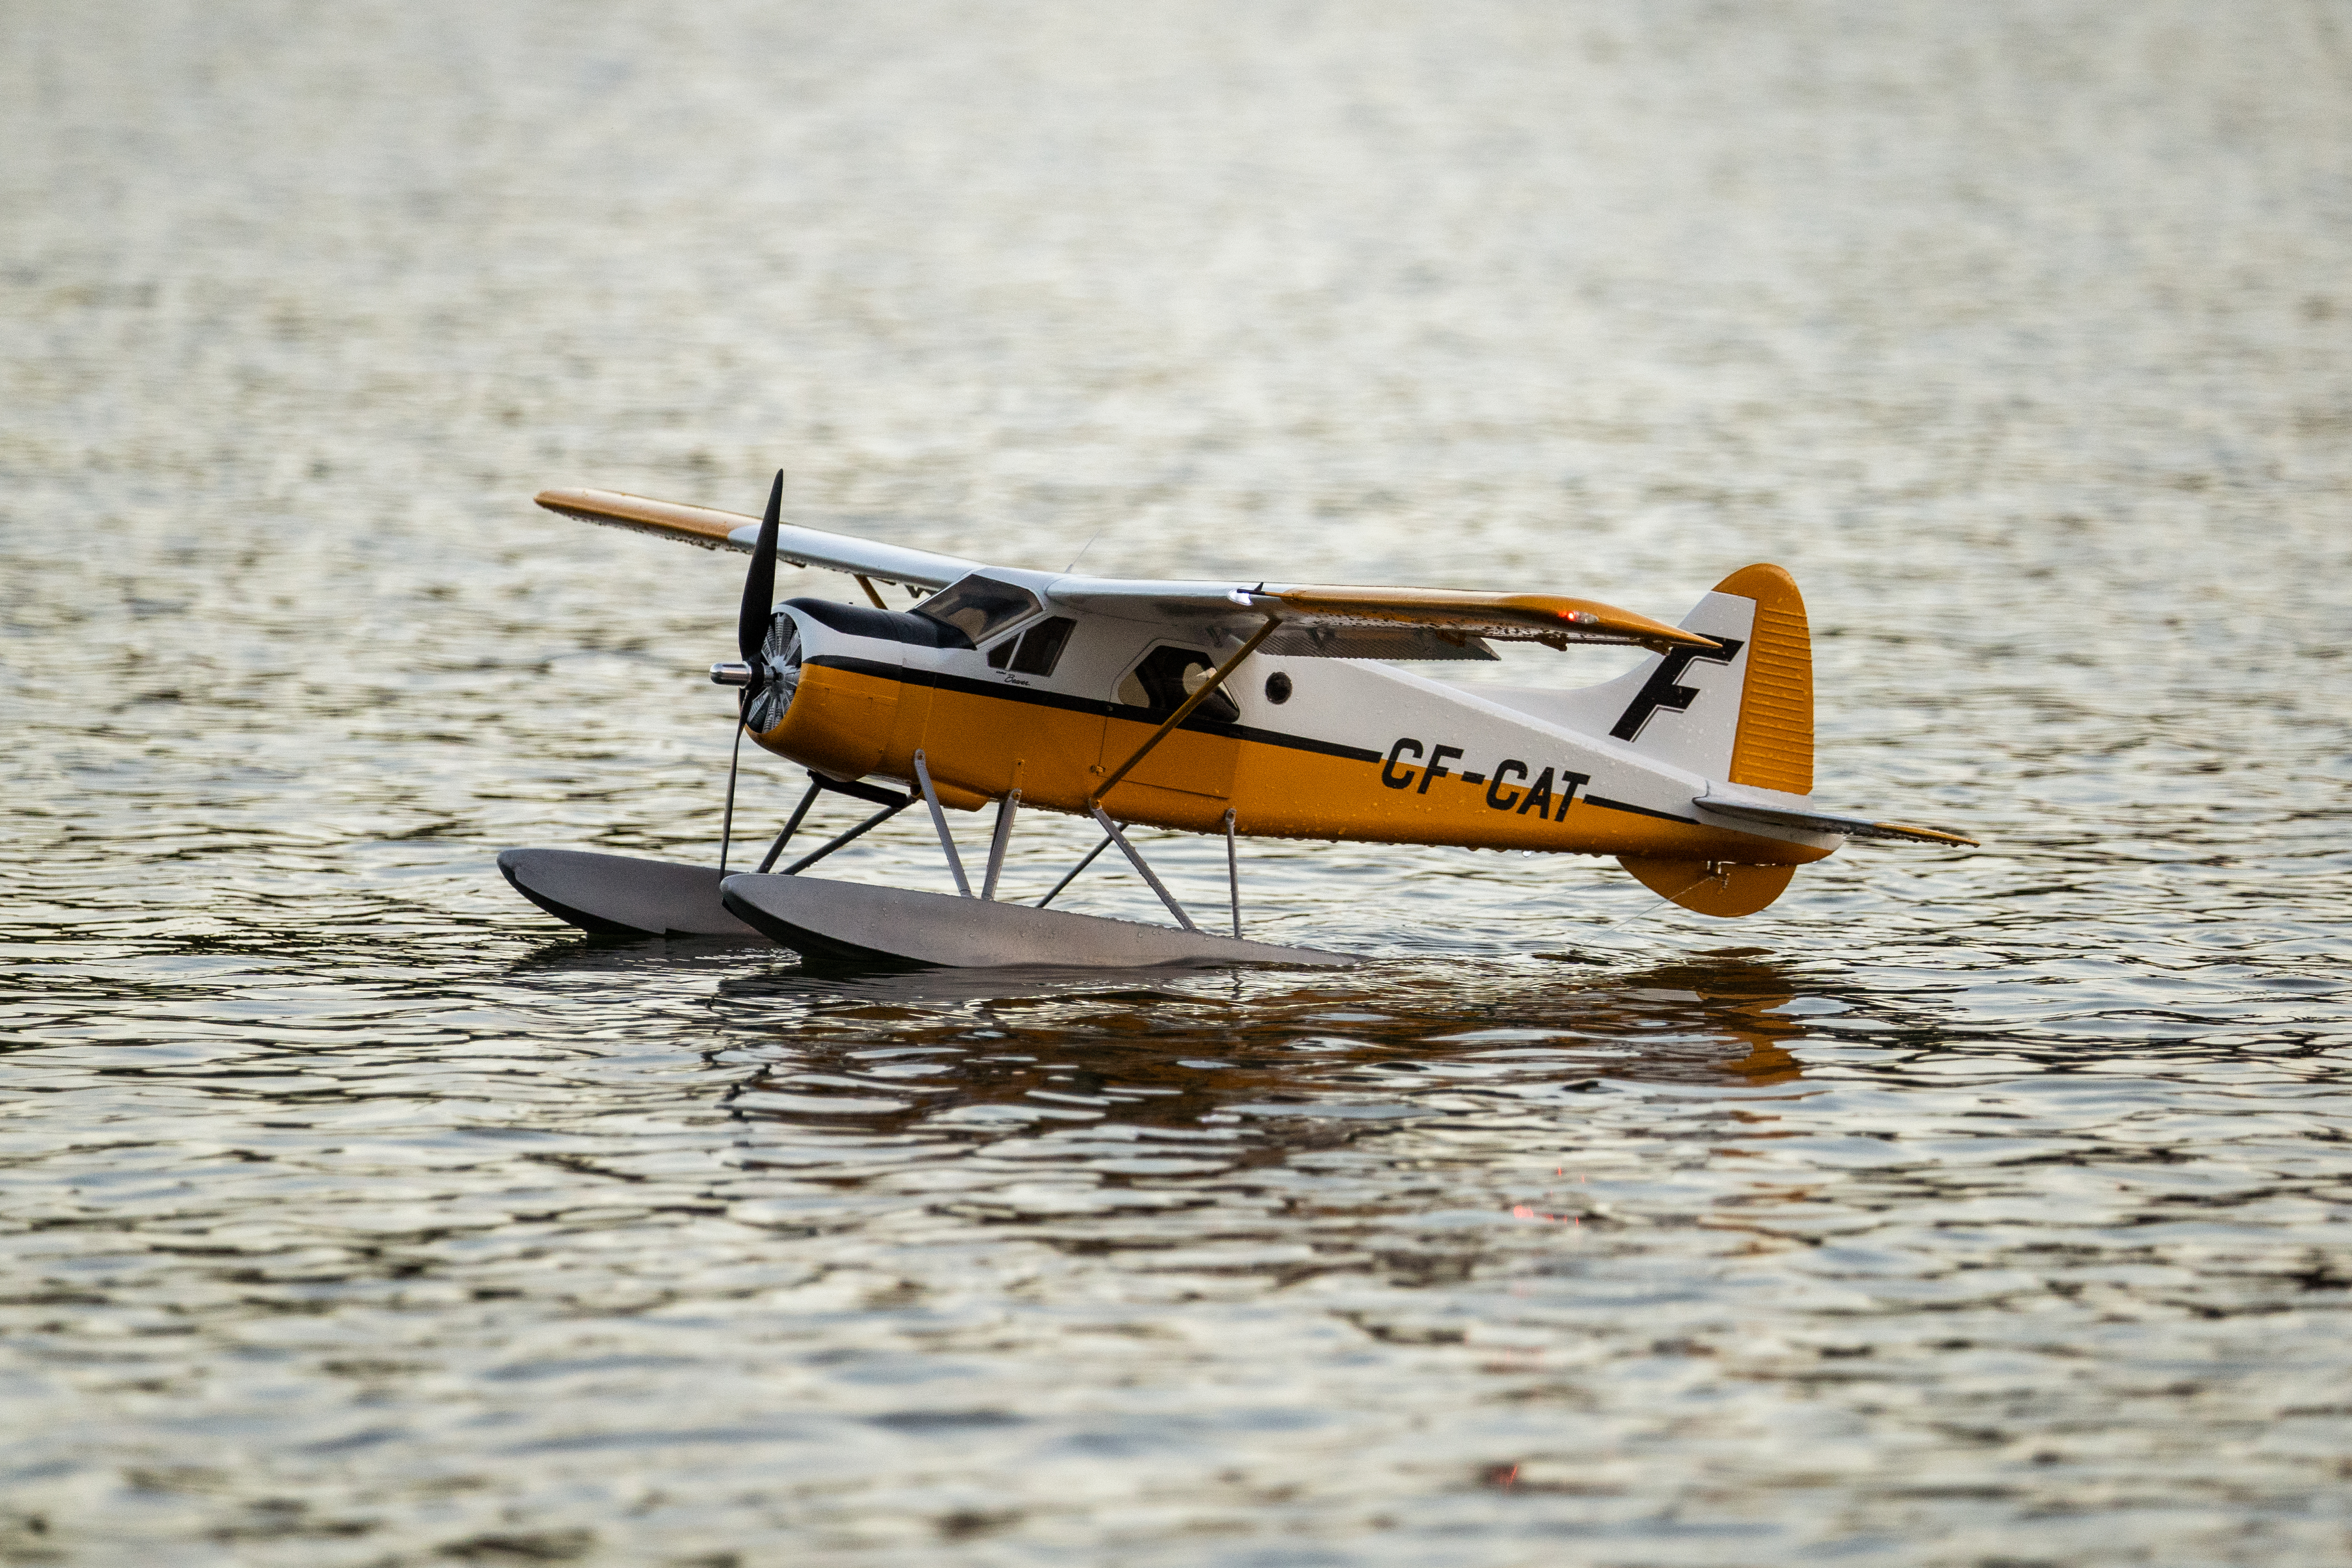
While the visuals of final product is exactly what I had in mind in the beginning of this project, unfortunately the flight characteristics have room for improvement. Using standard PLA for the vertical stabilizer and rudder led to a tail heavy airplane which of course had poor flight characteristics. The tail of the plane sat near the water and the floats did not get "on step", making takeoffs difficult.
In the near future, I will redesign the vertical stabilizer and rudder to be printed with LW-PLA (lightweight PLA) to reduce the tail weight.